















































Photo ornaments are no longer just for Christmas trees. In the UK, many people use them to celebrate weddings, birthdays, anniversaries, and other meaningful moments, while some create memorial ornaments to honour loved ones. A personalised photo ornament is more than simple décor — it's a keepsake that preserves memories for years to come.
Today, there are several ways to create photo ornaments, from DIY crafting to professional laser engraving. Each method offers different benefits depending on the material, finish, and level of detail you want. In this guide, we'll compare four popular techniques and explain how a dual-laser engraver like the LP4 can help you produce professional-looking photo ornaments at home or in a small workshop.

In this article:
- Part 1: Four Popular Methods for Making Photo Ornaments
- Method 1: DIY Hand Crafting
- Method 2: Sublimation
- Method 3: Digital Printing
- Method 4: Laser Engraving
- Part 2: Why Laser Engraving Is Ideal for Photo Ornaments
- Part 3: How to Make a Multi-Material Photo Ornament with Laser Engraving
- Part 4: FAQs About Making Photo Ornaments
Part 1: Four Popular Methods for Making Photo Ornaments
Understanding how different photo ornament methods work can help you choose the right option for your budget, materials, and long-term expectations.
Method 1: DIY Hand Crafting
DIY photo ornaments are typically made by printing a photograph and attaching it to a wood, cardboard, ceramic, or acrylic blank. Many people use glue, resin, or protective sealants to help preserve the image and reduce minor wear over time. Because the materials are affordable and easy to find, this method is popular for family activities, school projects, and seasonal crafts in the UK.
However, handmade ornaments often have limited durability. Printed photos can fade when exposed to sunlight or moisture, while adhesives may weaken over time. Even with protective coatings, the image may warp, peel, or lose colour if displayed for long periods. For this reason, DIY ornaments are generally better suited for temporary decorations rather than long-lasting keepsakes.
Best For:
Family craft projects
Classroom activities
Budget-friendly seasonal decorations
Limitations:
Short lifespan
Colours may fade
Sensitive to moisture and sunlight
Method 2: Sublimation Printing
Sublimation printing uses heat to transfer dye directly into coated materials. This process creates vibrant, full-colour images that become part of the surface rather than sitting on top of it. It is commonly used for ceramic ornaments, coated metal blanks, and decorative gift items.
Sublimation works best on light-coloured surfaces with a polymer coating. Dark materials and untreated surfaces usually produce poor results. In addition, the process requires specialised consumables, including sublimation ink, transfer paper, and heat-resistant blanks, which can increase production costs. Long-term UV exposure may also cause colours to fade, especially on ornaments displayed outdoors.
Best For:
Bright, colourful photo ornaments
Ceramic and coated metal products
Small personalised gift businesses
Limitations:
Requires coated materials
Less effective on dark surfaces
Colours may fade with UV exposure
Method 3: UV Digital Printing
UV digital printing uses inkjet or UV printers to print images directly onto the ornament surface. It allows fast design changes and is ideal for short production runs or customised orders. Compared with sublimation, UV printing supports a wider range of colours and materials without requiring special coatings.
That said, the ink remains on the surface instead of bonding into the material itself. Over time, printed images may scratch, peel, or fade through regular handling. Results can also vary on uneven, textured, or curved surfaces. While digital printing is suitable for promotional products and decorative ornaments, it may not provide the long-term durability expected for heirloom-quality keepsakes.
Best For:
Fast customisation
Promotional products
Small-batch production
Limitations:
Surface ink may scratch or peel
Less durable than engraving
Inconsistent on textured materials
Method 4: Laser Engraving
Laser engraving uses a highly focused laser beam to permanently mark or engrave a material's surface. Instead of using ink or dye, the laser creates images through controlled burning, oxidation, or surface transformation. This produces highly detailed and long-lasting results.
One of the biggest advantages of laser engraving is material flexibility. It works with wood, leather, acrylic, coated metals, aluminium, stainless steel, glass, ceramics, and many other materials, regardless of colour. For users in the UK who want personalised products with a premium finish, laser engraving offers both professional quality and long-term durability.
Laser engraving is also ideal for home workshops and small businesses because it reduces the need for consumables such as ink, transfer paper, or adhesives. Machines like the LP4 dual-laser engraver can handle multiple materials while maintaining precise detail across different ornament styles.
Best For:
Premium personalised ornaments
Long-lasting keepsakes
Multi-material engraving projects
Small businesses and Not On The High Street sellers
Advantages:
Permanent results
Minimal consumables
Works on many materials and colours
High precision and detail
Wood Photo Ornament:
Acrylic Photo Ornament:
Photo Ball Ornament:


Comparison Table
| Method | Material Restrictions | Consumables Needed | Durability | Long-Term Quality |
|---|---|---|---|---|
| DIY Hand Crafting | Low | Yes | Low | Poor |
| Sublimation Printing | High (coated, light-coloured only) | Yes | Medium | Moderate |
| UV Digital Printing | Medium | Yes | Medium | Moderate |
| Laser Engraving | Minimal | No | High | Permanent |
Compared with traditional ornament-making methods, laser engraving offers greater flexibility, durability, and material compatibility. It does not rely on inks, coatings, or adhesives, and the engraved results remain visible for years without fading easily. For UK hobbyists, craft sellers, and home workshop users, laser engraving provides a more professional and reliable solution for creating personalised photo ornaments.
Part 2: Why Laser Engraving Is Ideal for Photo Ornaments
Laser engraving has become increasingly popular in the UK personalised gift market because it offers long-lasting quality, material flexibility, and precise photo reproduction. Compared with printing or DIY crafting methods, laser engraving creates more professional results with fewer material limitations.
Reason 1: Compatible with a Wide Range of Materials
One of the biggest advantages of laser engraving is its compatibility with multiple materials. Unlike sublimation or UV printing, laser engraving does not require polymer coatings or light-coloured surfaces.
It can be used on:
Wood
Acrylic
Leather
Glass
Ceramic
Aluminium
Stainless steel
Coated metals
This flexibility allows UK makers and small businesses to create personalised ornaments in many different styles without changing production methods.
Reason 2: Suitable for Different Shapes and Thicknesses
Photo ornaments are not always flat or uniform. Some designs include curved glass baubles, layered acrylic pieces, thick wood slices, or irregular handmade shapes.
Laser engraving handles these variations more effectively than heat transfer or traditional printing methods.
Reason 3: Consistent Detail for Photo Engraving
Laser engraving can reproduce fine details with impressive consistency, especially when engraving greyscale images. Facial features, textures, shadows, and outlines remain clear even on smaller ornaments.
Reason 4: Efficient for Both Custom and Repeat Orders
Laser engraving is suitable for both one-off personalised projects and repeat production runs. Once the design file is prepared, it can be reused without losing accuracy or image quality.
Reason 5: Long-Lasting Results Without Fading
Unlike printed photos or surface-applied inks, laser engraving permanently alters the material surface itself. There is no ink layer that can peel, crack, or fade over time.
Reason 6: No Consumables Required
Traditional ornament-making methods often rely on consumables such as photo paper, ink cartridges, transfer films, adhesives, or coatings. Laser engraving eliminates most of these ongoing material costs.
The design is engraved directly onto the surface, making the process cleaner and more efficient. For UK hobbyists and small workshops, this can help reduce operating costs over time.
In addition, laser systems such as the LP4 offer long service life and consistent performance for extended ornament production projects.
Part 3: How to Make a Multi-Material Photo Ornament with Laser Engraving
Creating a professional-looking photo ornament is less about artistic skill and more about following a reliable engraving process. With the right setup and engraving settings, you can consistently produce high-quality ornaments across different materials.
Tools You Need
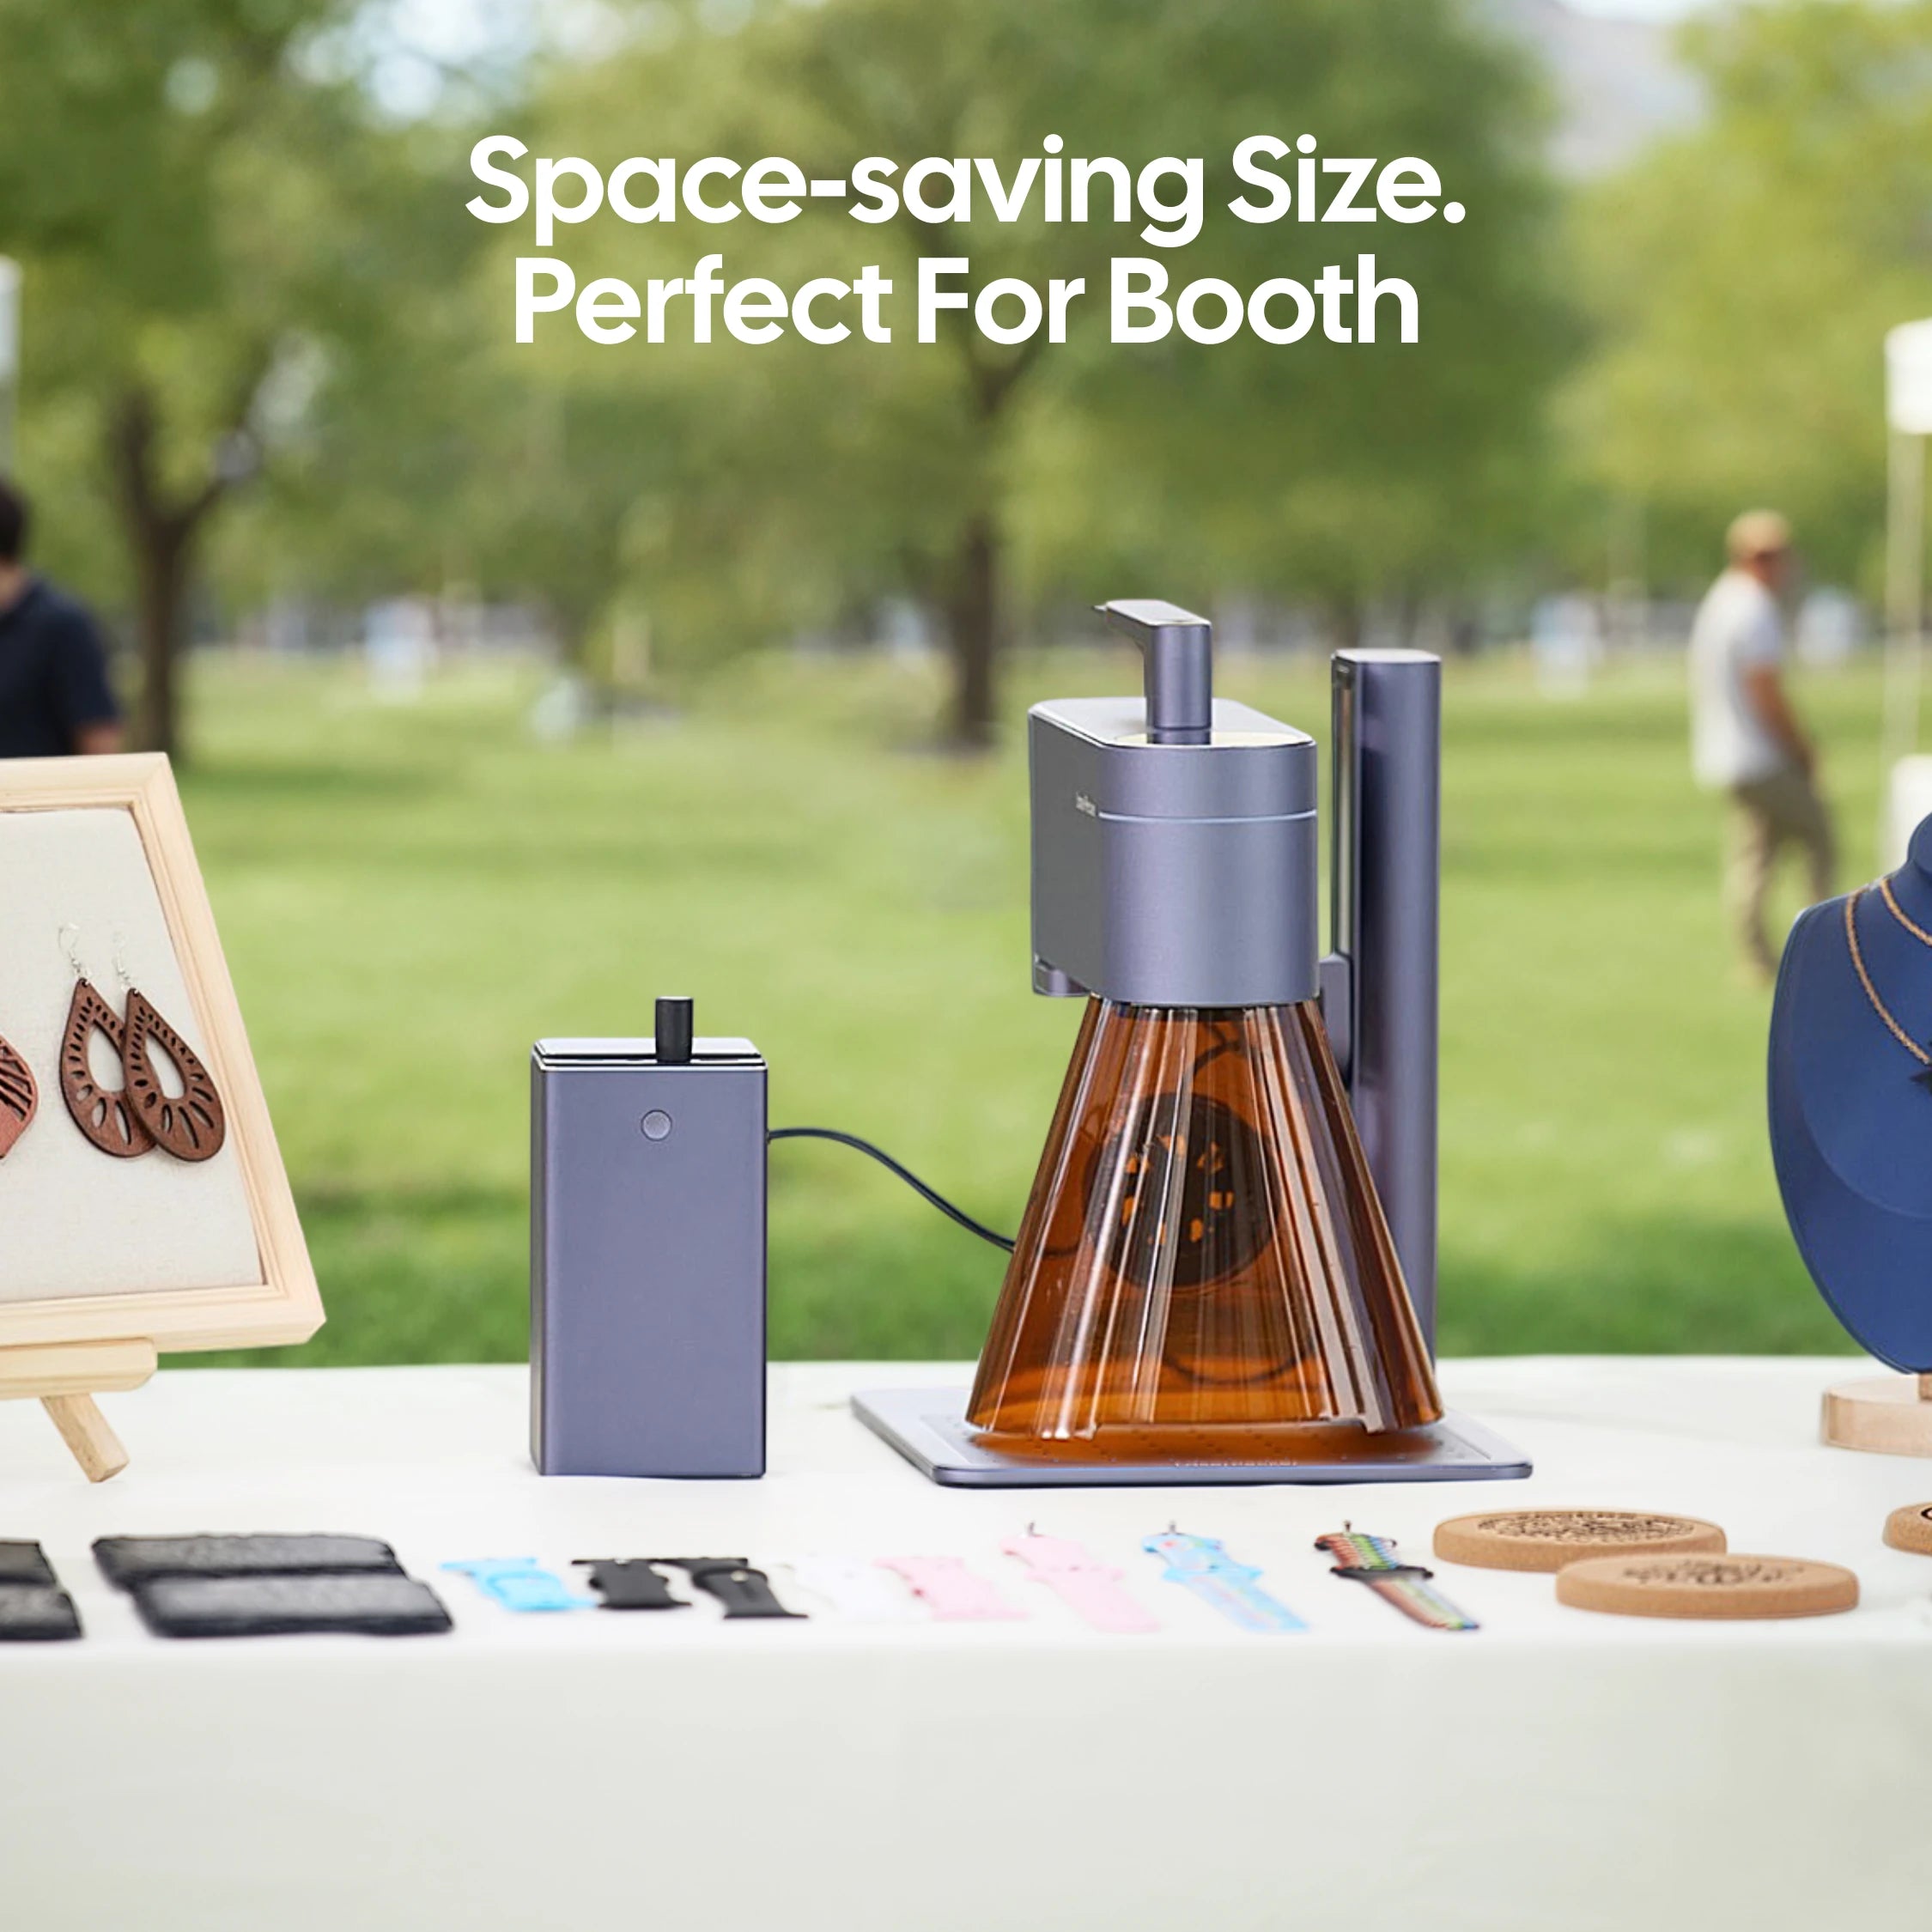
To achieve detailed and durable results, choosing the right laser engraver is essential. The LaserPecker LP4 is particularly well suited for photo ornament production because it combines:
A 10W blue diode laser (450nm)
A 2W infrared laser (1064nm)
This dual-laser system allows users to engrave a much wider range of materials compared with standard single-laser engravers.
For users in the UK who prioritise indoor workshop safety, the LP4 can also be paired with the LaserPecker Standard Enclosure, allowing the machine to achieve Class 1 Laser Safety standards during operation. When combined with the LaserPecker Desktop Smoke Purifier, fumes and odours generated during engraving or cutting can be filtered more effectively, making the setup more suitable for indoor use.
Why the LP4 Diode Laser Works Well for Photo Ornaments?
8K Ultra-High Resolution for Photo Engraving
The LP4 supports engraving resolutions up to 8K, allowing it to reproduce fine image details with impressive clarity.
Ideal for Multiple Ornament Materials
The 10W diode laser performs well across many commonly used ornament materials, including:
Wood and bamboo for rustic decorations
Acrylic for modern layered ornaments
Glass and ceramics for decorative keepsakes
Leather for personalised tags
Anodised aluminium and coated metals for premium ornaments
This versatility makes it easier for UK craft sellers and hobbyists to expand their product range without needing multiple machines.
Direct Engraving Without Printing
Unlike sublimation or UV printing, the LP4 engraves images directly onto the material surface.
Why the LP4 Infrared Laser Is Useful for Photo Ornaments?
Excellent for Bare Metal Engraving
The 2W infrared laser can engrave directly onto bare metals such as:
Stainless steel
Brass
Aluminium
This makes it ideal for:
Memorial pendants
Luxury photo ornaments
Metal keepsake tags
Premium personalised gifts
Cleaner Results on Plastics and Leather
The infrared laser also performs well on selected plastics and leather surfaces,
Additional LP4 Features for Photo Engraving
The LP4 includes several features that improve engraving flexibility and workflow efficiency:
Dual-laser switching for multiple material types
Touchscreen controls for faster operation
Adjustable engraving angles for curved surfaces
Engraving speeds up to 4000 mm/s
High-detail 8K image engraving
Compatibility with LightBurn and LaserPecker Design Space
Support for both desktop and mobile workflows
For UK home workshops and small businesses, these features make the LP4 suitable for both custom projects and repeat production runs.
Steps to Make a Multi-Material Photo Ornament with the LP4
Step 1: Choose and Prepare Your Photo
Select a high-quality image with a resolution of at least 300 DPI. Portrait-style photos usually work best when:
The subject is well lit
Facial details are clear
The background is not overly busy
Convert the image to greyscale and slightly increase contrast to improve engraving detail.
Avoid excessive sharpening, as this may reduce engraving smoothness.
Step 2: Optimise the Image for Engraving
Use photo editing software to adjust:
Brightness
Contrast
Mid-tone balance
This helps preserve tonal detail during engraving. Try to avoid overly dark shadows becoming fully black.
Once adjusted, export the image in a format compatible with your engraving software.
Step 3: Import and Position the Design
Open the image in:
LightBurn
LaserPecker Design Space
Resize the image to match the ornament dimensions and centre the important details carefully.
For portrait ornaments, keep key facial features away from the edges of the design area.
Step 4: Select the Correct Laser
Choose the laser based on the ornament material.
Step 5: Adjust Focus and Engraving Angle
Correct focus is essential for sharp engraving quality.
If engraving curved ornaments, adjust the laser head angle to maintain proper alignment across the surface.
For spherical ornaments, pairing the LP4 with a rotary attachment can significantly improve engraving consistency by allowing the object to rotate smoothly during operation.
Step 6: Configure Power and Speed Settings
Adjust engraving settings based on material density and desired detail level.
The LP4 supports engraving speeds up to 4000 mm/s, providing a good balance between efficiency and detail quality.
Step 7: Perform a Test Engraving
Before engraving the final ornament, test the settings on a spare material sample.
Step 8: Start Engraving
For safer indoor use, the LP4 can be paired with the LaserPecker Desktop Smoke Purifier to help reduce fumes and odours during engraving.
Part 4: FAQs About Making Photo Ornaments
Q1: Can I Engrave a Colour Photo with a Laser?
Yes, but laser engraving does not reproduce full-colour images directly on most materials. In most cases, the software converts the photo into greyscale, and the laser uses varying levels of contrast and depth to recreate image details during engraving.
With proper image preparation, laser-engraved portraits can achieve highly detailed and realistic results. Greyscale engraving is often preferred for portraits, memorial plaques, and personalised gifts because it creates a timeless and professional appearance.
However, the final result also depends on the material being engraved. On metals such as stainless steel and titanium, laser systems can produce colour laser engravings by carefully adjusting laser parameters to create different oxide layers on the surface. This technique makes it possible to engrave colour photos, logos, and artwork without using inks or dyes.
If you'd like to learn more about how colour laser engraving works and which materials support it, check out our guide on colour laser engraving.
Q2. Which Materials Are Best for Outdoor Photo Ornaments?
For outdoor use, durable materials such as:
Slate
Anodised aluminium
Stainless steel
Coated metals
are usually the best choices because they resist moisture, UV exposure, and temperature changes more effectively.
Wooden ornaments can also be used outdoors if sealed properly, although they generally require more maintenance over time.
Laser engraved metal and slate ornaments are particularly popular in the UK for memorial plaques and garden decorations due to their long-lasting durability.
Q3. How Long Does a Laser Engraved Photo Ornament Last?
Laser engraved ornaments are designed for long-term durability because the image is engraved directly into the material surface rather than printed on top.
Depending on the material used:
Metal and slate ornaments can last for many years outdoors
Acrylic and wood ornaments can remain in excellent condition indoors for decades
Proper sealing and maintenance can further extend lifespan
Compared with printed photo ornaments, laser engraved designs are much less likely to fade, peel, or crack over time.
Conclusion
Photo ornaments are more than simple decorations — they are personalised keepsakes designed to preserve meaningful memories. While DIY crafting, sublimation, and UV printing each offer certain advantages, laser engraving provides the best combination of durability, material flexibility, and professional detail.
With a dual-laser system like the LaserPecker LP4, users can engrave high-quality photo ornaments across wood, acrylic, metal, glass, leather, and many other materials. Features such as 8K engraving resolution, multi-material compatibility, and repeatable precision make it suitable for both hobbyists and small businesses in the UK.
Whether you're creating family keepsakes, memorial ornaments, wedding gifts, or personalised products for customers, laser engraving offers a reliable way to produce long-lasting photo ornaments with a premium finish.





