















































Personalisation has become an increasingly popular way to express creativity, identity, and professionalism through everyday items. From customised footwear to engraved jewellery, more products now reflect personal stories and brand identity. Even simple stationery items like pencils can be personalised to create something distinctive and practical.
There are several ways to personalise pencils, including stickers, rubber stamps, heat transfer printing, hot foil stamping, CNC machining, and laser engraving. Some techniques are suitable for quick DIY decoration, while others offer more durable and professional-looking results.
In this guide, we explore five practical pencil personalisation methods and explain why laser engraving is one of the most reliable options for creating long-lasting customised pencils for education, creative use, or business branding.

In this article:
- Part 1: Why Do You Need Personalised Pencils?
- Part 2: Five Methods to Make Personalised Pencils
- Method 1: Laser Engraving
- Method 2: CNC Machine
- Method 3: Sticker Paper or Rubber Stamps
- Method 4: Heat Transfer
- Method 5: Hot Foil Stamping
- Part 3: How to Personalise Pencils via Laser Engraving
- Part 4: FAQs for Making Personalised Pencils
Part 1: Why Do You Need Personalised Pencils?
Personalised pencils are a simple yet practical way to improve organisation, support branding, and add a creative touch to everyday stationery. Whether used in classrooms, workplaces, or creative environments, customised pencils help make writing tools easier to identify and more meaningful to use.
Here are some common reasons why people choose personalised pencils:
- 1. Prevent Mix-Ups in Classrooms and Offices Adding names or labels helps ensure pencils are easily recognised, reducing the chances of items being lost or swapped in shared learning or working environments.
- 2. Support Branding for Schools and Businesses Pencils printed or engraved with logos are a practical and cost-effective way to promote a school, organisation, or company identity during events, training sessions, or everyday office use.
- 3. Create Affordable and Thoughtful Gifts Personalised pencils with names, short messages, or initials make simple yet meaningful gifts for students, colleagues, or creative hobbyists.
- 4. Improve Study and Work Organisation Labelling pencils for different subjects, projects, or tasks helps keep stationery organised and supports more efficient study or workflow routines.
- 5. Express Creativity Through Everyday Tools Adding symbols, icons, or short phrases allows users to personalise their stationery in a way that reflects individual style or creative preferences.
Although personalised pencils are small items, they offer practical benefits while adding identity and visual appeal to everyday writing tools.
Part 2: Five Methods to Make Personalised Pencils
There are several practical ways to personalise pencils, ranging from simple DIY decoration techniques to professional engraving methods. Each approach offers different levels of durability, precision, and suitability depending on whether the pencils are intended for school use, creative projects, gifts, or business branding.
Method 1: Laser Engraving
Laser engraving is one of the most precise and reliable methods for personalising pencils. A focused laser beam marks the pencil surface without using ink or physical contact, producing clean and permanent results.

This method works particularly well on wooden pencils, painted finishes, and coated surfaces. Names, logos, short messages, and decorative graphics can all be engraved with strong clarity and consistency.
Laser engraving is suitable for both individual gifts and larger quantities where consistent professional results are required.
Method 2: CNC Machine Engraving
CNC engraving uses a rotating cutting tool to carve into the pencil surface, creating deeper markings than laser engraving. This method is commonly used for industrial-scale customisation projects.
However, CNC machines typically require more maintenance and setup time, and they are less suitable for fine text or detailed logos compared with laser engraving.
Method 3: Sticker Paper or Rubber Stamps
Sticker paper and rubber stamps provide a simple and affordable way to personalise pencils. Names, icons, or decorative patterns can be applied quickly, making this method popular in classrooms and DIY craft activities.
Because stickers and stamped ink sit on the surface, they may fade, peel, or smudge over time with regular use.
Method 4: Heat Transfer Printing
Heat transfer printing applies designs using pressure and temperature to bond decorative film onto the pencil surface. This method allows colourful artwork and branding elements to be added.
However, the transferred layer may gradually wear with sharpening or frequent handling, making it more suitable for decorative purposes than long-term labelling.
Method 5: Hot Foil Stamping
Hot foil stamping creates a metallic or glossy finish that is often used for branded stationery or presentation-style pencils. It works best for simple text, initials, or logos rather than detailed graphics.
Because specialised equipment is required, hot foil stamping is typically used for promotional items or premium stationery production rather than quick personalisation projects.
Comparison of Personalised Pencil Methods
| Method | Precision | Durability | Ease of Use | Best For | Recommended |
|---|---|---|---|---|---|
| Laser Engraving | ★★★★★ | ★★★★★ | Moderate | All-purpose customisation | Professional and long-lasting results |
| CNC Machine | ★★★★☆ | ★★★★☆ | Complex | Industrial production | Bulk manufacturing workflows |
| Sticker Paper / Stamps | ★★☆☆☆ | ★☆☆☆☆ | Easy | DIY and classroom use | Simple short-term decoration |
| Heat Transfer | ★★★☆☆ | ★★★☆☆ | Moderate | Decorative designs | Colour-based personalisation |
| Hot Foil Stamping | ★★★☆☆ | ★★★★☆ | Complex | Premium branding | Gift and promotional stationery |
Which Method Works Best?
Each method offers its own advantages depending on the intended use. However, laser engraving stands out as a balanced solution combining precision, durability, and efficiency.
Because the process is non-contact and does not rely on inks or surface coatings, engraved designs remain visible even after frequent handling or sharpening. Laser engraving also supports fine text and detailed graphics that are difficult to achieve with many alternative methods.
For this reason, it is widely used for personalised gifts, branded stationery, and labelled school supplies.
Recommended Tool: LaserPecker LP4 Dual-Laser Engraver
The LaserPecker LP4 features both a 10W blue diode laser (450 nm) and a 2W infrared laser (1064 nm), allowing it to engrave wooden pencils, painted finishes, coated materials, and selected plastics or metals with consistent results.
When used with the Versatile Electric Roller, the LP4 can engrave around cylindrical objects such as pencils and pens with accurate alignment and even engraving depth across the surface.
With engraving speeds of up to 4000 mm/s and high-resolution output up to 8K detail quality, the LP4 is suitable for hobby users, educators, and small business environments that require reliable personalised pencil production.
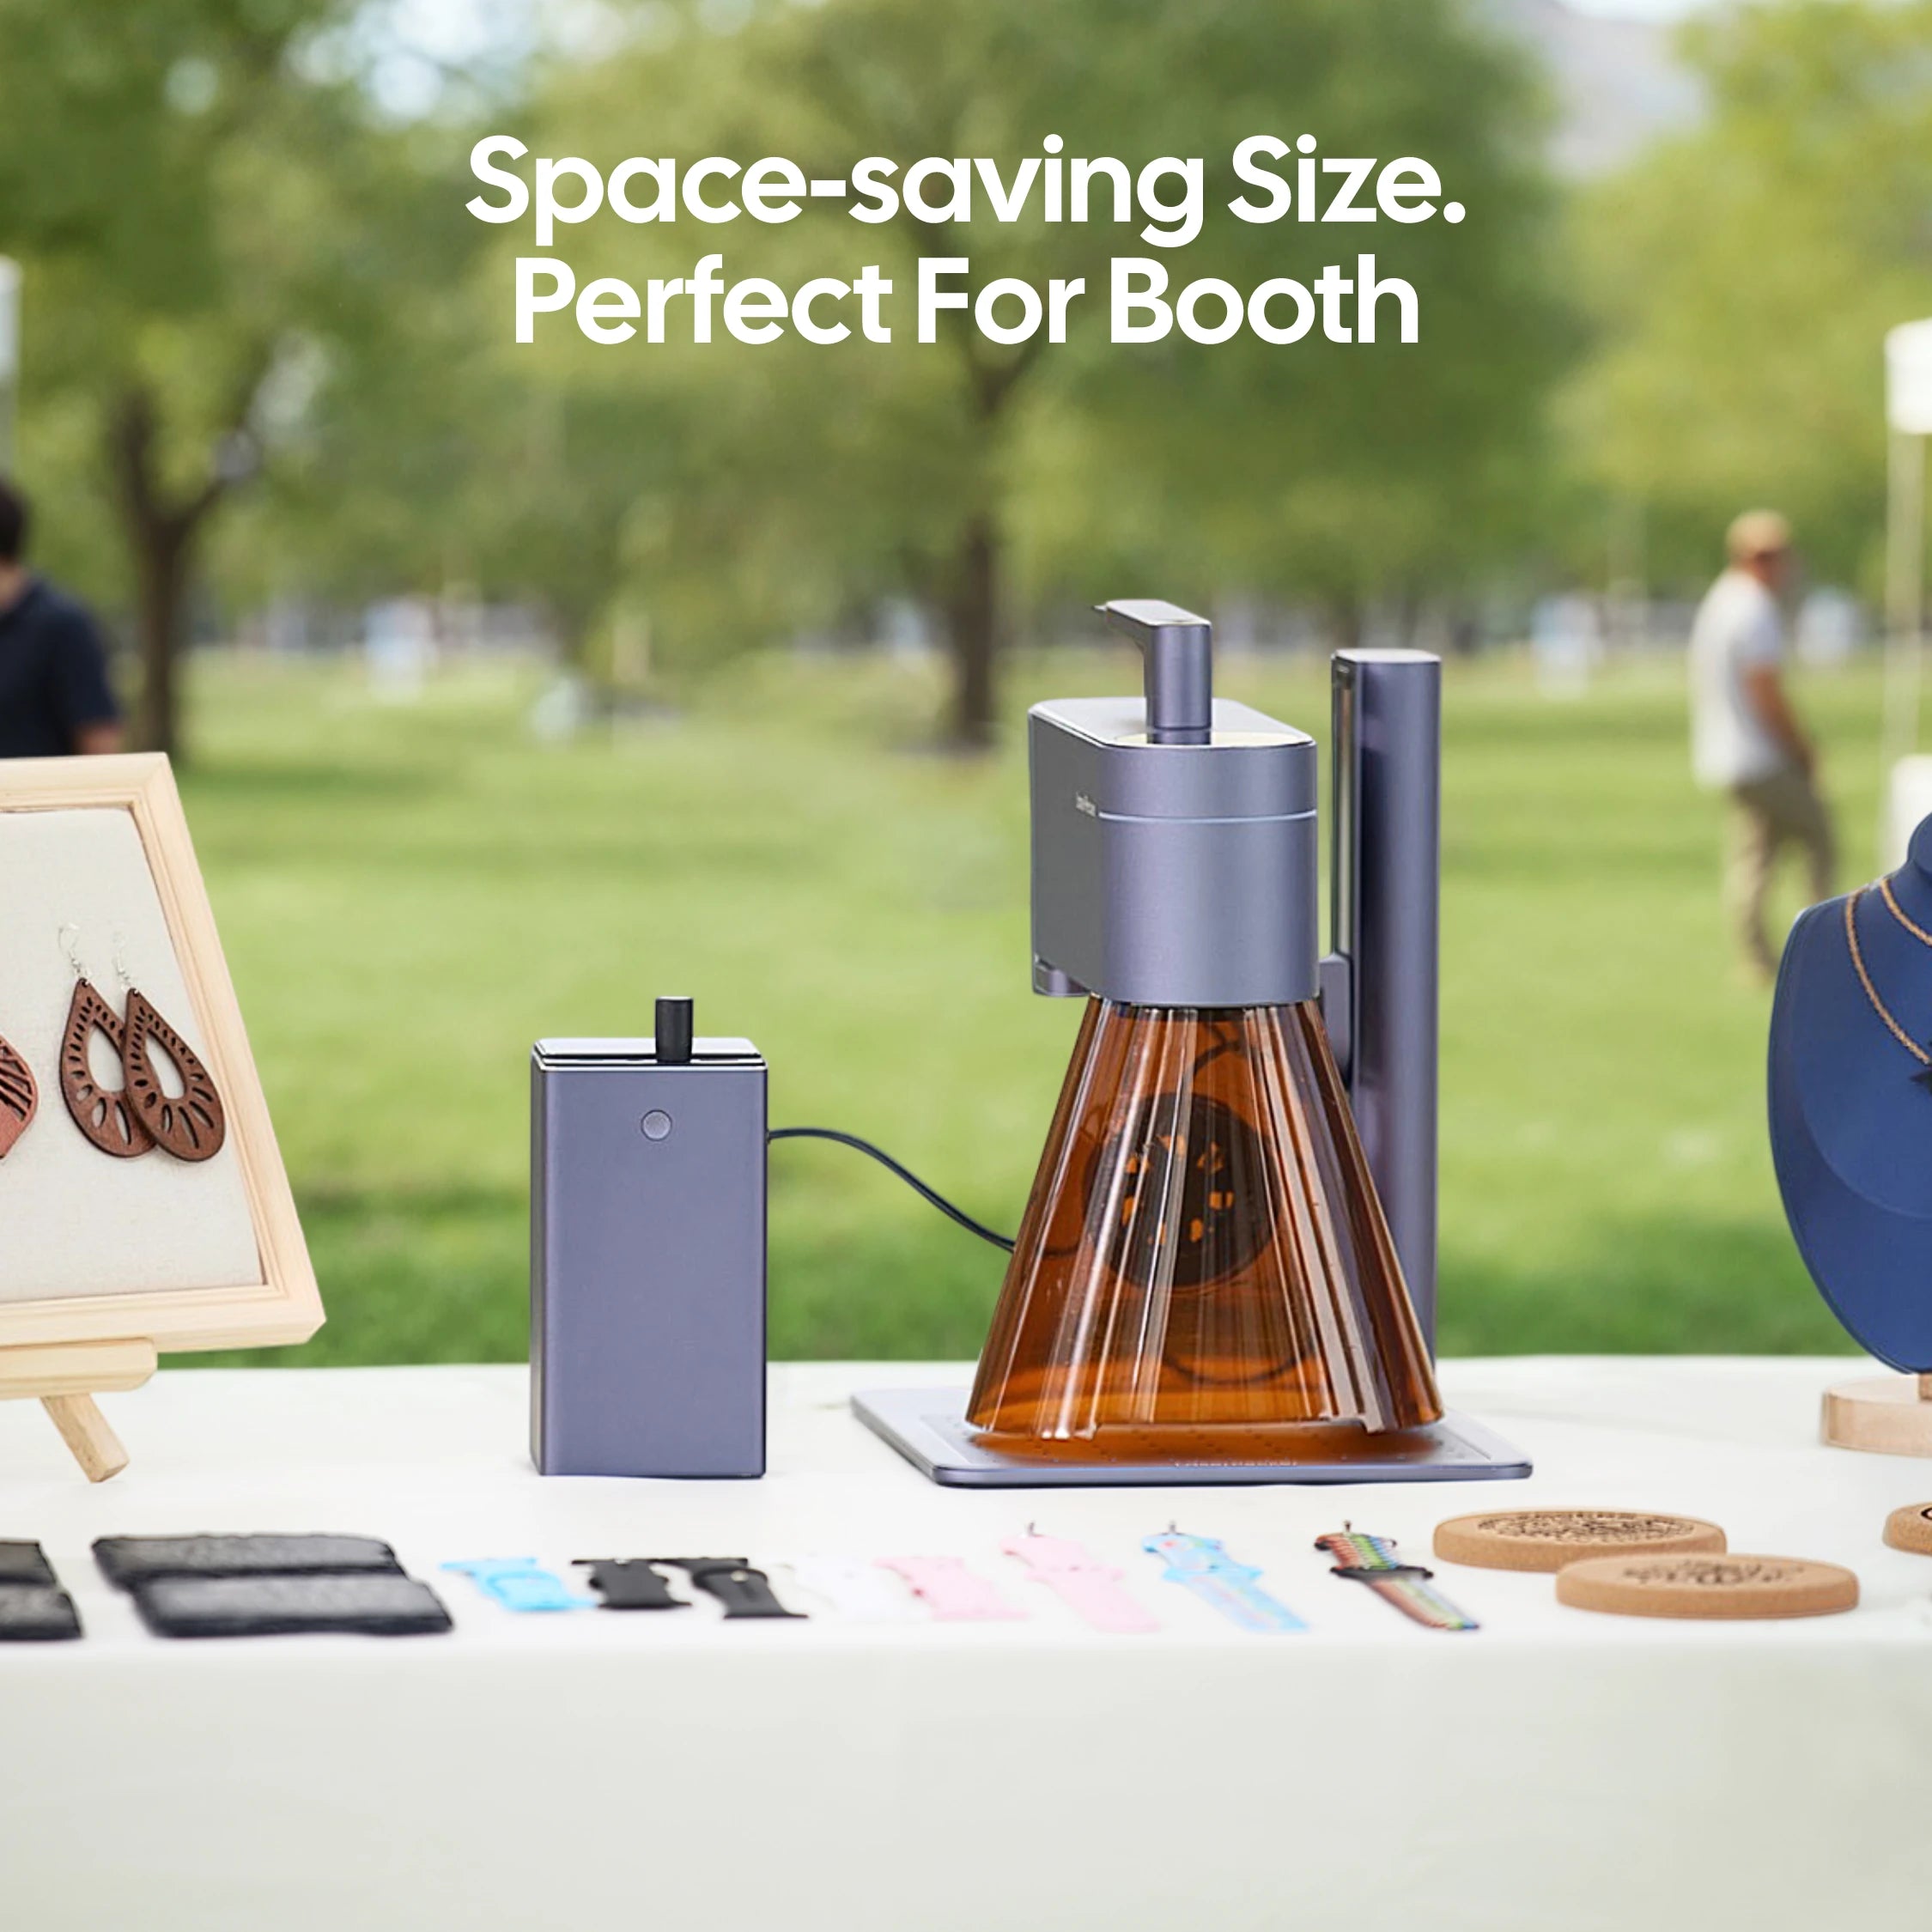
LaserPecker LP2 Plus (High Value Option)
For users looking for a more cost-effective solution, the LaserPecker LP2 Plus offers an excellent balance of performance, portability and affordability.
- ⚡ Pro-fast 4,000 mm/s engraving speed – up to 6× faster than earlier LP2 models
- 🔪 10W diode laser – deeper cuts with high precision
- 📦 100+ supported materials – including wood, leather, acrylic and coated metals
- 🎒 Portable design – compact and flexible for different workspaces
- 🎯 Dual red-dot focus (upgrade) – quick and accurate alignment
- 🌀 SpinTrack™ module compatibility – supports cylindrical engraving (e.g. pencils and pens)
- 🖇️ Accessory ecosystem – including rotary extensions, enclosures and air purifiers
Why Choose LP2 Plus for Pencil Engraving?
- Ideal for personalised pencil projects and small-scale production
- More affordable entry point compared to advanced dual-laser systems
- Easy to use, making it suitable for beginners and educators
- Portable design allows flexible use at home, in classrooms or workshops
The LP2 Plus is a practical choice for users who want reliable engraving performance without a high upfront investment.
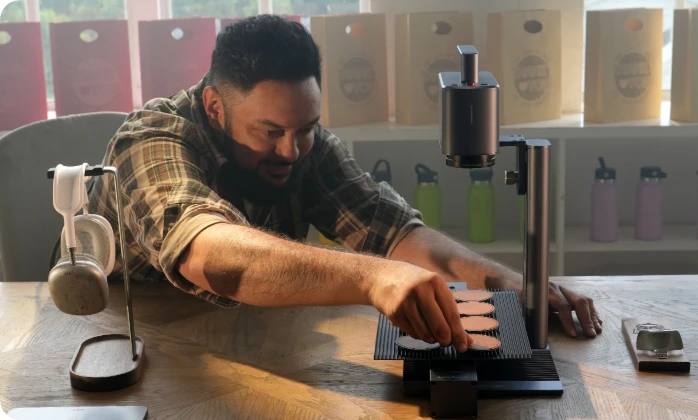
Part 3: How to Personalise Pencils via Laser Engraving
Laser engraving is one of the most efficient and reliable ways to personalise pencils with clean, long-lasting results. With the correct setup and preparation, even simple desktop laser engravers can produce professional-looking markings on wooden or coated pencils.
Follow these steps to personalise pencils using a laser engraver:
Step 1: Prepare Your Design
Create your engraving design using vector-based software such as Adobe Illustrator, CorelDRAW, or compatible laser engraving apps. Short text, initials, simple logos, or small icons typically produce the clearest engraving results on pencil surfaces.
Step 2: Choose a Suitable Pencil
Wooden pencils or coated pencils usually produce the best engraving contrast. Before engraving, ensure the surface is smooth, clean, and free from dust or oil residue.
Step 3: Secure the Pencil in Position
Place the pencil into a jig, clamp, or rotary accessory to keep it stable during engraving. Proper positioning helps ensure the design remains aligned and centred along the pencil body.
Step 4: Adjust Laser Settings
Set the correct speed, power, and focus based on the pencil material. Softer wood typically requires lower power and higher speed settings, while painted or darker-coated pencils may require slightly stronger settings to improve contrast visibility.
Testing settings on a spare pencil is recommended before engraving the final piece.
Step 5: Preview and Start Engraving
Use preview mode to confirm the placement of your design. Once aligned correctly, begin the engraving process. The laser will mark the surface with consistent detail and accuracy.
Step 6: Clean the Finished Pencil
After engraving is complete, gently wipe away any remaining residue using a soft cloth. The engraved design will remain clear and durable even with regular handling or sharpening.
Part 4: FAQs for Making Personalised Pencils
Q1. Can personalised pencils be mass-produced using laser engraving?
Yes. Laser engraving is highly suitable for batch production because designs are digitally controlled and repeatable with consistent accuracy. Once the artwork is prepared, the same engraving can be applied quickly across multiple pencils with uniform results.
Compact machines such as the LaserPecker LP4 also support repeat engraving functions, making them practical for schools, events, and branded stationery production.
Q2. What is the best way to personalise pencils for students?
Laser engraving is one of the most reliable methods for school use because engraved names do not peel or fade like stickers. Student names, class identifiers, or colour-coded markings can remain visible even after frequent sharpening and daily handling.
This makes laser engraving a practical solution for teachers and parents organising classroom supplies.
Q3. How do you engrave names onto pencils?
To engrave names onto pencils, first create the text layout using compatible laser engraving software. Then position the pencil securely and adjust laser settings based on the material.
Dual-laser systems such as the LaserPecker LP4 allow users to engrave both light wooden pencils and darker coated pencils with clear contrast results.
Q4. What types of pencils can be laser engraved?
Most wooden pencils and coated pencils respond well to laser engraving. Painted finishes, varnished surfaces, and some mechanical pencil bodies can also be engraved depending on their material composition.
Testing a spare pencil before engraving larger batches is always recommended for the best results.
Q5. Are laser engraved pencils safe for children to use?
Yes. Laser engraved markings do not use inks or adhesives, which means there is no risk of peeling labels or transferred coatings during use. The engraving simply alters the pencil surface slightly, making it a safe and durable identification method for classroom environments.
Q6. Can laser engraving damage pencils during customisation?
When correct power and speed settings are used, laser engraving does not damage pencils. Instead, it creates a shallow surface mark that remains visible without affecting the pencil’s structure or writing performance.
Testing settings on a spare pencil helps ensure consistent engraving quality.
Conclusion
Personalised pencils offer a practical way to add identity and value to everyday stationery used in schools, creative workspaces and promotional settings. Adding names, logos or identifiers not only improves organisation but also creates distinctive, customised items.
Laser engraving is widely regarded as one of the most reliable personalisation methods for engraving pencils. It produces precise, long-lasting markings without relying on inks or surface labels that may fade or wear over time. This makes it especially suitable for educational use, branded stationery and small-batch production.
With the right equipment and a creative idea, even a standard pencil can become a personalised item that reflects purpose, identity, or style.





