















































Stanley cups have become increasingly popular thanks to their durability, stylish design, and ability to keep drinks at the ideal temperature for hours. What makes them even more appealing is how easily they can be personalised.
From adding your name or a meaningful quote to creating a fully customised design, a simple everyday tumbler can be transformed into something unique and personal.
In this guide, you will learn how to customise a Stanley Cup using different methods. We will cover simple accessories, DIY decoration ideas, as well as more advanced techniques such as engraving and painting for long-lasting results.

In this article:
- Part 1: Four Ways to Customise a Stanley Cup
- Method 1: Use Accessories (Sleeves, Handle Straps, Charms)
- Method 2: DIY Decoration (Vinyl Stickers, Spray Paint, Embellishments)
- Method 3: Laser Engraving
- Method 4: Custom Paint Designs
- Part 2: How to Make a Custom Stanley Cup Yourself with LP4
- Part 3: Additional Tips for Customising a Stanley Cup
- Part 4: FAQs about Customising a Stanley Cup
Part 1: Four Ways to Customise a Stanley Cup
There are several ways to personalise your Stanley tumbler, depending on whether you prefer a temporary design, vibrant colours, or a professional and long-lasting finish.
Method 1: Use Accessories (Sleeves, Handle Straps, Charms)
If you want a quick and effortless way to customise your cup, accessories are an excellent option. No special skills are required — simply add:
- Silicone sleeves: Improve grip while adding colour
- Handle straps or clips: Convenient for carrying on the go
- Base protectors: Help prevent scratches and wear
- Charms or tags: Add initials, symbols, or decorative details
Key advantages:
- Affordable and easy to apply
- Fully reversible
- Suitable for everyday use
Method 2: DIY Decoration (Vinyl Stickers, Spray Paint, Embellishments)
DIY decoration allows you to create a more personalised and creative design. Popular options include vinyl decals, stencil spray painting, and decorative elements such as rhinestones or tape.
- Vinyl stickers: Easy to cut and apply
- Spray paint: Ideal for bold and colourful finishes
- Embellishments: Add texture and visual interest
However, these designs may fade or peel over time, especially with frequent washing. They are better suited for occasional use or display rather than daily use.
Method 3: Laser Engraving
Laser engraving provides a precise and permanent way to customise your Stanley Cup. Names, logos, or intricate designs can be engraved directly onto the stainless steel surface.
Benefits include:
- Clean and professional finish
- Long-lasting and resistant to wear
- Safe for food and drink use
- No inks or chemicals required
This makes laser engraving an excellent choice for everyday use, gifts, or branded products.

Method 4: Custom Paint Designs
Custom painting or airbrushing allows you to create bold and artistic designs. With the right primer, paint, and protective coating, you can achieve gradients, textures, or full-colour finishes.
However, painted surfaces may chip or wear over time, particularly with frequent washing. This method is ideal for decorative or occasional-use tumblers rather than daily use.
Comparison of Methods
| Method | Appearance | Durability | Skill Level | Reversible |
|---|---|---|---|---|
| Accessories | Simple, colourful | High | ★ | Yes |
| DIY Decoration | Creative, varied | Medium | ★★ | Partial |
| Laser Engraving | Sleek, permanent | Very High | ★★★ | No |
| Custom Paint | Bold, full-colour | Medium–High | ★★★★ | No |
Which Method Is Best?
If you are looking for a solution that is durable, low-maintenance, and professional in appearance, laser engraving is the most reliable option. It delivers a permanent result with a premium finish and requires minimal upkeep.
Accessories are ideal for quick and flexible personalisation, while DIY decoration suits creative projects. Custom paint is best for bold, artistic designs where visual impact is the priority.
Part 2: How to Make a Custom Stanley Cup Yourself with LP4
With a LaserPecker LP4 laser engraver, you can create high-quality, personalised designs at home with professional-level precision.
Step 1: Prepare Your Cup
Begin by emptying and thoroughly cleaning your Stanley Cup. Remove any lids, rubber seals, or accessories, and ensure the surface is completely dry before engraving.
Step 2: Secure the Cup
To achieve consistent results on a curved surface, stabilise the cup using a rotary attachment or stand. This allows the tumbler to rotate smoothly during engraving, ensuring an even design.
Step 3: Set Up Your Design
Create or import your design using software such as LightBurn or LaserPecker Design Space. Adjust the size and positioning carefully, ensuring the engraving area remains below the rim for comfort and usability.
Step 4: Select the Appropriate Laser Settings
Most Stanley tumblers are made from stainless steel with a coated finish.
- The 450 nm diode laser removes the coating to reveal the metal beneath
- The 1064 nm infrared laser delivers finer detail, higher contrast, and a more refined finish (up to 8K resolution)
For premium results, the infrared laser is recommended.
Step 5: Engrave and Inspect
Start with a small test engraving to confirm your settings. Once satisfied, proceed with the full design. After engraving, gently clean the surface using a soft cloth.
Why Use the LP4?
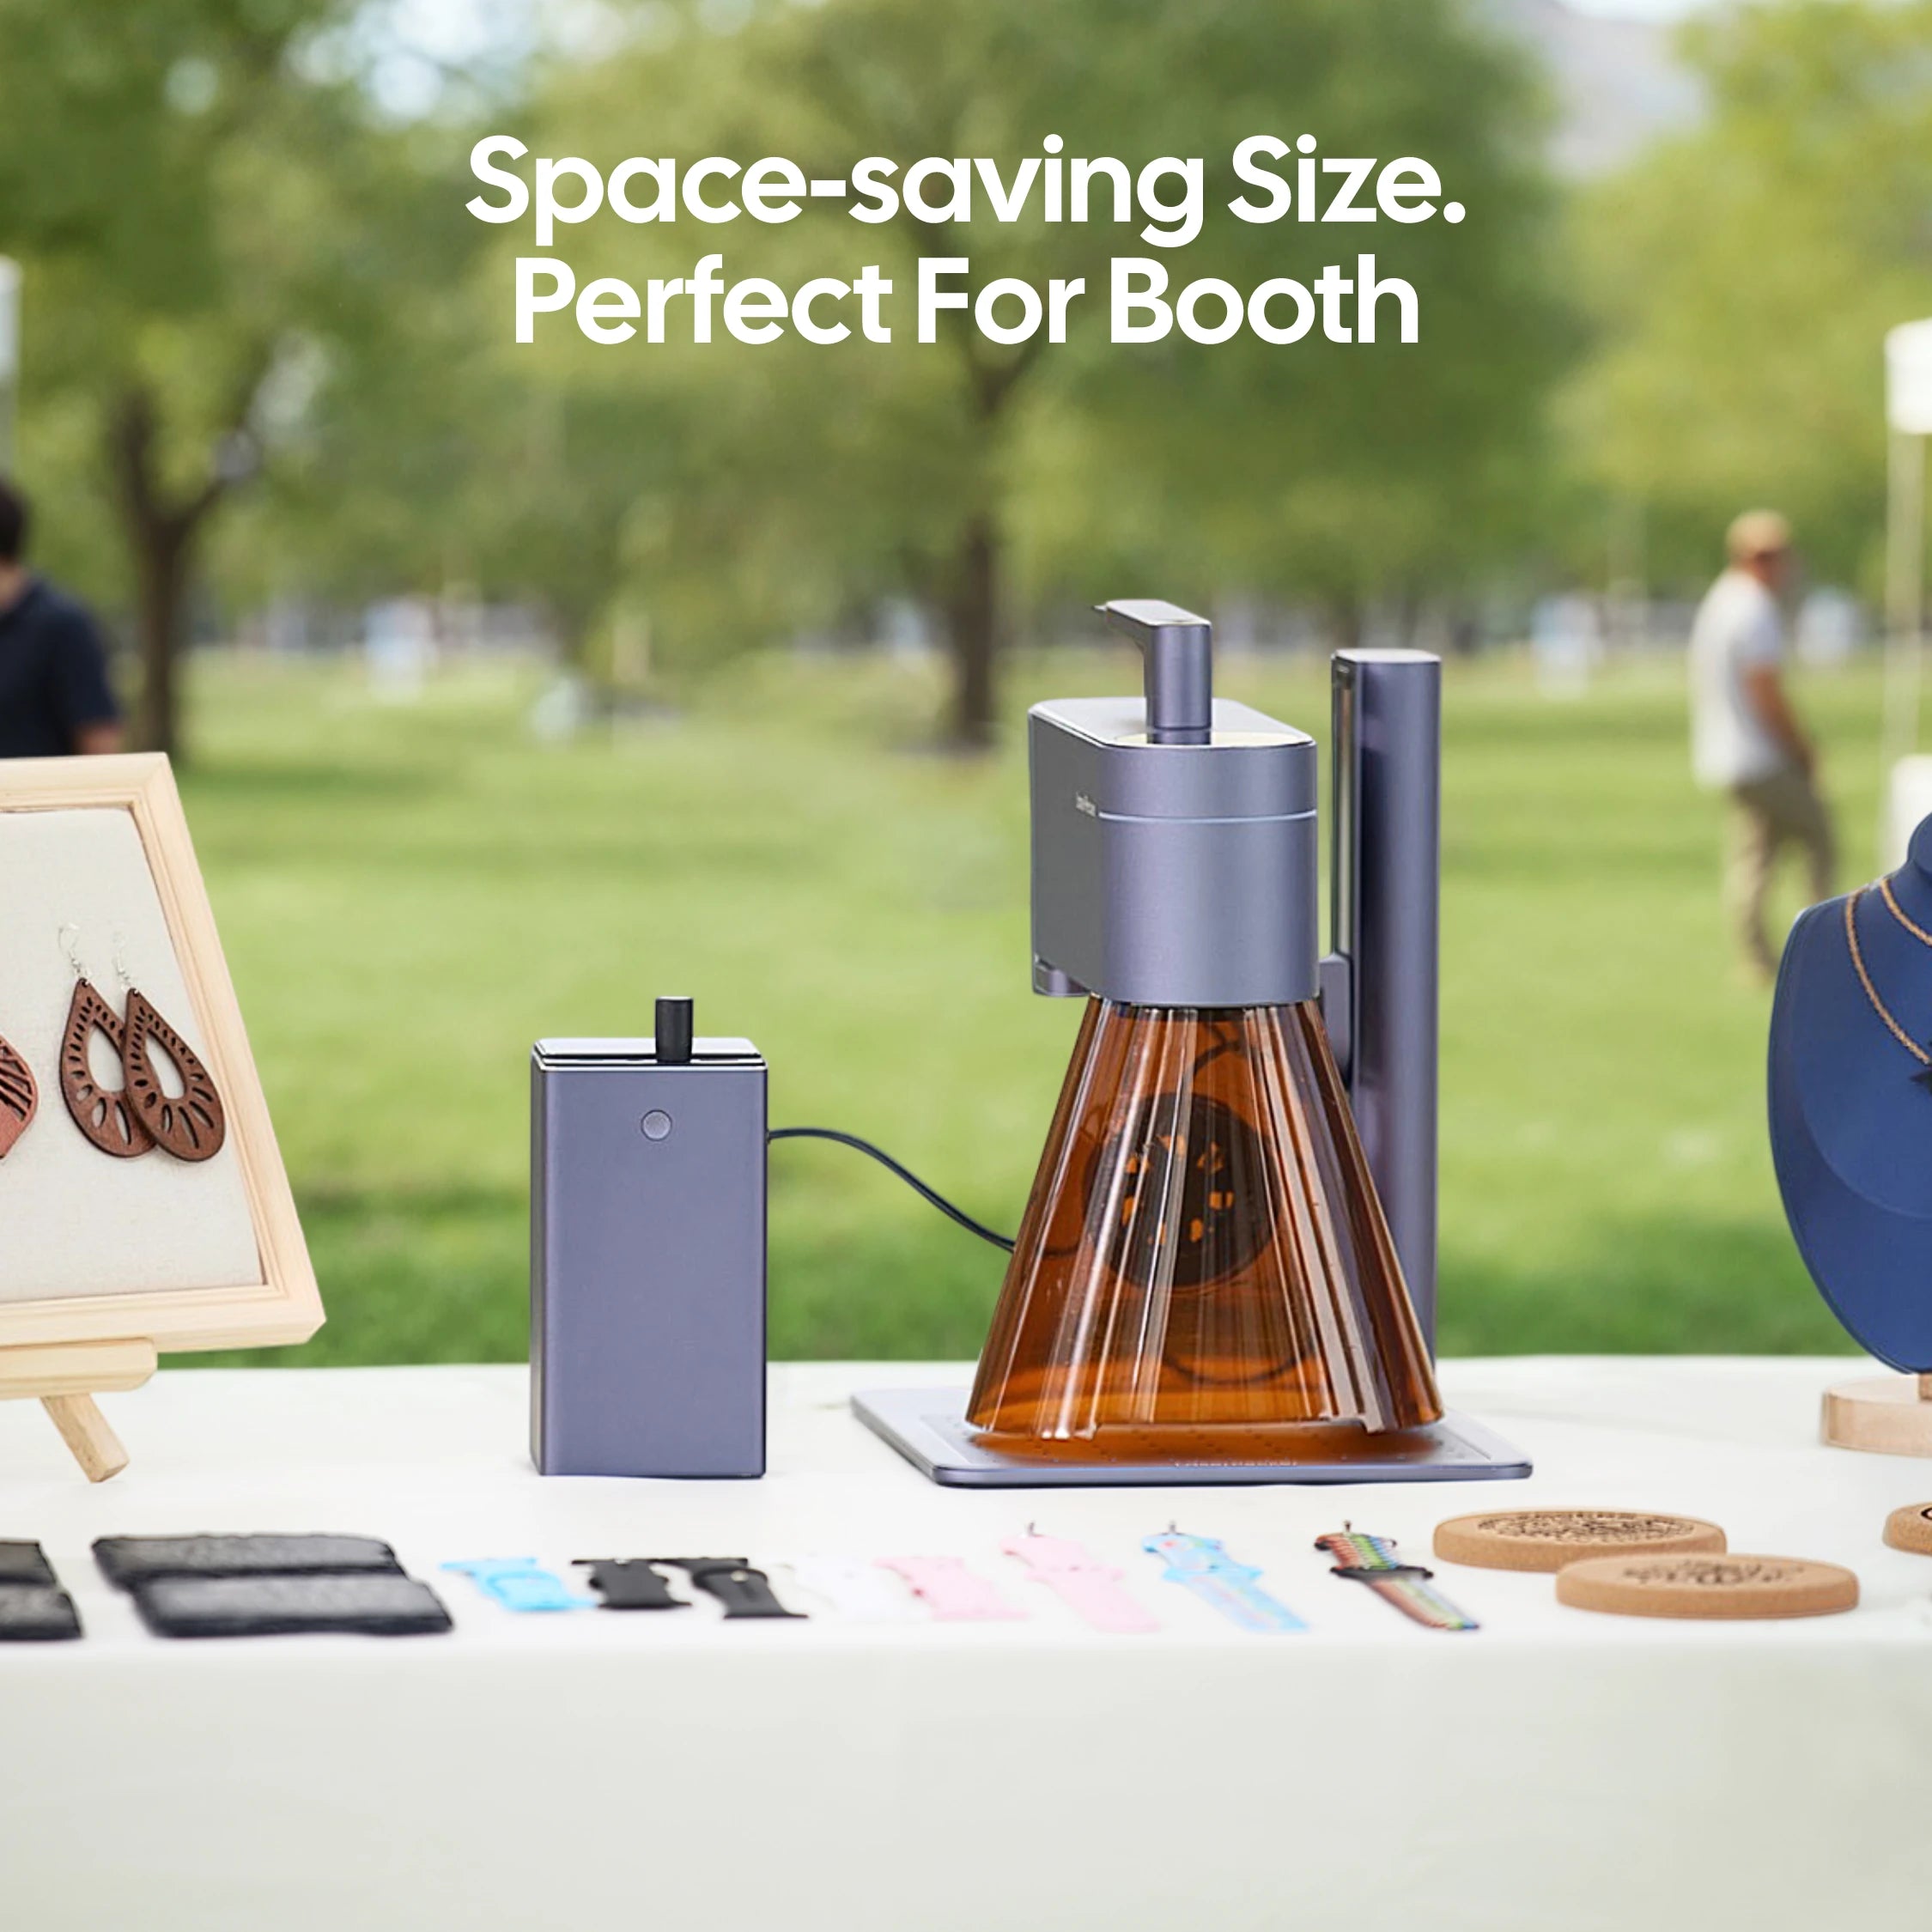
The LaserPecker LP4 offers an efficient and precise solution for engraving stainless steel tumblers without requiring sprays or additional coatings.
- Clean, durable engravings that do not fade or peel
- No need for consumables, reducing long-term costs
- High precision suitable for detailed designs
- Rotary Extension for full 360° engraving on curved surfaces
This makes it ideal for creating personalised drinkware for daily use, gifts, or small-scale business production in the UK.
Part 3: Additional Tips for Customising a Stanley Cup
To achieve the best results when personalising your Stanley Cup, it is important to focus on key details that affect both appearance and durability.
Plan the Design Placement Carefully
Position your design below the rim to ensure the lid fits securely. Avoid engraving or painting near threads or seals, as this may affect usability.
The flat front surface or the side opposite the handle is typically the most visually balanced area.
Prepare the Surface Properly
If you are using a laser engraver, clean the surface thoroughly before starting. This improves engraving contrast and overall finish quality.
Always test your settings on spare material or a discreet area before engraving the final design.
Ensure Consistency for Multiple Items
When customising multiple cups, use a rotary attachment or jig to maintain consistent alignment. This is particularly useful for batch production or small business use.
Improve Durability for DIY Designs
For paint or vinyl applications:
- Apply a light primer before decorating
- Seal with a clear protective coating
- Allow sufficient drying time before use
To maintain the finish, hand washing is recommended, as dishwashers may cause fading or peeling over time.
Combine Different Customisation Methods
For the best results, consider combining techniques. For example:
- Use laser engraving for permanent details such as names or logos
- Add accessories like silicone sleeves or charms for colour and flexibility
This approach allows you to create a design that is both durable and visually appealing, while remaining practical for everyday use.
Part 4: FAQs about Customising a Stanley Cup
Q1. Can you customise a Stanley Cup?
Yes, Stanley cups are ideal for personalisation. Their smooth stainless steel surface works well with engraving, paint, and vinyl designs.
For quick and temporary changes, accessories such as sleeves or charms are a practical option. For more creative designs, vinyl stickers and paint can be used.
However, laser engraving offers the most durable and professional result. It produces clean, permanent designs that will not fade or peel, making it ideal for everyday use.
Q2. How much does it cost to customise a Stanley Cup?
The cost of customisation depends on the method used:
- Laser engraving services: typically range from £8 to £95
- Simple designs (e.g. names): lower cost
- Detailed logos or artwork: higher cost
If you plan to customise multiple items, investing in a laser engraver such as the LaserPecker LP4 may be more cost-effective in the long term.
Although the initial cost is higher, it offers:
- Precision and consistency
- Permanent results
- Reduced ongoing costs
This makes it suitable for personal projects, gifts, or small business use in the UK.
Q3. What is the easiest way to customise a Stanley Cup for beginners?
For beginners, accessories and vinyl stickers are the easiest starting points. They require no tools and allow for flexible experimentation.
For a more durable yet beginner-friendly option, laser engraving is highly recommended. Devices such as the LaserPecker LP4 are compact and easy to operate, allowing users to create precise designs with minimal setup.
Q4. How can I remove DIY decoration without damaging the cup?
To remove stickers or vinyl safely:
- Use a hair dryer to gently heat the adhesive
- Peel slowly to avoid residue
- Clean remaining adhesive with a stainless steel-safe solution
Avoid abrasive tools or harsh chemicals, as these may scratch or dull the surface.
If repainting, lightly sand the surface and apply a fresh primer before adding a new design.
Q5. Is laser engraving safe for drinkware in the UK?
Yes, laser engraving is safe for stainless steel drinkware when performed correctly. The process removes or marks the surface layer without introducing harmful substances.
As no inks or chemicals are used, engraved cups remain safe for everyday drinking and cleaning.
Conclusion
Customising your Stanley Cup is a creative way to express your personality or create a thoughtful and memorable gift.
If you prefer a simple and flexible approach, accessories and stickers offer an easy way to personalise your tumbler with designs that can be changed at any time. However, for a more refined and long-lasting result, laser engraving with the LaserPecker LP4 is the most effective option. It delivers clean, durable designs that will not fade or peel over time.
With its high-precision infrared laser and user-friendly setup, the LP4 allows you to transform a standard stainless steel cup into a meaningful and professional-quality piece.
Whether for everyday use, personalised gifts, or small business branding, engraving ensures your design remains clear and permanent. From names and logos to custom artwork, it is a reliable way to create something truly unique.
Start designing today — your perfect customised cup is just one engraving away.





