















































Acrylic invitations have become a popular choice for weddings, corporate events, parties, and other special occasions thanks to their modern appearance and premium feel. From clear and frosted acrylic to coloured finishes, there are several ways to create customised acrylic invitations depending on your budget, design requirements, and production volume.
In this guide, we compare four of the most common methods used to make acrylic invitations: UV printing, foil transfer, screen printing, and laser engraving. You'll learn how each method works, its advantages and limitations, and which option delivers the best combination of appearance, durability, and personalisation for custom invitation projects.

In this article:
Method 1: Make Acrylic Invitations via UV Printing
UV printing is one of the most widely used methods for producing acrylic invitations with vibrant colours and highly detailed graphics. The process uses ultraviolet light to instantly cure ink onto the acrylic surface, creating sharp text, photographic images, and complex decorative elements.
This method is particularly popular for wedding invitations, corporate events, luxury stationery, and full-colour designs where visual impact is a priority. However, while UV printing produces excellent colour results, the printed layer sits on the surface of the acrylic and may be more susceptible to scratches over time compared with engraved designs.
Materials and Tools Needed
- Clear or frosted acrylic sheets
- UV printer
- UV inks
- Graphic design software
- Acrylic cleaner or lint-free cloth
- Protective gloves
Steps to Make Acrylic Invitations via UV Printing
- Create the Invitation Design: Design the invitation layout using graphic design software. Include names, event details, dates, venue information, and any decorative artwork.
- Prepare the Acrylic Sheet: Clean the acrylic thoroughly using a lint-free cloth to remove dust, fingerprints, and surface oils. A clean surface helps improve print quality and ink adhesion.
- Set Up the UV Printer: Place the acrylic sheet inside the UV printer and adjust the print area, colour settings, and alignment according to your design.
- Print the Design: Print the artwork directly onto the acrylic surface. During printing, ultraviolet light cures the ink immediately, helping to create crisp details and vibrant colours.
- Inspect the Finished Invitation: Check the invitation for colour accuracy, sharp text, and any printing imperfections before proceeding.
- Add Finishing Touches: Complete the presentation with envelopes, ribbons, wax seals, or backing cards to create a more premium and personalised invitation set.
Method 2: Make Acrylic Invitations via Foil Transfer
Foil transfer is a popular technique for creating acrylic invitations with eye-catching metallic accents and a luxurious appearance. Rather than printing directly onto the acrylic surface, the process applies metallic foil to selected design elements, such as names, monograms, borders, and decorative patterns.
Gold, silver, rose gold, and holographic finishes are commonly used for wedding invitations, formal events, and premium stationery. While foil transfer creates an elegant and reflective effect, it is generally limited to metallic finishes and may require more preparation than standard printing methods.
Materials and Tools Needed
- Clear or frosted acrylic sheets
- Foil transfer machine or Cricut machine
- Heat-transfer foil
- Foil transfer adhesive or toner-based design
- Design software
- Lint-free cloth
Steps to Make Acrylic Invitations via Foil Transfer
- Create the Invitation Design: Design the invitation layout, including text, decorative borders, monograms, and any elements that will receive the metallic foil finish.
- Prepare the Acrylic Surface: Clean the acrylic sheet thoroughly to remove dust, fingerprints, and debris. Proper surface preparation helps improve foil adhesion.
- Apply the Adhesive Design: Transfer or print the adhesive pattern onto the acrylic using a compatible foil-transfer process.
- Position the Foil: Place the foil sheet over the adhesive design with the metallic side facing outward and ensure it is properly aligned.
- Apply Heat and Pressure: Feed the acrylic through a foil transfer machine or laminator. Heat and pressure bond the foil to the designated design areas.
- Remove Excess Foil: Carefully peel away the carrier sheet, leaving the metallic finish attached only to the intended parts of the design.
- Inspect and Finish: Check the invitation for complete foil coverage and clean edges. Complete the presentation with envelopes, ribbons, or wax seals for a more refined look.
Method 3: Make Acrylic Invitations via Screen Printing
Screen printing is a traditional printing technique that transfers ink onto acrylic sheets through a mesh stencil. It is commonly used for large production runs because it delivers consistent print quality and can significantly reduce the cost per invitation when producing high volumes.
Unlike UV printing, screen printing requires a separate screen to be created for each design. Although the initial setup takes more time and effort, it becomes a cost-effective solution for weddings, corporate events, or celebrations that require dozens or even hundreds of identical acrylic invitations. However, it is generally less practical for small batches or highly personalised designs.
Materials and Tools Needed
- Clear or frosted acrylic sheets
- Screen printing frame and mesh
- Photo emulsion and exposure unit
- Screen printing ink
- Squeegee
- Design transparency film
- Acrylic cleaner
Steps to Make Acrylic Invitations via Screen Printing
- Create the Invitation Design: Design the invitation artwork using graphic design software, including text, decorative elements, logos, and event details.
- Prepare the Screen: Coat the screen with photo emulsion and expose it using the design transparency film. This process creates the stencil required for printing.
- Clean the Acrylic Sheets: Wipe the acrylic thoroughly to remove dust, fingerprints, and contaminants that could affect print quality.
- Position the Acrylic Sheet: Secure the acrylic beneath the screen and carefully align the design before printing.
- Apply the Ink: Pour screen printing ink onto the mesh and use a squeegee to press the ink through the stencil onto the acrylic surface.
- Allow the Ink to Cure: Let the printed invitations dry or cure according to the ink manufacturer's recommendations to ensure long-lasting results.
- Inspect the Finished Invitations: Check the print alignment, ink coverage, and overall quality before packaging or distribution.
Method 4: Make Acrylic Invitations via Laser Engraving
Laser engraving is one of the most effective ways to create personalised acrylic invitations with a premium frosted finish. Unlike UV printing, foil transfer, or screen printing, laser engraving permanently marks the acrylic surface by removing a thin layer of material rather than applying ink or foil.
This creates crisp text, elegant monograms, and highly detailed decorative patterns that will not fade, peel, or wear away over time. For wedding invitations, luxury event stationery, keepsake invitations, and small-batch custom orders, laser engraving offers an excellent balance of durability, precision, and design flexibility.
Materials and Tools Needed
- Cast acrylic sheets
- Laser engraver
- Design software
- Masking tape or protective film
- Acrylic cleaner
- Lint-free cloth
Steps to Make Acrylic Invitations via Laser Engraving
- Create the Invitation Design: Prepare the invitation layout in vector design software, including names, dates, venue details, monograms, and decorative artwork.
- Choose the Right Acrylic: Cast acrylic is generally recommended because it produces a cleaner and more consistent frosted engraving effect than extruded acrylic.
- Prepare the Acrylic Sheet: Leave the protective film in place or apply masking tape to help minimise smoke residue during engraving.
- Set Up the Laser Engraver: Position the acrylic sheet on the work area, focus the laser correctly, and align the design.
- Adjust the Engraving Settings: Set the appropriate power, speed, and resolution according to the acrylic thickness and desired engraving depth.
- Engrave the Design: Start the engraving process and allow the laser to create the text and decorative details directly on the acrylic surface.
- Clean the Finished Invitation: Remove the protective film or masking tape and gently clean the acrylic using a lint-free cloth.
- Add Decorative Finishing Touches: Pair the engraved invitation with envelopes, ribbons, backing cards, or wax seals to create a more elegant presentation.
Recommended Laser Engraver for Acrylic Invitation Making: LaserPecker LP4
For creators producing personalised acrylic invitations, wedding stationery, and luxury event cards, the LaserPecker LP4 offers an excellent combination of precision, speed, and versatility. Its dual-laser system allows users to engrave intricate invitation designs while maintaining professional-quality results.
-
Ideal for Personalised Acrylic Invitations
The LP4's dual-laser system can engrave crisp text, elegant monograms, intricate borders, and decorative artwork on acrylic, making it ideal for custom wedding invitations and premium event stationery. -
Fine Detail Engraving
With positioning precision of up to 0.01 mm and resolution up to 8K, the LP4 can reproduce small text, delicate patterns, and highly detailed invitation designs with impressive clarity. -
High-Speed Engraving Performance
With engraving speeds of up to 4000 mm/s, the LP4 helps improve productivity for personalised orders and small-batch invitation production. -
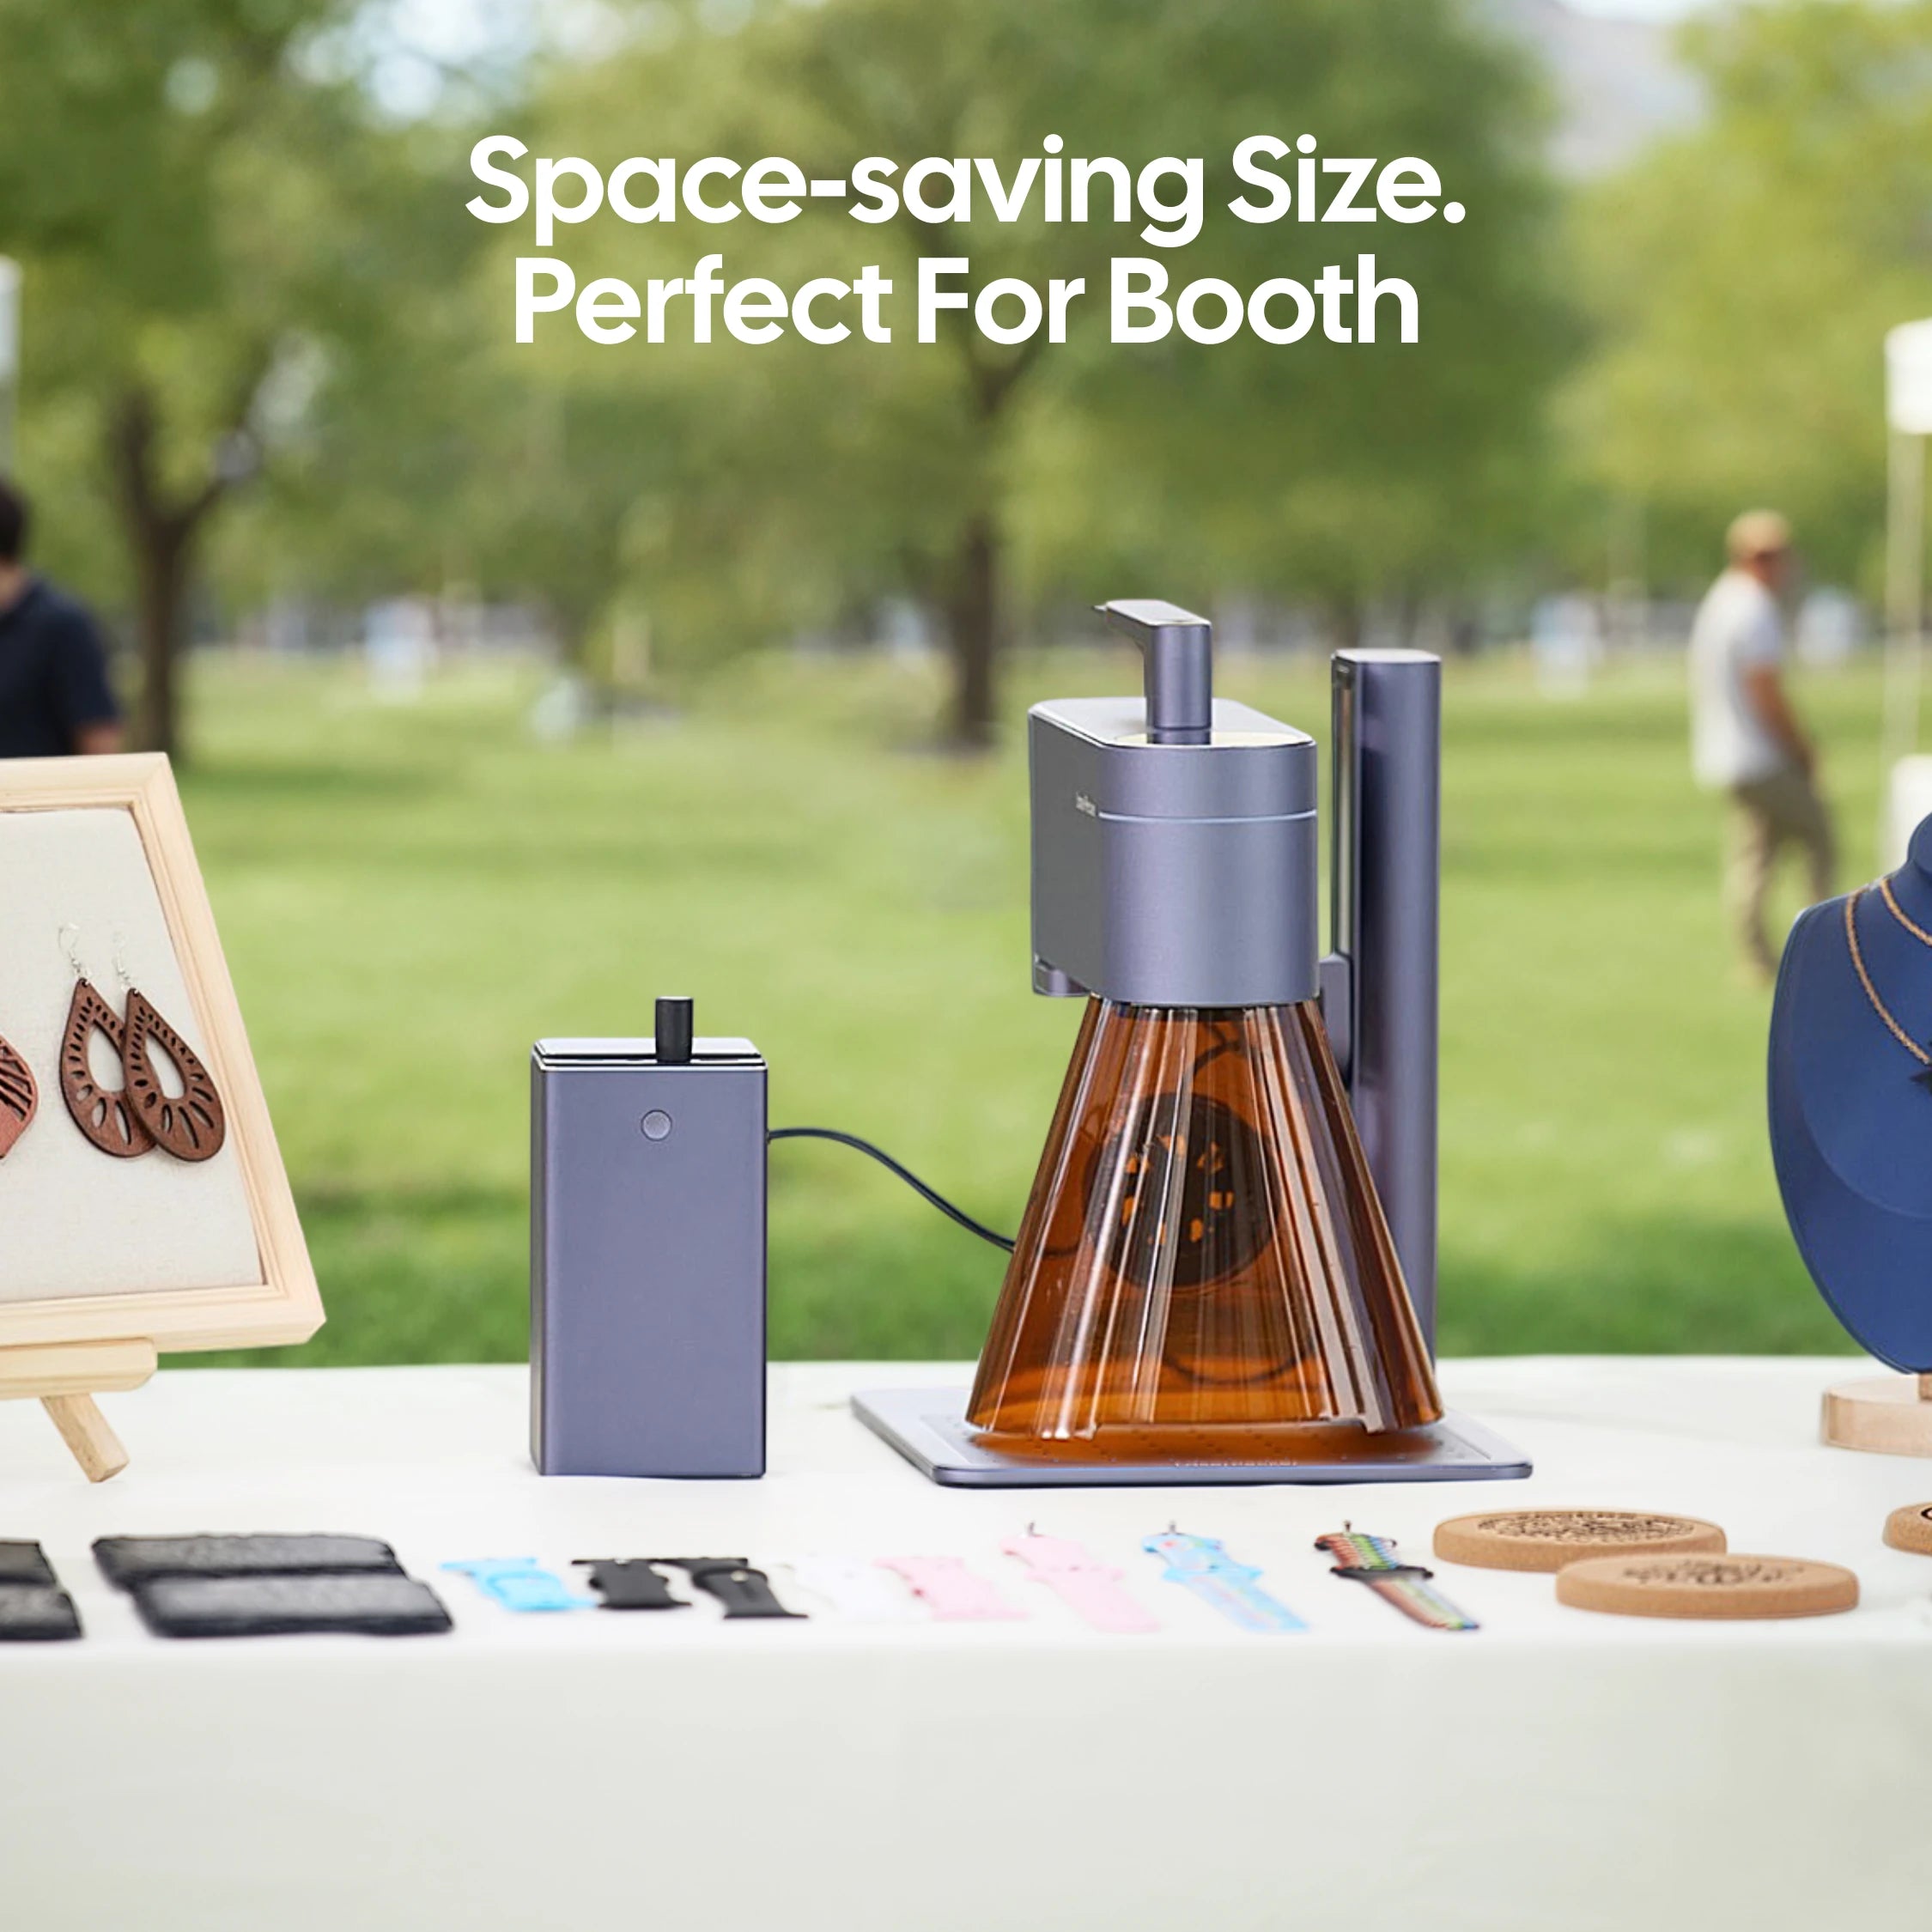
Compact Design for Home Workshops
For users in the UK, the LP4's compact footprint makes it well suited to home workshops, small craft businesses, and personalised gift studios where workspace may be limited. -
Enhanced Safety for Indoor Use
When used together with the LaserPecker Standard Enclosure, the LP4 achieves Class 1 Laser Safety, providing an additional layer of protection for home and studio environments.
For indoor engraving projects, the LP4 can also be paired with the LaserPecker Desktop Smoke Purifier, which helps filter fumes, airborne particles, and odours generated during engraving and cutting. This creates a cleaner and more comfortable workspace, particularly for indoor users. -
Versatile Material Compatibility
In addition to acrylic invitations, the LP4 can engrave wood, leather, coated metal, paper, and other materials commonly used for wedding stationery, signage, gifts, and event decorations.
FAQs: Hot Questions about Making Acrylic Invitations
Q1. What is the best way to make acrylic invitations?
The best method depends on your design goals and production needs. UV printing is ideal for full-colour artwork, foil transfer creates elegant metallic finishes, and laser engraving is often the preferred choice for personalised acrylic invitations because it produces permanent, professional-looking results.
Q2. Can I make acrylic invitations at home?
Yes. Acrylic invitations can be made at home using foil transfer tools, vinyl decals, or a desktop laser engraver. For hobbyists and small businesses, laser engraving offers a cleaner finish and greater design flexibility than most DIY alternatives.
Q3. Can you laser engrave acrylic invitations?
Yes. Laser engraving can be used to add names, dates, monograms, decorative borders, and intricate artwork to acrylic invitations. Cast acrylic generally produces the best frosted engraving effect and professional-looking results.
Q4. Can you laser cut acrylic invitations into custom shapes?
Yes. A laser cutter like LaserPecker LX2 or other acrylic cutting machine can cut acrylic invitations into custom shapes such as arches, circles, rectangles, scalloped edges, or floral outlines. This is especially useful for wedding invitations, event cards, and premium stationery designs.
Q5. What thickness is best for acrylic invitations?
Most acrylic invitations use sheets between 1 mm and 3 mm thick. Thinner acrylic is lighter and easier to post, while thicker acrylic provides a more premium feel and improved durability.
Q6. How do you make acrylic invitations look more elegant?
Popular options include gold foil accents, frosted engraving, white text, floral borders, wax seals, ribbon wraps, and layered backing cards. Coordinated envelopes can also enhance the overall presentation.
Q7. Do acrylic invitations scratch easily?
Acrylic invitations are generally durable, but the surface can be scratched if handled carelessly. Using protective sleeves during storage and delivery can help maintain their appearance.
Q8. Are acrylic invitations worth the extra cost?
For weddings, luxury events, and keepsake invitations, many people consider acrylic invitations worthwhile because they offer a distinctive appearance, greater durability, and a more premium feel than traditional paper invitations.
Conclusion
Making acrylic invitations offers a variety of creative possibilities, from vibrant UV-printed designs and luxurious foil finishes to cost-effective screen printing and permanent laser engraving. The best method depends on your design goals, production volume, and level of customisation required.
UV printing is ideal for full-colour artwork, foil transfer creates elegant metallic details, and screen printing is well suited to large batches. For personalised acrylic invitations with exceptional durability, precise detail, and a premium frosted finish, laser engraving is often the most versatile and professional solution, especially when using a capable machine such as the LaserPecker LP4.





