















































Earphones today are more than simple listening devices — they are also a reflection of personal style and creativity. By adding personalised finishes or decorative details, you can improve both their appearance and your overall listening experience.
This guide explores four practical methods for creating custom earphones, from simple DIY techniques to precision laser engraving. You'll also find step-by-step guidance on using the LaserPecker LP4 to personalise your own pair at home or in a small workshop, helping you create earphones that feel unique, stylish and truly yours.

In this article:
- Part 1: Why Do You Need Personalised Earphones
- Part 2: Four Methods to Customise Earphones
- Method 1: Painting
- Method 2: Hydro Dipping
- Method 3: 3D Printing
- Method 4: Laser Engraving
- Part 3: How to Make Customised Earphones with LaserPecker LP4
- Part 4: FAQs for Making Personalised Earphones
Part 1: Why Do You Need Personalised Earphones?
Personalised earphones are becoming increasingly popular among music lovers, students, remote workers and DIY creators across the UK. Beyond simple audio use, they offer a practical way to express personality while improving everyday comfort and usability.
Here are the key benefits of making custom earphones:
Benefit 1: Unique Appearance
Adding text, names, logos, special patterns or even subtle 3D decorative elements allows your earphones to reflect your personal style and preferences. Instead of looking like standard off-the-shelf devices, customised earphones become distinctive accessories that stand out in daily use, whether at home, in the office or while travelling.
Benefit 2: A Thoughtful and Memorable Gift
Because they can include names, dates, messages or symbolic graphics, personalised earphones make excellent gifts for birthdays, graduations, holidays or special occasions. They combine everyday practicality with emotional value, making them both useful and meaningful presents.
Benefit 3: Improved Wearing Comfort and Listening Experience
Customised earphones can be designed to better match individual ear shape, listening habits and daily routines. A more tailored fit helps reduce pressure during long listening sessions and improves passive sound isolation, creating a more comfortable and immersive audio experience overall.
Part 2: Four Methods to Customise Earphones
Have the benefits above inspired you to create your own personalised earphones? The good news is that there are several practical ways to customise them, depending on your budget, available tools and level of experience. Even beginners can start with simple techniques at home.
Below are four popular methods used by hobbyists and DIY creators across the UK.
Method 1: Painting
Painting is one of the most accessible ways to transform standard earphones into something visually unique. By decorating the earphone shells with personalised colours or patterns, each pair becomes a small piece of wearable artwork.
Hand-painting allows:
- finer detail control
- flexible pattern placement
- stronger creative expression
Using high-quality, environmentally friendly paints together with a protective clear sealant helps ensure colours remain vibrant while improving scratch resistance and long-term durability.
For users with artistic skills or an interest in DIY crafts, painting offers excellent creative freedom and is a great starting point for personalising earphones at home.
Method 2: Hydro Dipping
Hydro dipping, also known as hydrographic printing, transfers decorative patterns onto a surface using a water-based film technique. The earphone shell is dipped through a floating printed layer, allowing the pattern to wrap naturally around complex shapes.
After dipping, the earphones are:
- rinsed
- dried
- sealed with a protective coating
This method works particularly well for applying complex textures such as carbon fibre-style finishes or camouflage patterns. However, it typically requires careful preparation and waterproof handling to achieve reliable results.
Method 3: 3D Printing
3D printing offers one of the most advanced approaches to creating customised earphones because it allows users to produce entirely new earphone housings rather than modifying existing ones.
Using ear-shape scanning data, creators can design housings that:
- improve fit accuracy
- increase wearing comfort
- enhance passive sound isolation
Common materials such as PLA and ABS are lightweight and suitable for producing customised decorative structures with complex geometry that would be difficult to achieve using traditional crafting techniques.
This method is especially popular among makers with access to desktop 3D printers or shared workshop spaces.
Method 4: Laser Engraving
Laser engraving uses a focused laser beam to create permanent markings by precisely removing surface material. It is one of the fastest and most reliable ways to personalise earphones without affecting their structural integrity.
With laser engraving, you can easily add:
- names
- initials
- short quotes
- logos
- simple graphic icons
The engraved results are highly resistant to wear and fading, making them more durable than many paint-based customisation methods. Laser engraving also works with multiple earphone case materials, including coated metals and many plastics, making it suitable for everyday personal projects.
| Method | Difficulty | Cost | Durability | Unique Benefit |
|---|---|---|---|---|
| Painting | Easy | Low | ★★★ | Colourful designs, custom artwork |
| Hydro Dipping | High | Medium | ★★★ | Adds patterns to complex curved surfaces and irregular objects |
| 3D Printing | Medium | High | ★★★★★ | Creates strong 3D decorative effects |
| Laser Engraving | Medium | Medium–High | ★★★★★ | Highly detailed and precise patterns with excellent consistency |
If you are looking for a durable and efficient customisation method, laser engraving is often the most practical option. Compared with painting, hydro dipping or 3D printing, it produces clean, permanent designs that will not peel or fade over time.
It also requires less preparation time and has a moderate learning curve, making it ideal for beginners who still want professional-looking results.
Part 3: How to Customise Earphones with LaserPecker LP4
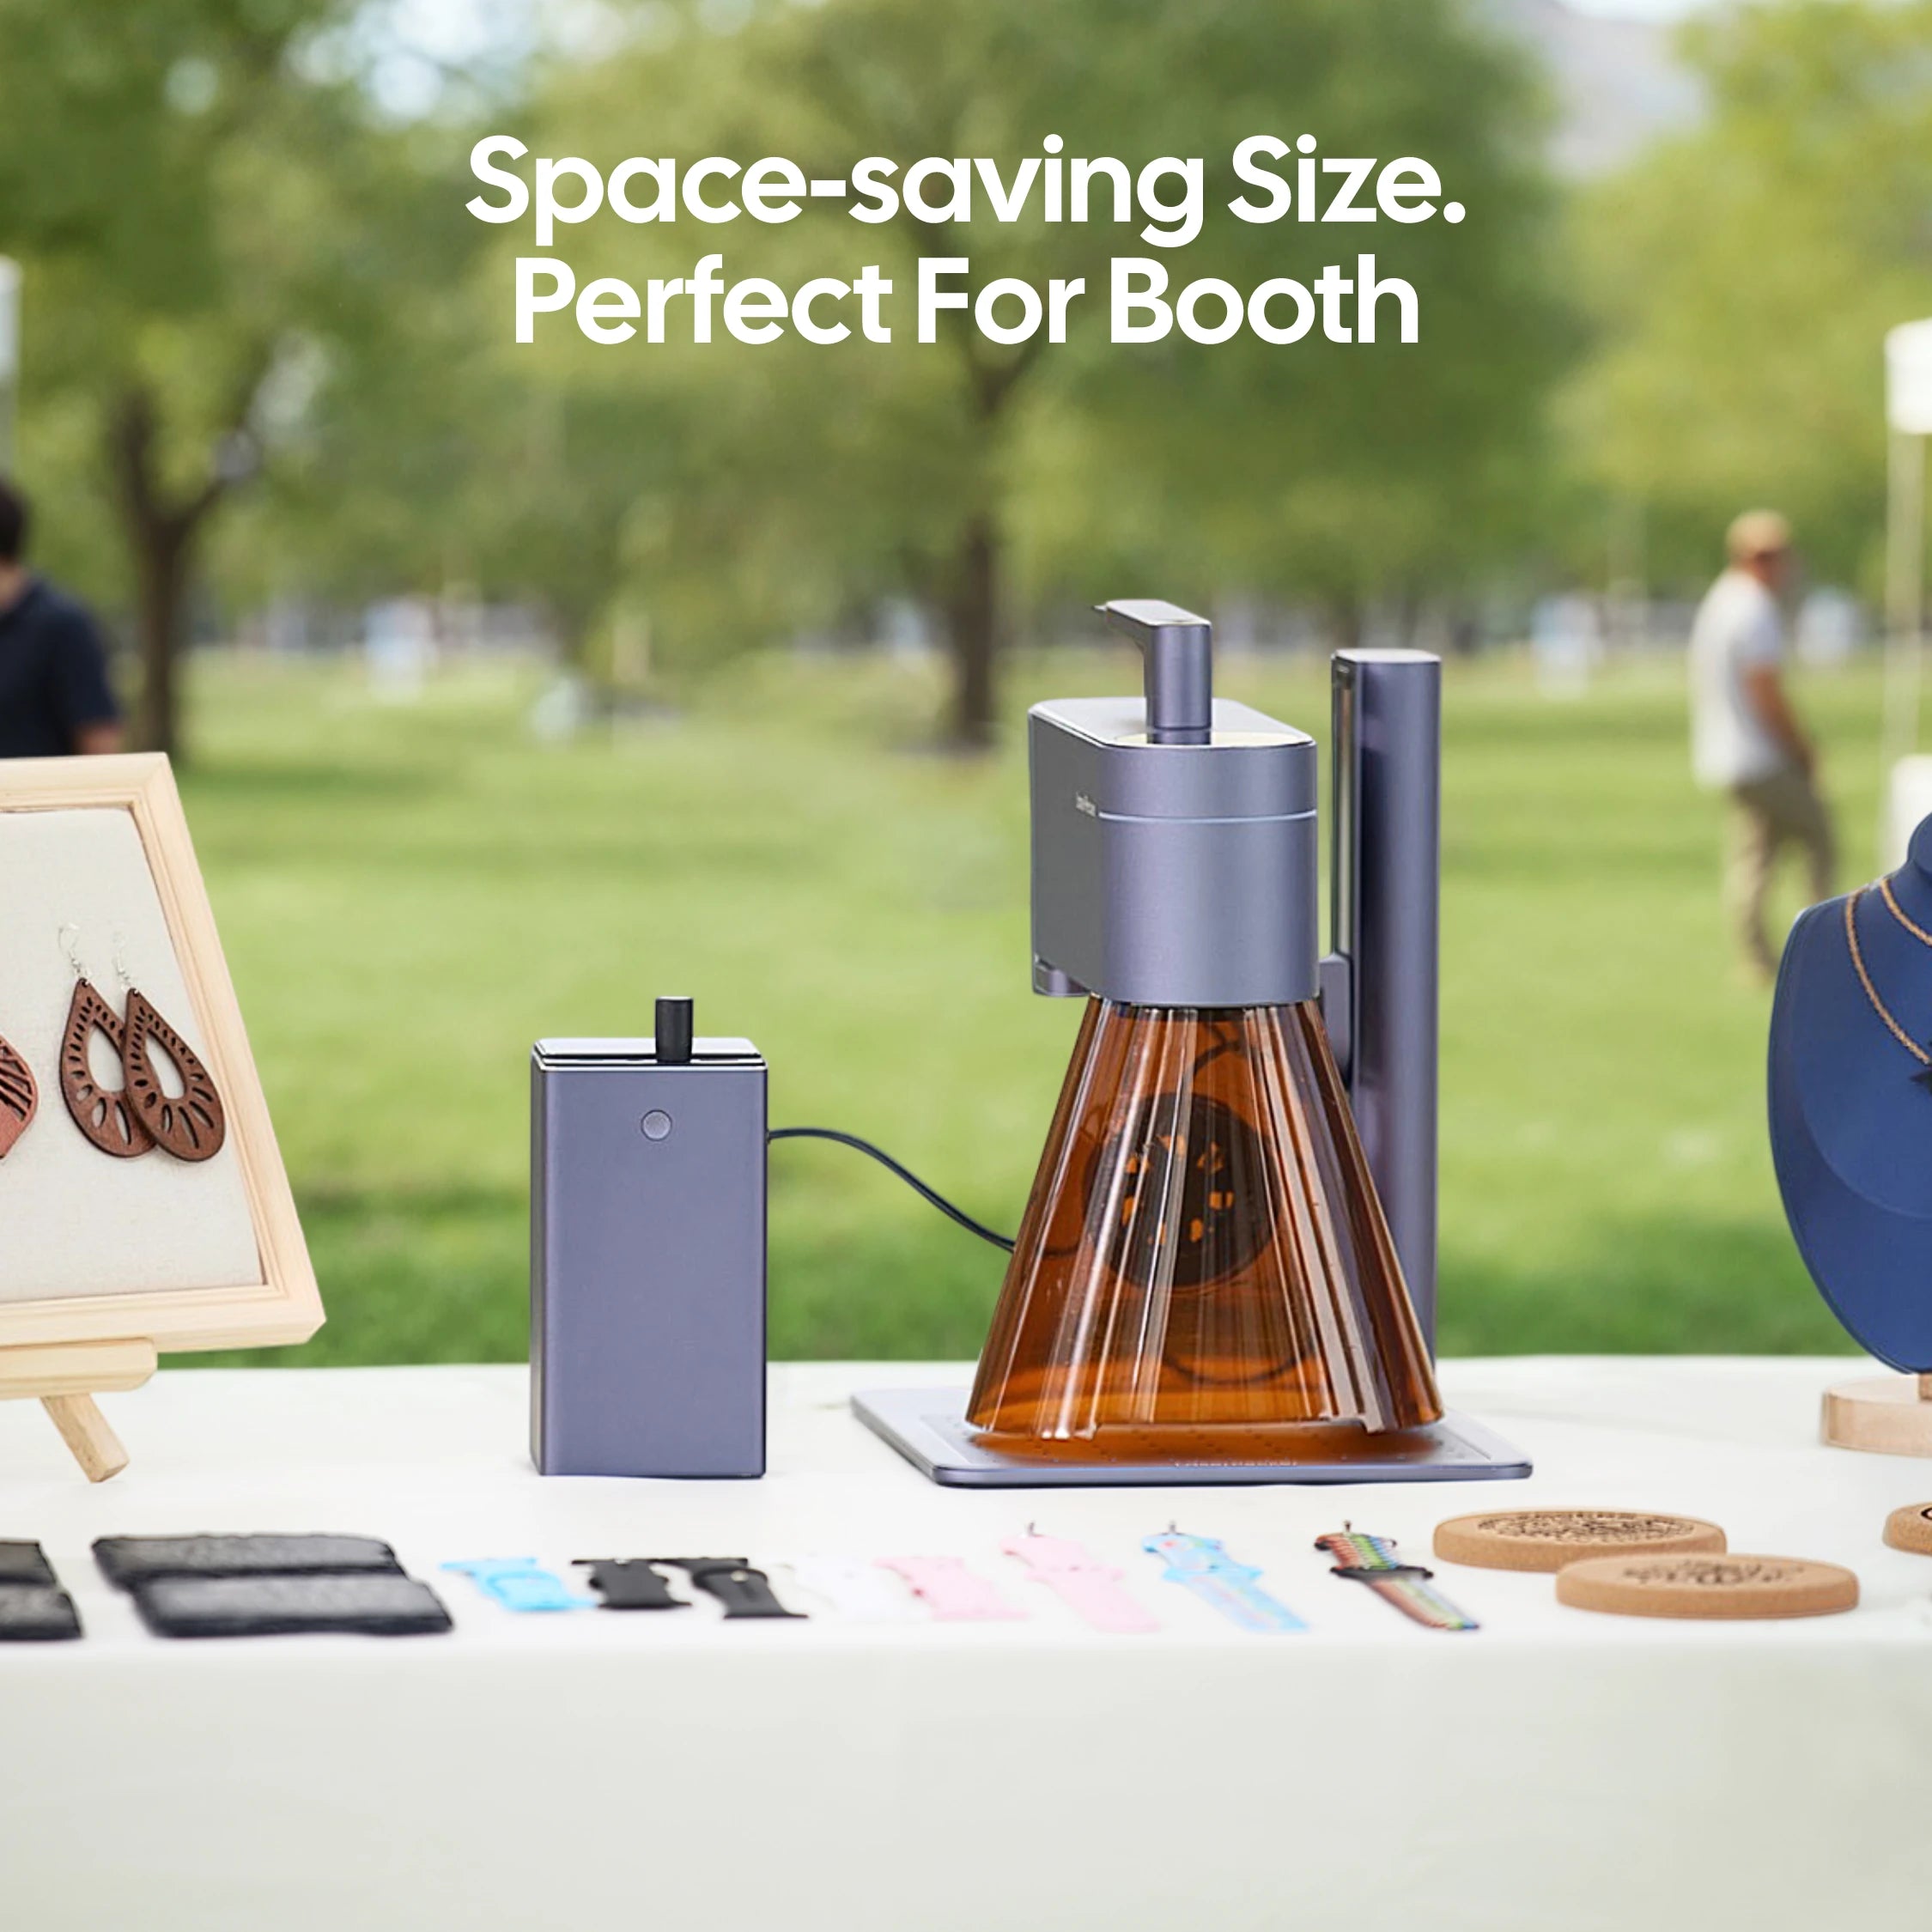
A compact laser engraver such as the LaserPecker LP4 makes it easy to personalise earphones with clean and permanent markings. Equipped with dual laser sources (a 10W blue laser and a 2W infrared laser), it supports engraving on a wide range of materials commonly used in earphone housings.
The LaserPecker LP4 can engrave:
- plastic earphone shells
- metal earphone surfaces
- ABS and PBT plastics
- coated metal finishes
- thin materials such as basswood or acrylic
The built-in touchscreen allows quick switching between laser modes, while curved-surface engraving support makes it suitable for rounded earphone cases. With engraving speeds of up to 4000 mm/s, it delivers fast results while maintaining excellent detail resolution — ideal for home workshops and small creative studios in the UK.
Preparation Checklist for Laser Engraving Earphones
Before starting your project, prepare the following:
- Laser engraver: LaserPecker LP4
- Materials: plastic or metal earphones
- Design files: personalised signatures, logos, icons, text or pattern artwork
Step 1: Choose the Engraving Area
Metal and plastic earphone shells are ideal surfaces for laser engraving because they provide stable contact areas for precise marking.
Common engraving locations include:
- outer earphone shells
- charging case surfaces
- headband sides or top sections
Adding initials, symbols or minimalist patterns in these areas helps create subtle yet distinctive personalised details.
Step 2: Clean the Earphone Surface
Wipe the earphone surface gently with a slightly damp cloth to remove dust, fingerprints and oil residue. A clean surface improves engraving accuracy and consistency.
If possible:
- remove ear pads
- disconnect cables
This helps prevent accidental movement or interference during engraving.
Step 3: Adjust the Focus and Settings
Secure the earphones firmly on the work surface before engraving begins. Then:
- adjust laser focus carefully
- select the correct engraving area
- set appropriate speed and depth parameters
Correct setup ensures sharp and consistent engraving results.
Step 4: Confirm the Engraving Position
Many laser engraver systems include a preview or framing function. Use this feature to check alignment before engraving starts. This step helps prevent positioning errors and protects the earphones from unwanted markings.
Step 5: Start the Engraving Process
Once alignment is confirmed, begin engraving. The laser engraver produces crisp markings by precisely modifying the material surface without adding thickness or affecting the structure of the earphone housing.
Step 6: Final Cleaning and Inspection
After engraving is complete:
- wipe away any remaining residue
- inspect the engraved area
Laser engraving produces permanent markings that will not fade, peel or wash away, while preserving the smooth surface finish of the earphone case.
Part 4: FAQs for Making Personalised Earphones
Q1. How can I make my custom designs durable?
Using high-quality materials together with protective clear sealants helps improve resistance to everyday wear. Laser engraving is especially effective because it creates permanent markings directly on the surface rather than applying a coating.
Laser-engraved designs can remain visible for many years and sometimes even outlast the earphones themselves. The engraved pattern will not peel or fade during normal use.
Q2. Can a beginner use a laser engraver?
Yes. Many modern laser engraver machines include user-friendly software that allows designs to be imported easily and adjusted using preset engraving settings.
However, safety should always come first. Beginners should:
- ensure proper ventilation
- understand material safety guidelines
- start with simple engraving projects
With regular practice, a laser engraver can quickly become a reliable tool for personalising earphones and other everyday accessories.
Q3. Can AirPods be customised?
AirPods can indeed be customised, especially through laser engraving, which is a precise and widely used method also offered directly by Apple.
Although the compact size of AirPods Bluetooth earbuds limits large decorative layouts, laser engraving can permanently add text, initials or small graphic elements to the charging case and sometimes the earbuds themselves without affecting performance.
Q4. What materials are best for laser engraving earphones?
Most earphone charging cases made from coated metal or durable plastics such as ABS and PBT respond well to laser engraving.
These materials allow:
- clean marking contrast
- long-lasting results
- minimal surface damage
Testing on a small hidden area first is always recommended before engraving the final design.
Q5. Is laser engraving safe for use at home in the UK?
Yes, compact laser engraver machines are commonly used in home workshops across the UK when operated correctly.
For safe indoor use:
- ensure proper ventilation
- follow manufacturer safety guidance
- use protective covers where supplied
Some enclosed laser engraver models are designed specifically for safer home environments.
Q6. How long does it take to customise earphones with laser engraving?
Most simple engraving projects on earphone cases can be completed within a few minutes, depending on the design size and detail level.
Compared with painting or hydro dipping, laser engraving typically requires less preparation time while producing more consistent and permanent results.
Conclusion
Whether you choose Painting, Hydro Dipping, 3D Printing or laser engraving, each method offers a practical way to give your earphones a distinctive appearance that reflects your personal style.
Designing personalised earphones is not only an enjoyable creative project, but also a great way to produce something genuinely useful for everyday listening. With the right tools and materials, even beginners can achieve impressive results at home. Try experimenting with different techniques and create a pair of customised earphones that feels uniquely yours.





