















































More tradespeople and DIY users across the UK are choosing to mark their tools so they can quickly identify what belongs to them. On busy job sites and in shared workshops, tools are often picked up by mistake—and sometimes even stolen. If you've been wondering how to mark tools to prevent loss or theft, you're not alone.
This guide covers five practical tool marking methods to help reduce mix-ups, improve ownership identification, and better protect your valuable equipment.

In this article:
- Part 1: Introduction to Tool Marking
- Part 2: How to Mark Tools – 5 Recommended Practical Methods
- Method 1: Paint with Markers
- Method 2: Spray Paint
- Method 3: Laser Engraving
- Method 4: Metal Stamps
- Method 5: Dot Peen
- Part 3: How to Mark Tools with a Laser Engraver
- Part 4: FAQs About Marking Tools
Part 1: Introduction to Tool Marking
What Is Tool Marking?
Tool marking is the process of adding visible identifiers, labels, or permanent marks to tools so the owner can recognise them quickly and easily. It is commonly used in workshops, construction sites, garages, and industrial environments where several people may use similar equipment. Proper tool marking helps prevent accidental mix-ups, reduces the risk of loss, and makes theft less likely.
Why Mark Your Tools?
Reason 1: Easy Identification
On busy building sites and in shared workshops, many tradespeople use tools that look almost identical. Marking your tools helps ensure they are not picked up or taken by mistake, saving both time and frustration.
Reason 2: Reduce the Risk of Theft
A clearly marked tool is far less appealing to thieves because it is easy to identify and more difficult to resell. This not only helps discourage theft but also improves the chances of recovering your tools if they go missing.
Reason 3: Personalise Your Tools
From engraving geometric patterns onto a spanner handle to laser-etching your initials onto a power tool, personalised tools reflect your style and make your equipment feel more professional. Familiar, customised tools can also improve efficiency and make daily work more enjoyable.
Part 2: How to Mark Tools – 5 Recommended Practical Methods
Want personalised tools that are easy to identify and truly yours? Whether your goal is to improve appearance, prevent theft, or avoid mix-ups on busy job sites, the following five practical methods can help you mark your tools effectively.
Method 1: Paint with Markers
Using paint markers is one of the simplest ways to mark hand tools. You only need a permanent marker or paint pen to write your name, initials, or create a simple colour code directly on the tool.
This method is affordable and quick, making it ideal for DIY users and tradespeople. However, markings may fade, peel, or wear away over time—especially on handles or surfaces exposed to frequent friction, oil, grease, or cleaning solvents.
Method 2: Spray Paint
Spray paint is another easy option and requires no artistic skill. Simply choose a bright colour and apply a visible coating to part of the tool for fast identification.
It works particularly well when marking multiple tools at once or covering larger surfaces. Bright spray paint makes tools easier to recognise from a distance, which is especially useful on construction sites and shared workshops.
Method 3: Laser Engraving
Laser engraving uses a focused laser beam to permanently etch names, initials, serial numbers, or custom patterns onto materials such as metal, plastic, and wood.
Because laser engraving does not require ink, labels, or chemical treatments, it is a cleaner and more environmentally friendly solution. It produces less waste than traditional marking methods and delivers highly precise, professional-looking results that last much longer.
Method 4: Metal Stamps
Metal stamping involves placing letters, numbers, or symbols onto a metal stamp and positioning it on the tool surface.
When struck firmly with a hammer, the force presses the design into the metal, creating a permanent mark. If the impact is too light, the imprint may be shallow and less visible. Over time, repeated heavy use may also reduce the clarity of the marking.
Method 5: Dot Peen Marking
Dot peen marking is a mechanical marking method that creates permanent identification marks by rapidly striking the surface with a hardened pin.
It can produce names, serial numbers, and even QR codes on materials such as metal, plastic, and ceramics. These markings are highly resistant to abrasion, corrosion, chemicals, and extreme temperatures, making dot peen ideal for industrial tools used in demanding environments.
In general, each method offers different advantages depending on your budget, working environment, and marking needs.
| Method | Difficulty | Cost | Durability | Tools Needed | Best For |
|---|---|---|---|---|---|
| Paint | Easy | Low | Medium | Markers | Colourful marks |
| Spray Paint | Easy | Low | Medium | Color spray paint | Colourful marks |
| Laser Engraving | Medium | Medium–High | Very High | Laser engraver | Detailed text / complex logos |
| Metal Stamps | Medium | Medium | High | Hammer, metal stamps | Simple text / logo |
| Dot Peen | High | High | High | Dot peen marking machine | Clear dot pattern |
Among all options, laser engraving often stands out as the best long-term solution. It creates sharp lines, detailed patterns, and highly durable markings that resist wear and fading. For frequently used tools or older equipment, laser engraving provides reliable and professional results that last for years.
Part 3: How to Mark Tools with a Laser Engraver
Preparation Checklist for Marking Tools
Before you start laser marking your tools, prepare the following:
- Laser engraver: Recommended – LaserPecker LP4
-
Materials: Power tools (electric drill, router, chainsaw, angle grinder, etc.)
Hand tools (spanners, hand saws, hammers, pliers, etc.) - Design: Names, initials, logos, serial numbers, patterns, or custom images
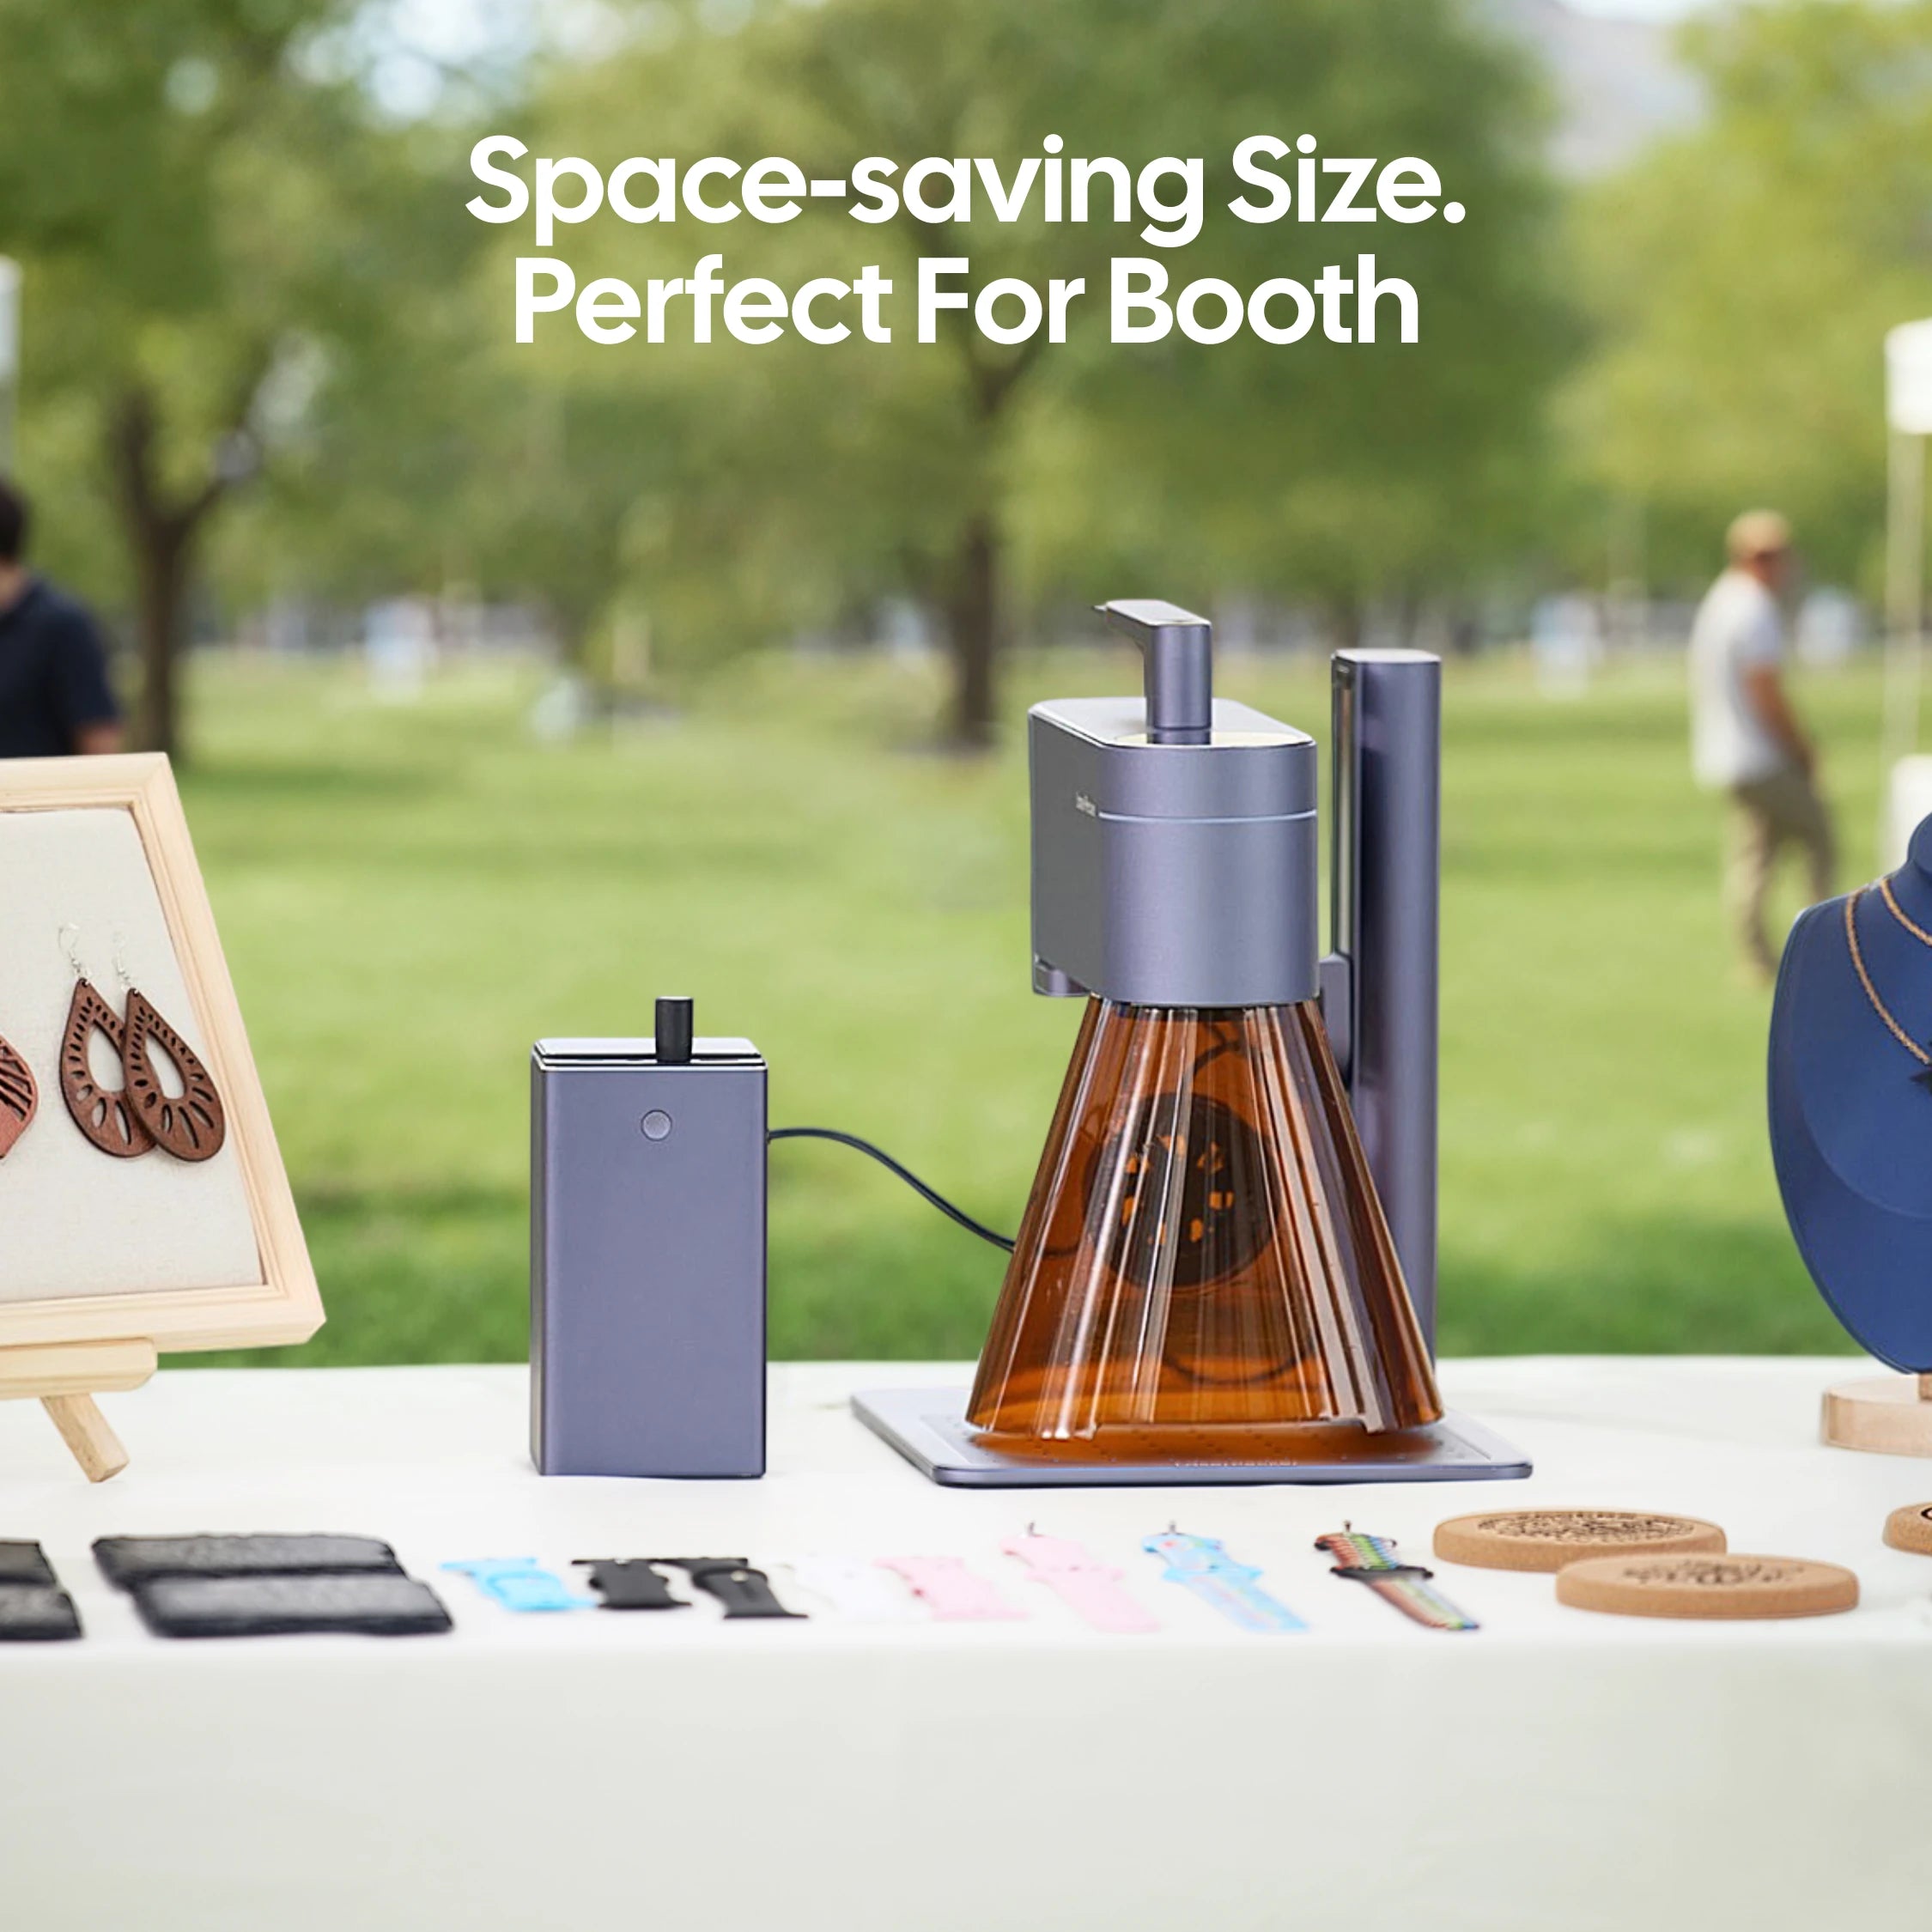
For users in the UK, choosing a compact Laser engraver like the LaserPecker LP4 is especially practical for home workshops and small garages, where space efficiency and indoor safety matter.
Step 1: Prepare Your Design
Start by creating the text, logo, or pattern you want to engrave. Vector files such as SVG or AI provide the cleanest and sharpest results, although most engraving software also supports standard images and text files.
For metal tools, simple high-contrast designs and fine lines usually produce the best engraving quality, especially on anodised aluminium surfaces.
Step 2: Choose the Right Laser Engraving Machine for Your Tools
Selecting the right Laser engraver is essential for achieving clean and durable results.
Here, we recommend the LaserPecker LP4, which features a 10W 450nm blue diode laser and a 2W 1064nm infrared laser. With engraving speeds of up to 4,000 mm/s, it performs exceptionally well on metal, plastic, wood, and coated surfaces.
Its dual-laser system makes it ideal for users who work with different tool materials and need both precision and versatility.
Step 3: Secure Your Tool
Place the tool firmly on the engraving base and make sure the surface is stable and level. If needed, use tape, clamps, or small weights to prevent movement during engraving.
A secure setup is important for maintaining consistent engraving depth, clean lines, and precise positioning.
Step 4: Set Up the Laser Engraving Machine
Use the LaserPecker design software or compatible third-party tools such as Photoshop to create or import your engraving design.
Before starting, adjust the size, position, depth, and alignment carefully based on the shape of the tool. Previewing the engraving area first helps avoid costly mistakes.
Step 5: Start Engraving Your Tool
Once everything is checked, press the start button and begin engraving.
Watch the process carefully to ensure everything runs smoothly. The Laser engraver will permanently mark your design onto the tool surface with precision and clarity.
After engraving, remove the tool carefully, clean away any dust or residue, and inspect the engraved area. A quick wipe can improve visibility and give the final result a cleaner, more professional finish.
Part 4: FAQs About Marking Tools
Q1. How can I mark tools to prevent theft?
Adding personalised markings is one of the most effective ways to protect your tools from theft. Engraving your name, initials, company name, or an identification number makes ownership clear and improves traceability if the tool is lost or stolen.
Using bright paint colours also helps tools stand out on busy job sites, making them easier to recognise and harder for thieves to resell. For the most secure and permanent result, laser engraving is often the best option because the marking cannot be easily removed or altered.
Q2. What is the best way to mark power tools?
For power tools, laser engraving is widely considered one of the best marking methods because most power tools are made from metal, plastic, or coated materials that respond well to laser marking.
Laser engraving creates permanent, wear-resistant markings that remain visible even after heavy daily use. It also produces clean, precise results without damaging the tool surface, making it ideal for drills, grinders, saws, and other professional equipment.
Q3. What is the easiest way to mark tools?
The easiest and most affordable way to mark tools is by using permanent markers or paint pens. You can simply write your name, initials, or create a colour code without needing any special equipment.
This method works well for quick identification, especially for hand tools. However, because the markings can fade over time, laser engraving is a better choice if you need a long-lasting and professional finish.
Q4. Can you laser engrave all types of tools?
Most metal tools, plastic handles, and some wooden tools can be laser engraved successfully. Items such as spanners, pliers, drills, hammers, and toolboxes are commonly marked this way.
However, the best engraving result depends on the material type and surface coating. Machines like the LaserPecker LP4 work particularly well because the dual-laser system supports a wider range of materials.
Q5. Does laser engraving damage tools?
No—when the correct settings are used, laser engraving does not damage the functionality of your tools. It only marks the surface without affecting structural strength or performance.
This makes it a safe option for both hand tools and power tools, especially when permanent identification is needed.
Q6. Is laser engraving better than stickers or labels?
Yes, in most cases laser engraving is far more durable than stickers or adhesive labels. Labels can peel off, fade, or become damaged by oil, heat, and friction.
Laser engraving creates a permanent mark directly on the tool surface, making it much more reliable for long-term use in workshops and construction environments.
Conclusion
Marking your tools is an essential step for both protection and organisation. Personalised tools make it much easier to identify your equipment on busy job sites, helping to prevent mix-ups with colleagues and reducing the risk of theft.
Whether you choose paint markers, spray paint, metal stamps, dot peen marking, or laser engraving, each method offers its own advantages. For users looking for the most durable and professional result, laser engraving remains one of the best long-term solutions thanks to its precision, permanence, and wear resistance.
Start marking your tools today and keep your equipment secure, organised, and ready for every job.





