















































Custom cutting boards are more than simple kitchen tools — they serve as thoughtful gifts, decorative pieces, and personal keepsakes. From engraved family recipes to personalised wedding gifts or branded boards for small businesses, they combine practicality with lasting meaning.
In this guide, you'll learn how to personalise a cutting board using different methods, along with professional tips for achieving clean, durable results. Whether you're a DIY enthusiast or planning to start a small business, this guide covers everything you need to create high-quality personalised cutting boards.

In this article:
- Part 1: How to Choose the Right Cutting Board for Personalisation
- Part 2: Four Best Methods to Personalise Your Cutting Board
- Method 1: Laser Engraving
- Method 2: Wood Burning
- Method 3: Stencil and Paint
- Method 4: Carve and Fill (Inlay)
- Part 3: Pro Tips for a Perfect Personalised Cutting Board
- Part 4: FAQs for Making Personalised Cutting Boards
Part 1: How to Choose the Right Cutting Board for Personalisation
Choosing the right cutting board is essential for achieving clean, long-lasting customisation results. Both appearance and durability should be considered before starting your project.
- Wood type: Hardwoods such as maple, walnut, and cherry are ideal for personalisation. They provide consistent engraving results and are less likely to splinter compared to softer woods.
- Surface finish: A smooth, well-sanded surface ensures sharper and more precise designs. Rough or uneven surfaces can distort fine details and reduce engraving quality.
- Intended use: If the board is for decorative purposes, larger and more detailed engravings can be applied. For functional kitchen use, ensure the board is treated with a food-safe finish after engraving.
- Grain and colour: Lighter woods tend to highlight engraved designs more clearly, while darker woods create a more subtle, high-contrast aesthetic depending on the engraving depth.
Once you've selected the right cutting board, you can choose a personalisation method that best suits your design and intended use.
Part 2: Four Best Methods to Personalise Your Cutting Board
There are several effective ways to personalise a cutting board, each offering a different balance of appearance, durability, and skill required.
Method 1: Laser Engraving (Recommended) – For a Clean, Professional Finish
Laser engraving is one of the most precise and efficient methods for customising cutting boards. It uses a focused laser beam to etch designs directly into the wood, creating permanent, food-safe markings with a refined finish.

This method is ideal for both personal projects and small businesses due to its consistency, speed, and professional-quality results.
What You'll Need
- A laser engraver (e.g. LP4 dual-laser engraver)
- A clean, sanded cutting board
- A vector file or high-resolution design
- Optional masking tape for cleaner edges
Why the LP4 Is a Strong Choice
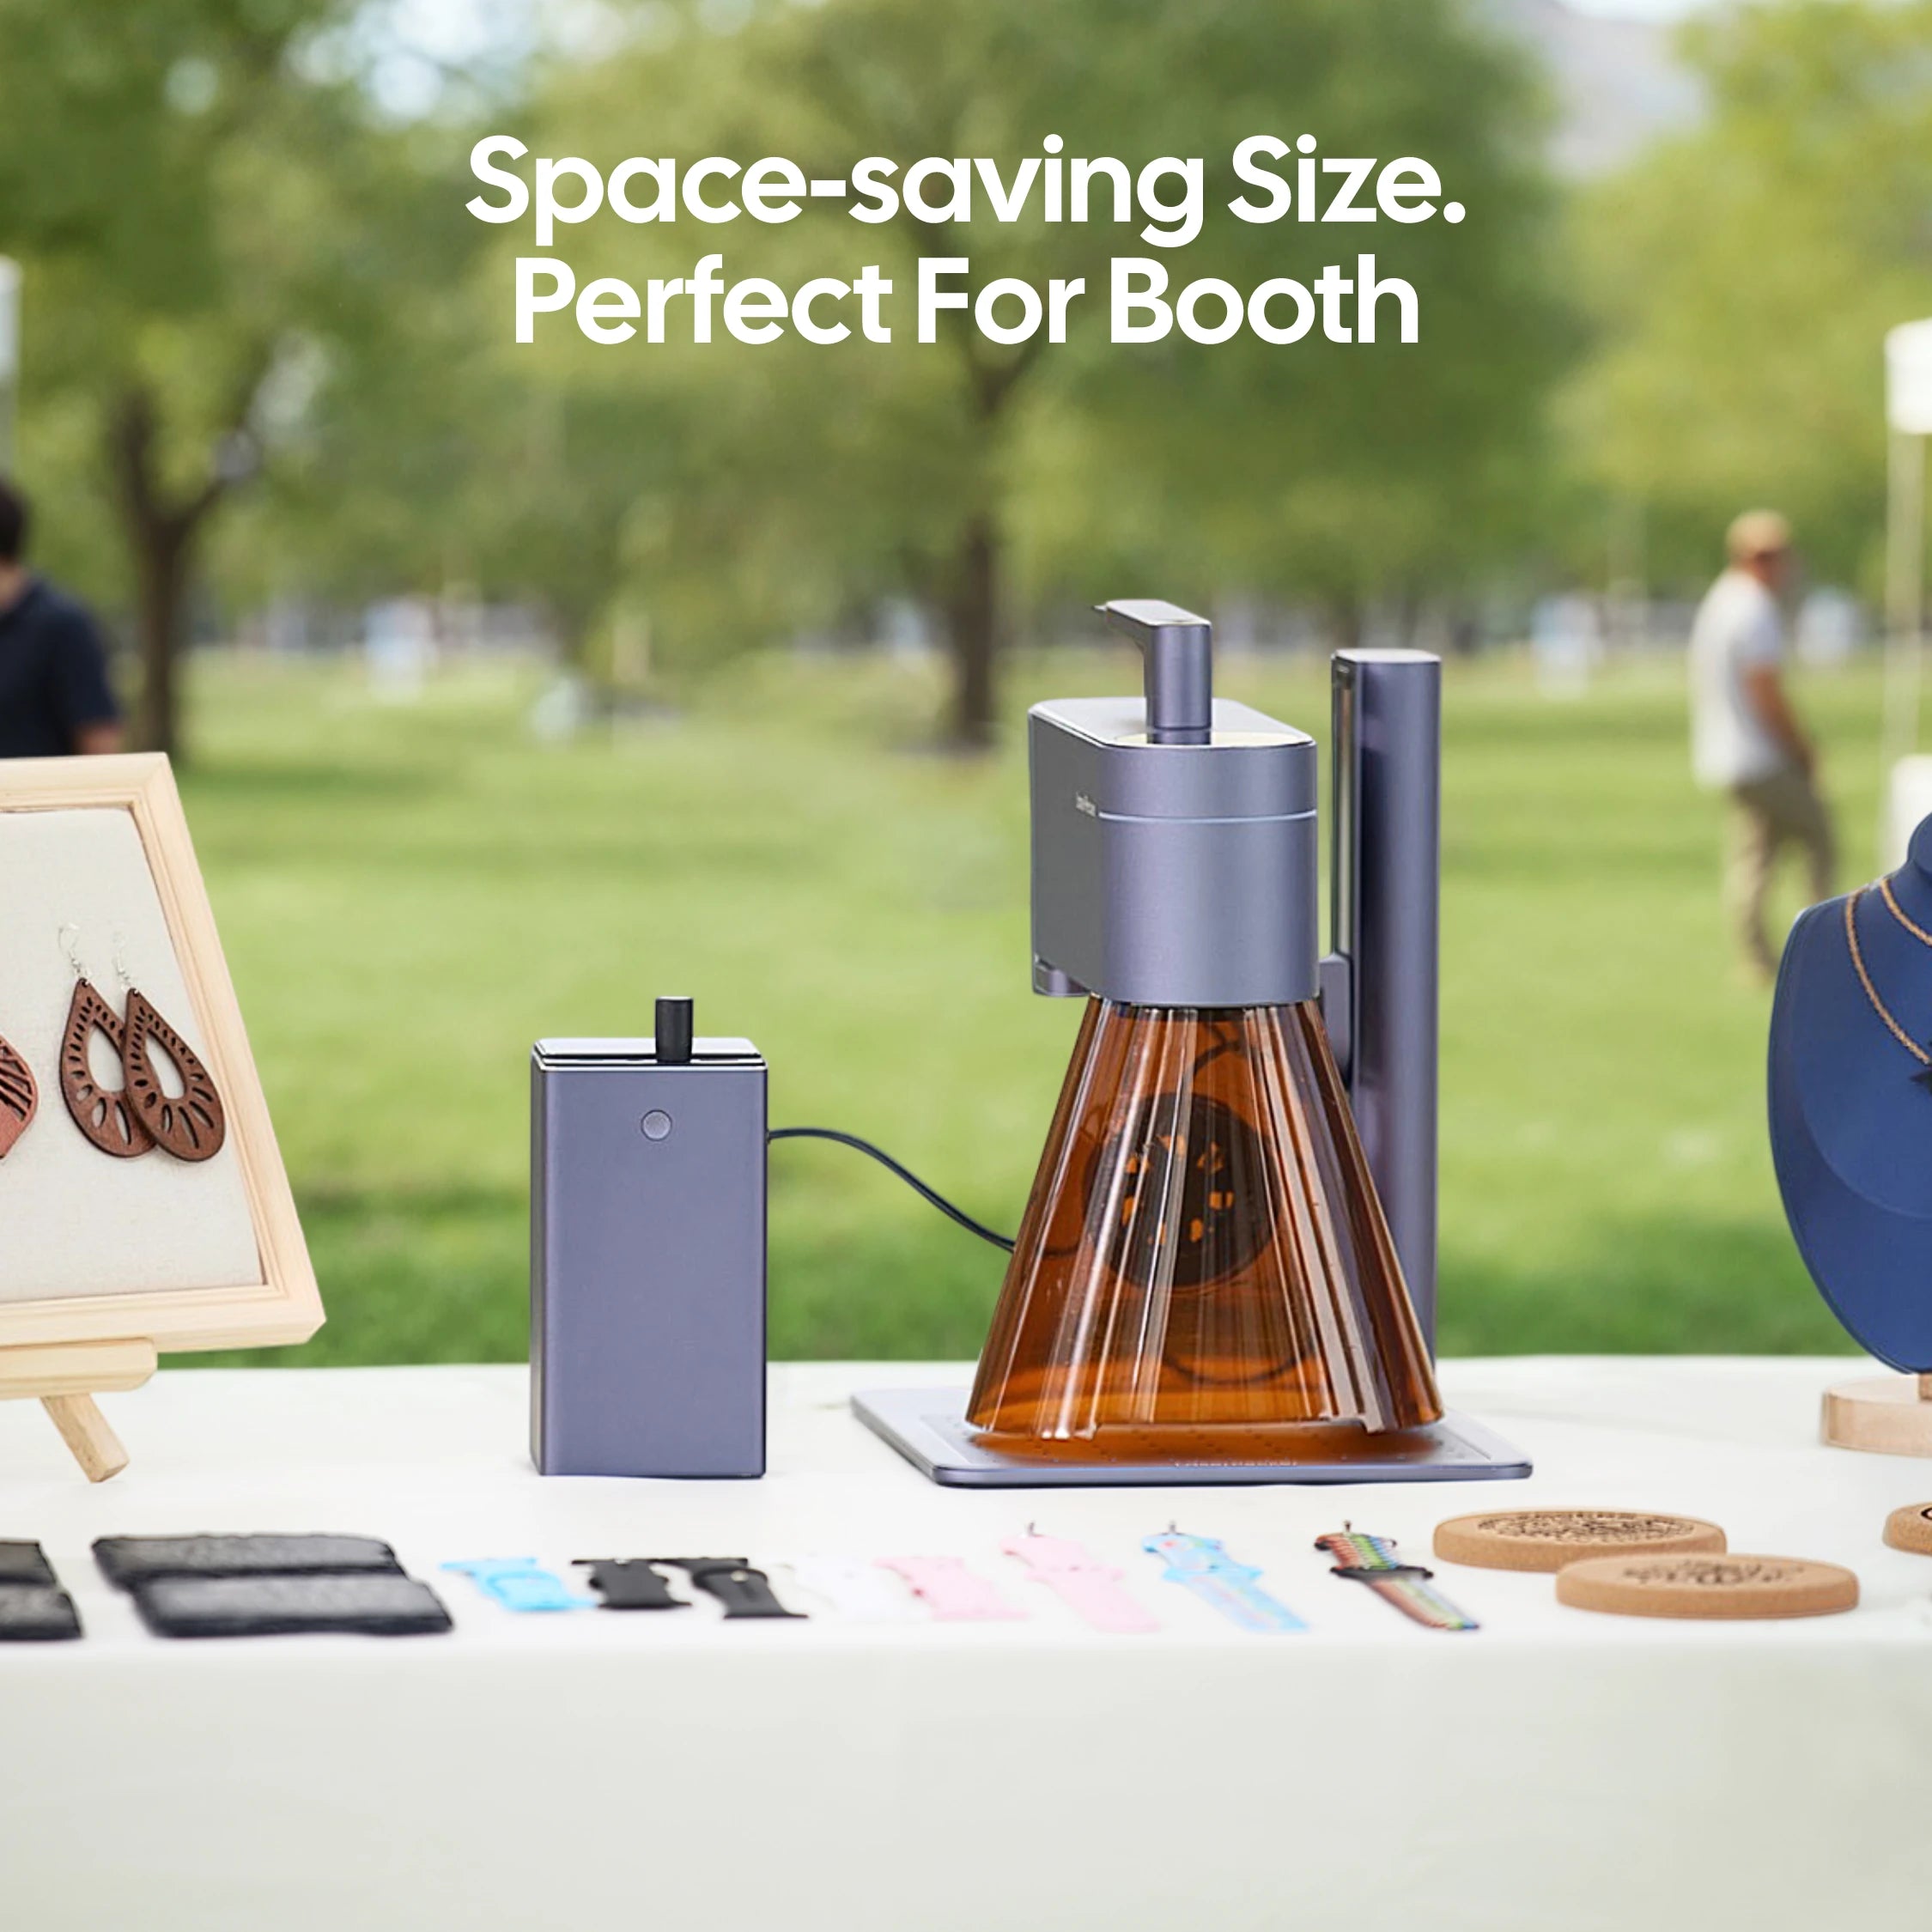
The LP4 dual-laser engraver combines a 10W 450 nm diode laser with a 2W 1064 nm infrared laser, allowing it to work across a wide range of materials, including wood, bamboo, and coated surfaces.
Key advantages:
- High precision and speed: Up to 4000 mm/s with detailed output
- Dual-laser flexibility: Suitable for different materials
- User-friendly controls: Touchscreen with repeat engraving capability
- Versatile positioning: Handles thick or irregular items easily
Step-by-Step: Laser Engraving a Cutting Board
- Step 1. Prepare your design – Create or import your artwork into engraving software.
- Step 2. Position the board – Place the board flat and secure it.
- Step 3. Select laser type – Use the diode laser for wood engraving.
- Step 4. Adjust settings – Medium power and higher speed are suitable for most hardwoods.
- Step 5. Preview alignment – Ensure correct positioning before engraving.
- Step 6. Start engraving – Run the process and monitor results.
- Step 7. Finish the board – Clean the surface and apply food-safe mineral oil.
For Larger Cutting Board Designs: Why Consider the LX2
When engraving larger cutting boards or full-surface designs, a machine that can handle wide engraving areas in a single pass is highly beneficial. The LX2 is designed for this purpose, helping avoid repositioning and ensuring better alignment.
Key advantages of the LX2:
- 📏 Large-area engraving in one setup
Ideal for full cutting board designs without splitting or repositioning the artwork - ⚡ High-speed performance
Efficient processing with strong speed and acceleration, saving time on larger projects - 🎯 Precision positioning system
Camera-assisted alignment helps maintain accuracy across large surfaces - 📦 Spacious working area with practical design
Accommodates larger boards while remaining suitable for compact workspaces - 🔄 Flexible material handling
Suitable for different wood types and thicknesses commonly used in cutting boards

Method 2: Wood Burning – A Handmade, Rustic Style
Wood burning uses a heated tool to draw designs onto the surface, creating a handcrafted look.
Pros and Cons of Wood Burning
Pros:
- Unique, artisanal appearance
- Low-cost tools
- Suitable for creative, one-off pieces
Cons:
- Requires steady hand control
- Inconsistent results depending on skill
- Not ideal for fine or detailed logos
When to Use Wood Burning
Handmade gifts, monograms, and decorative designs
Method 3: Stencil and Paint – Colourful and Creative
This method uses stencils and paint to apply designs onto the board surface.
Pros and Cons of Stencil and Paint
Pros:
- Easy for beginners
- Wide range of colours
- Suitable for decorative projects
Cons:
- Less durable than engraving
- Requires food-safe paint for safe use
- May fade or wear over time
When to Use Stencil and Paint
Decorative boards and themed gifts
Method 4: Carve and Fill (Inlay) – Premium and Decorative
This technique involves carving a recessed design and filling it with resin or contrasting material.
Pros and Cons of Carve and Fill
Pros:
- High-end appearance with depth
- Durable when properly sealed
- Strong visual impact
Cons:
- Time-consuming process
- Requires advanced tools or CNC
- Needs sealing for food safety
When to Use Carve and Fill
Premium gifts, keepsakes, and display pieces
| Method | Precision | Durability | Skill Required | Colour Options | Best For |
|---|---|---|---|---|---|
| Laser Engraving | ★★★★★ | ★★★★★ | Medium | Limited | Professional and long-lasting designs |
| Wood Burning | ★★★★☆ | ★★★★☆ | High | Limited | Handmade, rustic projects |
| Stencil and Paint | ★★★☆☆ | ★★☆☆☆ | Easy | High | Decorative or seasonal designs |
| Carve and Fill (Inlay) | ★★★★★ | ★★★★☆ | High | Medium | Premium or artistic pieces |
Why Laser Engraving Stands Out
While each method has its place, laser engraving offers the best combination of precision, repeatability, and durability. It produces clean, consistent results that are suitable for both personal use and small-scale production.
For those looking to create professional-quality customised cutting boards efficiently, laser engraving remains the most reliable choice.
Part 3: Pro Tips for a Perfect Personalised Cutting Board
Achieving a high-quality personalised cutting board requires attention to detail at every stage. The following tips will help ensure clean, durable, and professional results.
Tip 1: Start with high-quality hardwood
Choose durable hardwoods such as maple, walnut, or cherry. These materials provide smoother engraving results, resist splintering, and maintain their appearance over time.
Tip 2: Use masking for cleaner engraving
Apply masking tape over the engraving area before starting. This helps reduce burn marks and residue, resulting in sharper edges and a cleaner finish.
Tip 3: Test your settings first
Always run a test on a spare piece of wood. Adjust speed, power, and focus settings until the desired depth and contrast are achieved. This step is essential for consistent results.
Tip 4: Apply a food-safe finish
After engraving, treat the board with food-grade mineral oil or beeswax. This protects the wood, enhances the engraved design, and ensures the board remains safe for food contact.
Tip 5: Maintain the board properly
Clean the board with warm water and mild soap, then dry it immediately. Avoid soaking or using a dishwasher, as excessive moisture can cause warping or cracking. Regular oiling will preserve both the wood and the engraved design.
Part 4: FAQs for Making Personalised Cutting Boards
Q1. Is it safe to engrave a cutting board?
Yes, engraving a cutting board is safe when done correctly. The process only affects the surface and does not compromise the board's strength or usability. After engraving, applying a food-safe finish such as mineral oil or beeswax helps protect both the wood and the design.
Using a precision laser engraver allows accurate depth control, ensuring a smooth, food-safe result that remains durable over time.
Q2. Is it better to engrave or burn wood?
The choice depends on the desired result. Wood burning offers a more rustic, handmade appearance but requires significant skill and consistency.
Laser engraving, by contrast, provides higher precision, repeatability, and efficiency. It is particularly suitable for detailed designs, text, and logos, making it the preferred option for both personal and commercial use.
Q3. How should I clean and maintain a personalised cutting board?
Clean the board by hand using warm water and mild soap, then dry it immediately. Avoid soaking or using a dishwasher, as this can cause warping or cracking.
Regularly apply food-safe mineral oil or beeswax to maintain moisture and enhance the engraved design. Proper care will ensure long-lasting performance and appearance.
Q4. How much does it cost to personalise a cutting board?
Costs vary depending on the method used. Basic techniques such as stencilling or painting are relatively inexpensive, while professional laser engraving typically ranges from £25 to £80 per board.
For frequent production or small businesses, investing in a laser engraver can be more cost-effective over time due to efficiency and repeatability.
Q5. What type of wood is best for personalised cutting boards?
Hardwoods such as maple, walnut, and cherry are the best options. Maple provides a light surface for clear engraving, walnut offers a darker, premium look, and cherry develops a rich tone over time.
Softwoods like pine are generally not recommended, as they are less durable and more prone to damage.
Q6. Can personalised cutting boards be used for food preparation?
Yes, personalised cutting boards can be safely used for food preparation, provided they are finished with food-safe oils and properly maintained. Engraved areas should be kept clean and dry to ensure hygiene and longevity.
Conclusion
A personalised cutting board is more than a practical kitchen tool—it reflects individual stories, creativity, and thoughtful design. From traditional wood burning to precision laser engraving, each method offers a unique way to bring ideas to life.
For those seeking accuracy, efficiency, and long-lasting results, laser engraving stands out as the most reliable solution. With advanced tools such as the LP4 Dual-Laser Engraver, it becomes easy to produce clean, detailed designs that maintain their quality over time.
For larger cutting boards or full-surface designs, machines like the LX2 offer an added advantage, allowing wider engraving areas to be completed in a single setup without compromising alignment or consistency.
Whether you are creating a meaningful gift or building a small business, a well-crafted personalised cutting board combines function with personal expression—turning an everyday item into something truly distinctive.





