















































Custom glassware has become a popular choice across the UK for gifts, special events, and home décor. From adding initials to champagne glasses for weddings to branding glassware for restaurants, there are plenty of ways to achieve high-quality results.
In this guide, we explore the most effective ways to customise glassware, including how to engrave glass using a laser. We'll also explain why the LP4 laser engraver is an excellent choice for achieving professional-looking results with ease.

In this article:
- Part 1: Why Custom and Personalised Glassware Is Trending
- Part 2: Five Best Ways to Customise Glassware
- Method 1: Laser Engraving (Recommended)
- Method 2: Sandblasting / Etching
- Method 3: UV Printing and Screen Printing
- Method 4: Vinyl Decals and Stickers
- Method 5: Hand Painting / Calligraphy
- Part 3: How to Customise Glassware with a Laser Engraver
- Part 4: Tips for Making Personalised Glassware
- Part 5: FAQs About Making Personalised Glassware
Part 1: Why Custom and Personalised Glassware Is Trending
Here's why custom glassware has become so popular across the UK:
-
Thoughtful gifts: Personalised wine glasses, tumblers, or mugs are ideal for weddings, anniversaries, and birthdays. Adding names, dates, or special messages transforms an everyday item into a meaningful keepsake.
-
Business branding: Many UK businesses use branded glassware at events or in bars and restaurants. It creates a more professional image while subtly promoting the brand.
-
Restaurants and bars: Increasingly, venues across the UK are choosing custom glassware to stand out, prevent drink mix-ups, and create a more cohesive table setting.
-
DIY creativity: With accessible tools and compact laser engravers, hobbyists can now create high-quality glassware at home. What once required industrial equipment can now be done in a home workshop or sold through online marketplaces.
Part 2: Five Best Ways to Customise Glassware
There are several ways to customise glassware, each offering a distinct finish and set of technical advantages. Below is a comparison of the most popular methods and when to use them.
Method 1: Laser Engraving (Recommended)
Laser engraving is one of the most reliable methods for creating long-lasting designs on glass. A focused laser beam engraves your design — such as logos, text, or intricate artwork — directly onto the surface.
The result is a clean, frosted finish that won't fade or wear over time.
Best for:
-
Personalised gifts
-
Small-batch production
-
Professional branding
Method 2: Sandblasting / Etching
Sandblasting is a traditional technique used to create a frosted effect on glass. Areas that should remain clear are masked, while exposed sections are blasted to achieve a soft, matte finish.
Pros:
-
Elegant, decorative appearance
Limitations:
-
Time-consuming process
-
Less suitable for highly detailed designs
-
Requires more setup and equipment
Method 3: UV Printing and Screen Printing
These methods apply ink directly onto the glass surface.
-
UV printing uses specialised inks that cure under UV light, producing vibrant, photo-quality images.
-
Screen printing is better suited for bold, repeatable designs in larger quantities.
While visually striking, these designs may fade or scratch over time, particularly with frequent washing.
Method 4: Vinyl Decals and Stickers
Vinyl decals offer a quick and affordable way to add colourful designs without specialised equipment. They are commonly used for temporary decorations, such as parties or events.
However, vinyl is less durable and may peel when exposed to heat, moisture, or frequent handling.
Method 5: Hand Painting / Calligraphy
Hand painting is an artistic approach that gives each piece a unique, personal touch. Artists use specialised glass or enamel paints to create one-of-a-kind designs.
While highly customisable, this method is time-intensive and not suitable for large-scale production.
Comparison of Glassware Customization Methods
| Method | Suitable Glass Types | Precision | Durability | Style | Best For |
|---|---|---|---|---|---|
| Laser Engraving | All (wine, mugs, bottles, glass cups) | ★★★★★ | ★★★★★ | Elegant, frosted | Professional gifts, small batches |
| Sandblasting / Etching | Thick glass, bottles, décor items | ★★★★☆ | ★★★★☆ | Soft matte texture | Weddings, high-end designs |
| UV / Screen Printing | Smooth glass surfaces | ★★★☆☆ | ★★★☆☆ | Colorful, modern | Logos, events, barware |
| Vinyl Decals / Stickers | Any flat surface | ★★☆☆☆ | ★☆☆☆☆ | Bright, temporary | DIY projects, parties |
| Hand Painting / Calligraphy | Decorative or art glass | ★★★☆☆ | ★★★☆☆ | Artistic, unique | Personalized gifts, art pieces |
Among all these methods, laser engraving stands out for its precision, durability, and cost-effectiveness. It is particularly well-suited for small custom projects, personalised gifts, and professional applications.
In the next section, we'll walk you through how to customise glassware step by step using a laser engraver.
Part 3: How to Customise Glassware with a Laser Engraver
Laser engraving is one of the most effective ways to customise glassware, offering a clean, precise, and professional finish. With the right setup, even beginners can achieve excellent results.

Tools and Materials You'll Need
To get started with glass engraving, prepare the following:
-
Laser engraver suitable for glass (CO2 or 450nm diode lasers are commonly used)
-
Design software (such as LightBurn)
-
Rotary attachment (essential for curved items like wine glasses)
-
Masking tape or engraving spray (for cleaner, more consistent results)
-
Microfibre cloth and isopropyl alcohol (for surface cleaning)
-
Safety glasses and gloves (for safe operation)
With these tools, you can engrave glass safely and achieve consistent, high-quality results.
Step-by-Step: How to Customise Glass with a Laser
Follow these steps to create personalised glassware:
1. Prepare Your Design
Choose a logo, text, or pattern that stands out. Import it into your engraving software and adjust the size to fit your glass. For best results, convert the design to vector or greyscale.
2. Clean and Mask the Surface
Clean the glass thoroughly using alcohol to remove dust, oils, or fingerprints. Apply masking tape or engraving spray to improve engraving consistency and reduce reflections.
3. Set Up the Engraver
Secure the glass firmly in place. For cylindrical items, use a rotary attachment. Advanced engravers with adjustable angles can help ensure even coverage across curved surfaces.
4. Adjust Laser Settings
Use lower power and moderate speed to prevent cracking. Fine-tune parameters such as power, focus, and engraving depth to achieve a smooth, frosted effect.
5. Start Engraving
Begin the engraving process and monitor for clarity and consistency. Dual-laser systems (such as diode + infrared) can produce more precise and evenly frosted results in less time.
6. Clean and Finish
After engraving, gently clean the surface with a soft cloth. You can polish the engraved area for a refined finish or leave it frosted for a softer appearance.
Recommended Machine: LP4 Laser Engraver
The LaserPecker LP4 features a dual-laser system, combining a 10W blue diode laser (450nm) and a 2W infrared laser (1064nm). This allows it to work with over 300 materials, including glass, metal, and wood, making it highly versatile for different applications.
-
Dual-laser precision: The infrared laser is particularly effective on reflective surfaces like glass, ensuring clean and accurate results
-
User-friendly touchscreen: Easily adjust settings or repeat previous jobs with minimal effort
-
High-speed engraving: Capable of reaching up to 4000 mm/s while maintaining fine detail
-
Multi-angle engraving: Ideal for curved glassware without repositioning
-
Compatible software: Works seamlessly with LightBurn and LaserPecker Design Space
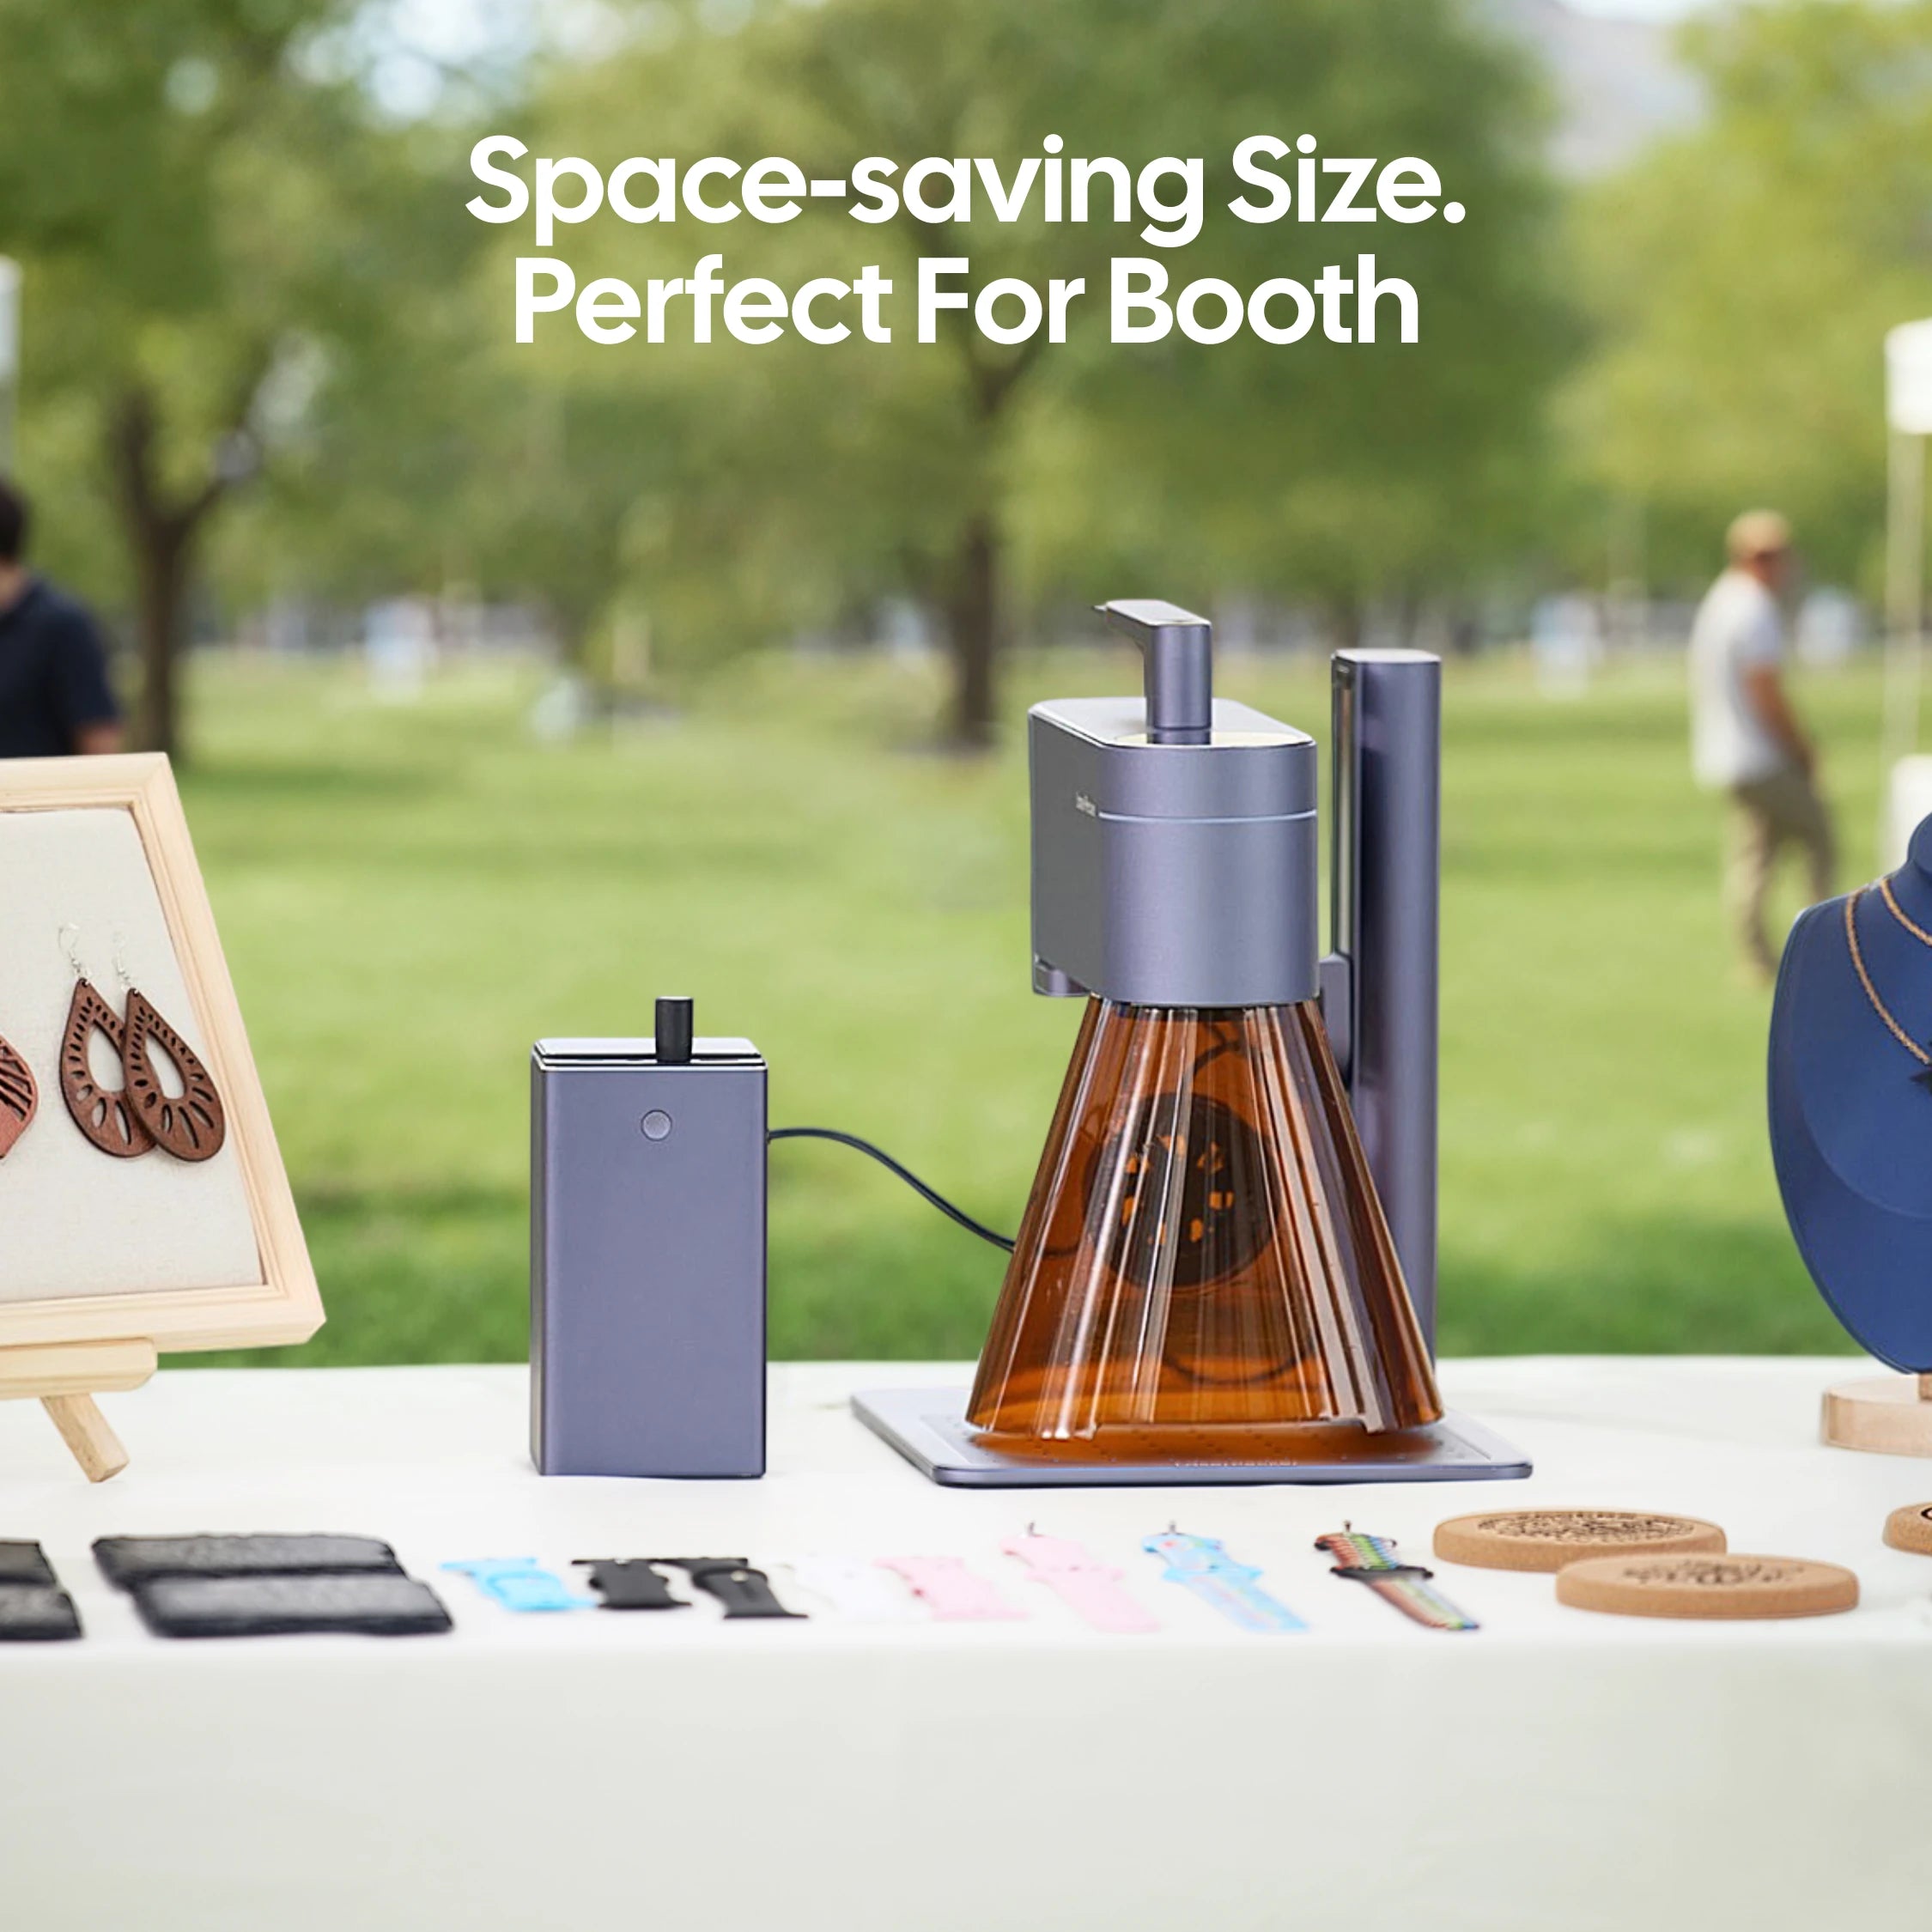
Whether you run a small gift shop, wedding business, or home workshop, the LP4 offers the flexibility and precision needed for professional-quality glass engraving.
Also Recommended: LP2 Plus (Budget-Friendly Alternative)
The LaserPecker LP2 Plus is a more budget-friendly option that still delivers excellent performance for personalised glassware.
Key advantages:
-
💰 More affordable entry point for hobbyists and small businesses
-
⚡ Same 4,000 mm/s engraving speed as LP4 for efficient production
-
🔄 Compatible with rotary accessories for engraving wine glasses, tumblers, and bottles
-
🎯 Dual red-dot focus for accurate positioning on glass surfaces
-
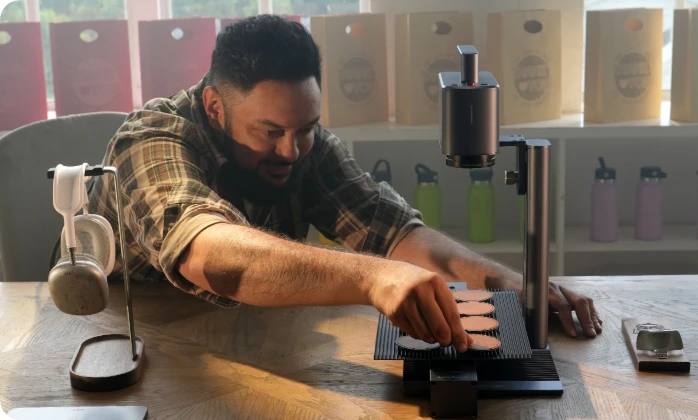
🎒 Portable design ideal for mobile engraving setups and events
-
📦 Supports 100+ materials for expanding beyond glass projects
Part 4: Tips for Making Personalised Glassware
To achieve the best results when creating personalised glassware, follow these practical tips:
-
Start with a clean surface: Even small particles of dust or grease can affect engraving quality. Always clean the glass thoroughly before starting.
-
Test before engraving final pieces: Try your settings on inexpensive glass first. This helps you fine-tune power and speed without risking valuable items.
-
Use lower power settings: Glass responds better to lower power and higher speed, reducing the risk of cracks while achieving a smooth, frosted finish.
-
Keep designs simple and clear: Fine or overly detailed lines may not appear clearly on glass. Bold, well-defined designs tend to produce better results.
-
Experiment with masking techniques: Using masking tape or engraving spray can help create layered effects or subtle gradients for a more refined finish.
-
Add personal details: Names, initials, and important dates make each piece more meaningful and suitable for gifts or special occasions.
-
Handle and store carefully: After engraving, clean the glass gently and store or wrap it properly to prevent scratches or damage.
Part 5: FAQs About Making Personalised Glassware
Q1. Can all types of glass be laser engraved?
Most types of glass, including crystal and soda-lime glass, can be laser engraved. However, some varieties are more prone to cracking. It's best to start with lower power settings, especially when working with thin glass. Coated glass can also be engraved by removing the top layer to reveal contrasting designs. A dual-laser machine offers greater flexibility for different glass types.
Q2. Do I need a rotary attachment to engrave cups or bottles?
Yes, for cylindrical items such as mugs, bottles, or wine glasses, a rotary attachment is highly recommended. It rotates the object during engraving, ensuring consistent focus and preventing distortion. While not required for flat surfaces, it is essential for anyone regularly working with curved glassware.
Q3. How can I prevent glass from cracking during engraving?
Glass typically cracks due to excessive heat. To avoid this:
-
Use lower power and higher speed settings
-
Apply masking tape or a damp paper layer to distribute heat
-
Allow the glass to cool naturally after engraving (avoid cold water)
Careful heat management is key to achieving clean, consistent results.
Q4. Is laser engraving better than sandblasting or printing?
Laser engraving offers higher precision, faster processing, and more durable results. Unlike printed designs, engraved markings do not fade over time. It also allows for finer detail than sandblasting and is cleaner and more efficient for small-batch production. Dual-laser systems provide additional versatility for both hobbyists and businesses.
Q5. What type of design works best for glass engraving?
Simple, high-contrast designs tend to produce the best results on glass. Bold text, logos, and clear shapes are more visible than intricate details, which may not transfer well onto the surface.
Q6. Is laser-engraved glassware dishwasher safe?
Yes, laser-engraved designs are generally dishwasher safe because the marking is permanent and does not sit on the surface like ink. However, gentle washing is still recommended to maintain the overall condition of the glassware.
Conclusion
Transforming plain glassware into personalised designs combines creativity with modern technology. While methods such as sandblasting and UV printing offer unique effects, laser engraving stands out for its clean finish, speed, and professional-quality results.
With a dual-laser engraver like the LP4 or diode laser engraver like LP2 Plus , creating durable and detailed designs is straightforward — even for beginners. It's an excellent solution for personalised gifts, business branding, and special events.
Whether you're customising a single wine glass or producing a full set, using the right technique and equipment makes all the difference in achieving consistent, high-quality results.





