















































Even in today's digital world, sending real Christmas cards remains a lovely tradition in the UK. A handwritten or personalised card feels far more meaningful than a quick message online. It shows thoughtfulness, allows you to express creativity, and spreads festive cheer in a way emails simply cannot match.
Whether you design a card on an online DIY platform, craft one by hand, or use tools like a Cricut machine or a laser engraver for intricate designs, there are plenty of creative ways to make your Christmas cards truly stand out.

In this article:
Method 1: Make Christmas Cards via an Online DIY Website (Shutterfly)
Designing Christmas cards online is one of the quickest and easiest ways to create stylish festive cards. Most DIY card websites provide ready-made templates that you can personalise with your own photos, messages and favourite colours — no crafting experience required.
This method is ideal if you want professional-looking Christmas cards without spending hours making them by hand.

Pros and Cons
Pros
- Quick and convenient — you can design cards in minutes
- A wide range of ready-made templates to choose from
- Easy to add personal messages, photos or artwork
- Preview your design before placing the order
- High-quality professional printing
Cons
- Creative freedom is limited to the templates provided
- Costs may be higher than making DIY Christmas cards yourself
Steps of Making Christmas Cards via an Online DIY Website
- Choose a template or layout you like on the website
- Upload your photos or artwork
- Add your personalised message
- Preview the design and make any adjustments
- Place your order and wait for the cards to be delivered
Suitable for People
This method is ideal for people who are short on time but still want attractive Christmas cards. It's also a practical option if you plan to send a large number of cards to family, friends or colleagues during the festive season.
Method 2: Make Handmade Christmas Cards with Stamps and Markers
Handmade Christmas cards are perfect if you enjoy being creative and adding a personal touch. Instead of relying on templates, you can design the card exactly how you imagine it. With simple tools like stamps, markers and coloured pens, it's easy to create something unique that truly reflects your style.
This method is especially popular among craft lovers because every card can be slightly different and more meaningful for the person receiving it.
Pros and Cons
Pros
- Allows full creative freedom and personal expression
- Easy to combine materials such as stamps, markers, coloured pencils and stickers
- Each card can be unique and personalised
- Low cost and flexible materials
Cons
- Takes more time than digital card-making methods
- Requires a bit of patience and basic crafting skills
- Fixing mistakes can be difficult once the design is on paper
Steps of Making Handmade Christmas Cards with Stamps and Markers
- Prepare a blank card or a piece of quality cardstock
- Choose your stamps, ink pads and markers
- Plan your design, including where the text and images will go
- Carefully stamp the design and colour it in with markers or pens
- Add decorative elements such as glitter, ribbons or festive stickers
Suitable for People
This method is ideal for craft enthusiasts, parents creating cards with children, or anyone who enjoys DIY projects. Handmade cards are also great if you want to send truly personal Christmas greetings to friends and family.
Method 3: Make Christmas Cards with Cricut
Using a Cricut machine is a great way to create detailed and professional-looking Christmas cards. Cricut cutting machines can precisely cut intricate patterns, shapes and lettering that would be very time-consuming to do by hand.
This makes it much easier to produce consistent, high-quality cards — especially if you plan to make multiple copies of the same design. For craft enthusiasts or small businesses selling handmade cards, Cricut machines can help achieve a polished, professional finish.
Pros and Cons
Pros
- Accurately cuts intricate designs and lettering
- Produces clean, professional-looking results
- Saves time compared with cutting complex shapes by hand
- Easy to reproduce the same design for multiple cards
Cons
- Requires access to a Cricut machine and compatible materials
- Learning the software may take some time for beginners
- Initial equipment cost can be higher than simple DIY methods
Steps of Making Christmas Cards with Cricut
- Create or upload your card design in Cricut Design Space
- Choose materials such as cardstock, textured paper or glitter paper
- Load the material onto the Cricut cutting mat
- Allow the machine to cut or score the design automatically
- Assemble the card pieces and add decorations if desired
Suitable for People
This method is ideal for DIY enthusiasts, craft creators, or small businesses that want to produce detailed Christmas cards efficiently. It's also a good option for anyone who enjoys crafting but prefers not to cut complex designs by hand.
Method 4: Make Christmas Cards with a Laser Engraver and Cutter
Using a laser engraver and cutter is one of the most impressive ways to create unique Christmas cards. Laser technology allows you to produce clean cut-outs, engraved messages and layered designs that would be difficult to achieve by hand.
With materials such as wood, acrylic or speciality cardstock, laser machines can create cards that feel more like keepsakes than ordinary greetings cards. If you want Christmas cards that truly stand out and feel premium, this method is an excellent option.
Pros and Cons
Pros
- Extremely precise cutting and engraving
- Creates professional and premium-looking card designs
- Allows complex patterns, layered structures and engraved messages
- Durable materials can turn cards into keepsakes
Cons
- Requires a laser engraver and compatible design software
- Initial setup and equipment costs can be higher than other DIY methods
- Beginners may need some time to learn the workflow
Steps of Christmas Cards with a Laser Engraver and Cutter
- Create your design using laser design software such as LightBurn or LaserPecker Design Space
- Choose a suitable material, such as wood veneer, acrylic, leather or coated cardstock
- Adjust the laser settings (power and speed) based on the material
- Run the engraving or cutting process on the machine
- Assemble the card and add decorative elements if desired
Laser-Cut Christmas Card
Laser-cut Christmas cards feature intricate cut-out patterns such as snowflakes, stars or Christmas trees. These designs are precisely cut from materials like wood, acrylic or thick paper using a laser machine. Because the cuts are extremely accurate, laser-cut cards often create a layered or three-dimensional effect, making them visually striking. They are a great choice if you want elegant or decorative holiday cards.
Recommended Machine for Laser-Cut Christmas Cards
For larger and thicker card materials, the LaserPecker LX2 is highly recommended.
Key advantages:
- ⚡ Blazing HyperSpeed: Up to 1000mm/s improves batch production of holiday cards
- 📦 Large-Format Capacity: Ideal for oversized Christmas cards and layered designs
- 🔧 Tool-Free Quick Swap: Switch between diode modules to match different material thicknesses (wood, acrylic, cardstock)
- 🎯 Dual Precision Alignment: 12MP/6K camera ensures accurate positioning for detailed cut-out patterns
- 🔄 3D Rotary Ready: Useful for engraving decorative cylindrical holiday elements (tags, ornaments)
- 🛡️ Class-1 Safety Certified: Suitable for indoor crafting during holiday projects
Laser-Engraved Christmas Card
Laser-engraved Christmas cards add a refined touch to festive greetings. Instead of printing images onto the surface, the laser engraves patterns and text directly into the material. Designs such as snowflakes, festive greetings or decorative borders appear sharp and detailed. The engraved effect also tends to last longer than printed designs, giving the card a more premium and memorable feel.

Recommended Machines for Laser-Engraved Christmas Cards
Both the LaserPecker LP4 and LaserPecker LP2 Plus are excellent choices for engraving detailed holiday card designs.
Why choose LP4:
- Dual laser system (10W diode + 2W infrared) for 300+ materials including wood and coated metal cards
- Smart touchscreen control for quick offline operation
- Multi-angle engraving for flexible Christmas card positioning
- Fast and precise output with 4000mm/s speed and 8K resolution
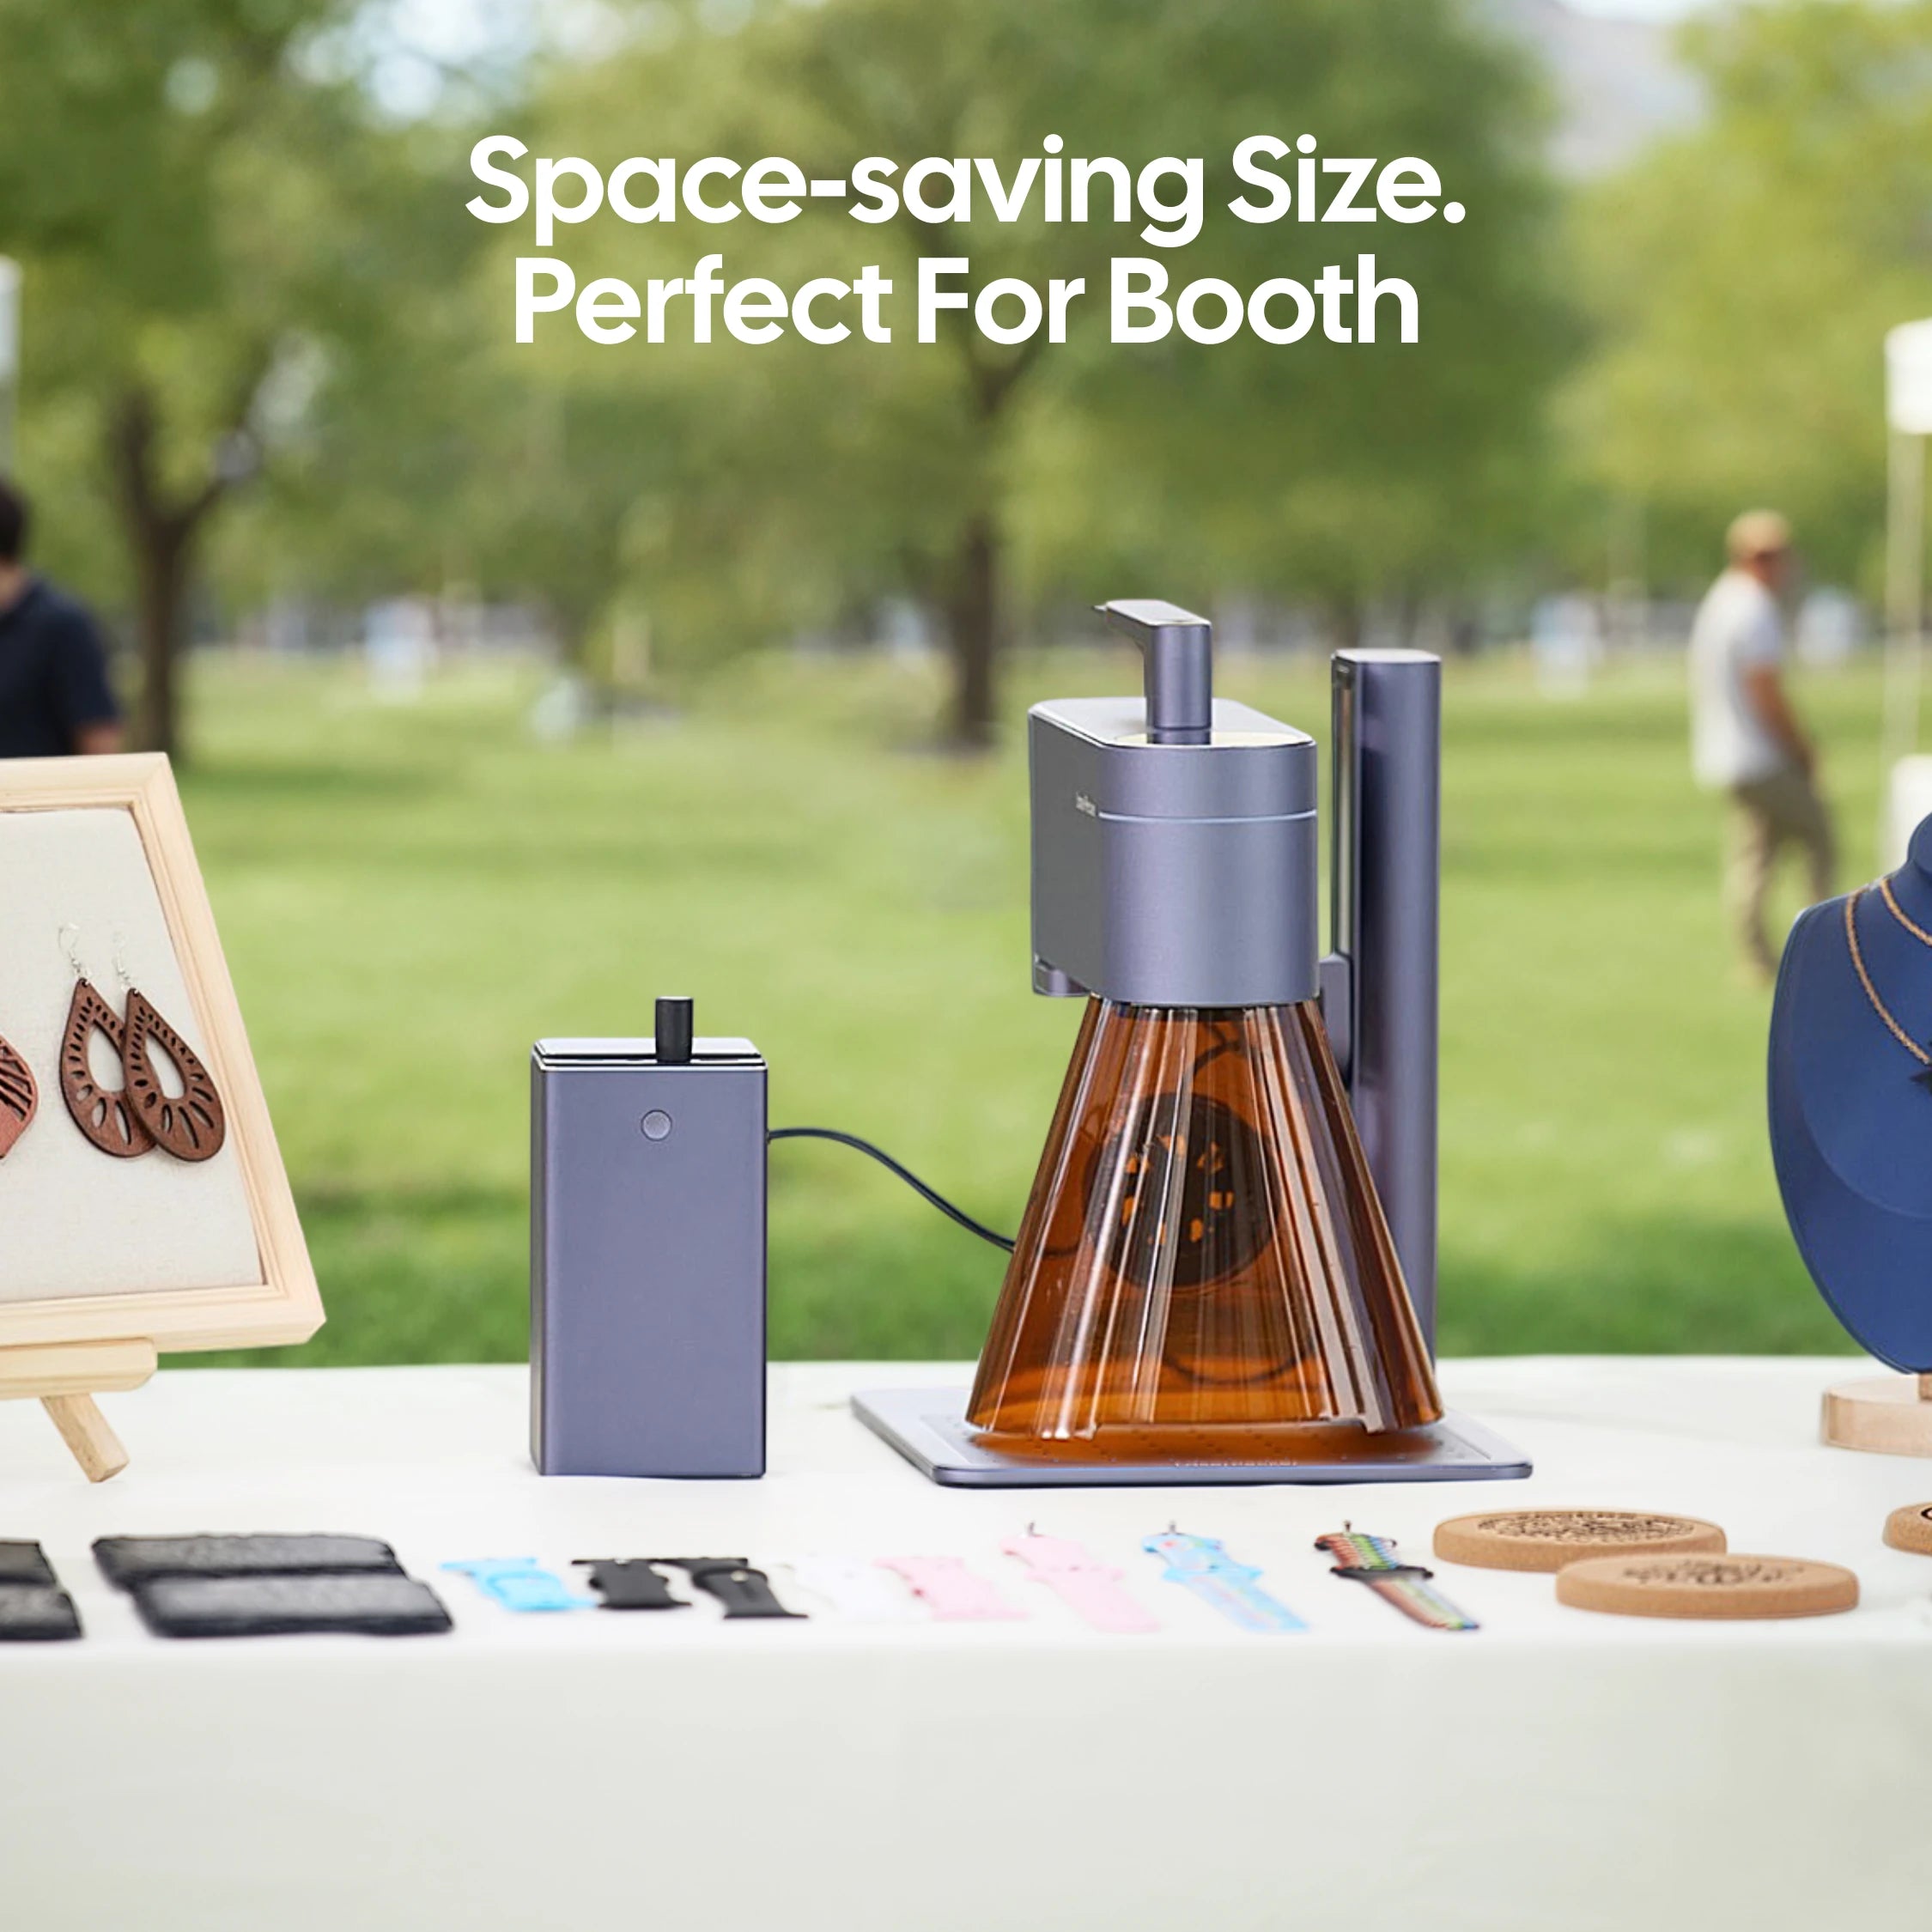
- Portable 3kg design ideal for home crafting and seasonal markets
Why choose LP2 Plus:
- ⚡ 4,000 mm/s engraving speed for faster holiday card production
- 🔪 10W diode laser enables deeper engraving on wooden cards
- 📦 Supports 100+ materials including paperboard, wood and acrylic
- 🎒 Portable design suitable for small craft spaces
- 🎯 Dual red-dot focus for quick alignment of card layouts
- 🌀 SpinTrack™ compatibility for batch engraving workflows
- 🖇️ Accessory ecosystem including enclosure and air purifier support
Suitable for People
This method is ideal for experienced DIY makers, craft businesses, and anyone creating premium holiday cards. It is particularly suitable for people who want high-quality, unique designs that can also serve as keepsakes.
Comparison Table: Methods of Making Awesome Christmas Cards
| Method | Pros | Cons | Best For |
|---|---|---|---|
| Online DIY Website | Fast and convenient; professional printed results; minimal crafting skills required | Limited creative control; cost per card can be higher | Busy individuals; sending large numbers of cards |
| Handmade with Stamps and Markers | Fully personalised; high creative freedom; inexpensive materials | Time-consuming; requires crafting skills | Craft enthusiasts; highly personalised greetings |
| Cricut | Precise cutting; easy to reproduce intricate designs | Initial machine cost; learning the software | DIY hobbyists; small craft businesses |
| Laser Engraver and Cutter | Professional precision; premium materials; keepsake-quality cards | Higher equipment cost; requires design knowledge | Professional crafters; small businesses producing premium cards |
Tips: Common Mistakes to Avoid When Making Christmas Cards
Creating your own Christmas cards can be fun and rewarding, but a few common mistakes can affect the final result. Avoiding these issues will help ensure your cards look neat, durable and professional.
1. Starting Without a Plan
Jumping straight into crafting without a clear idea often leads to uneven layouts or cluttered designs. Before you begin, sketch a simple layout or outline your concept so you know where the text, images and decorations will go.
2. Choosing the Wrong Materials
Not all materials work well for card-making. Using unsuitable paper, wood or acrylic can lead to tearing, bending or poor engraving results when using tools such as a Cricut machine or a laser engraver.
When selecting materials, make sure they are suitable for your chosen method and strong enough to handle cutting or engraving.
3. Using Incorrect Machine Settings
Machine settings are crucial when working with cutting or engraving tools. Incorrect power, speed or focus settings may damage the material or ruin the design.
Always test your settings on a spare piece of material before starting your final card.
4. Not Allowing Enough Drying Time
Adhesives, ink and paint all need time to dry properly. Rushing this step can lead to smudges, peeling decorations or uneven finishes. Allow each layer to dry fully before continuing with the next step.
5. Overloading the Card with Decorations
Adding too many decorations can make the card bulky, fragile or difficult to post. Aim for a balanced design that looks festive but remains sturdy and practical.
6. Ignoring Safety Precautions
Safety should always be a priority when using crafting tools.
- Wear protective glasses when operating cutting or laser equipment
- Ensure good ventilation when using laser engraving machines
- Keep children away from operating machinery
Following proper safety practices helps ensure a safe and enjoyable crafting experience.
7. Storing Cards Incorrectly
Before sending your Christmas cards, store them in a flat and dry place. This prevents bending, moisture damage or warping, especially for cards made from wood, layered paper or acrylic.
FAQs: Hot Questions about Making Christmas Cards
Q1. Are handmade Christmas cards still popular in the UK?
Yes, handmade Christmas cards remain popular in the UK, especially among people who enjoy DIY crafts. Many people appreciate the personal touch and creativity that handmade cards offer. Unlike digital greetings, a handmade card feels more thoughtful and meaningful, making it a cherished way to send festive wishes to friends and family.
Q2. What paper is best for making Christmas cards?
Cardstock is generally the best choice for Christmas cards because it is thick and durable. Many crafters prefer paper between 250–350 gsm, which holds stamps, ink and cutting designs well. Textured or speciality paper can also add a decorative touch, especially for Cricut or laser-cut card designs.
Q3. Can you make Christmas cards with a laser engraver?
Yes, a laser engraver can be used to create unique Christmas cards by engraving or cutting detailed designs into materials such as wood, acrylic or coated cardstock. Laser technology allows for precise patterns, personalised messages and layered designs that are difficult to achieve with traditional crafting methods.
Q4. What materials can you use for laser-cut Christmas cards?
Laser-cut Christmas cards can be made from a variety of materials, including wood veneer, thick cardstock, acrylic and leather. Wood and acrylic are popular choices for keepsake-style cards, while cardstock works well for lightweight designs that can still be mailed in envelopes.
Q5. Is a laser engraver good for making Christmas cards?
Yes, a laser engraver is an excellent tool for making detailed and professional-looking Christmas cards. It allows you to engrave patterns, text and festive designs onto materials such as wood, acrylic or coated cardstock. Many crafters use laser engravers to create laser-cut or laser-engraved Christmas cards that look unique and can even be kept as festive keepsakes.
Q6. How can I make Christmas cards look more professional?
To make Christmas cards look more professional, focus on clean layouts, high-quality materials and balanced designs. Using tools such as Cricut cutting machines or laser engravers can also help produce more precise details. Adding subtle decorations, textured paper or engraved elements can further enhance the final result.
Conclusion
Making Christmas cards can be as simple or as creative as you like. Whether you design them online, craft them by hand, use a Cricut machine, or create premium designs with a laser engraver, there are plenty of ways to bring your festive ideas to life.
The best method ultimately depends on your creativity, the tools you have available, and your goal. Some people prefer quick and convenient online designs, while others enjoy the personal touch of handmade cards. Meanwhile, tools like Cricut machines and laser engravers allow you to create detailed, professional-quality Christmas cards — whether for thoughtful gifts or even for selling premium handmade products.
No matter which method you choose, a well-designed Christmas card is a meaningful way to share festive wishes with family, friends and colleagues.





