















































Creating personalised Christmas stockings is a wonderful way to add festive charm to your home. By learning how to personalise stockings, you can create unique, meaningful gifts that reflect individual personalities, family traditions or even a brand identity.
From simple DIY ideas suitable for children to more advanced techniques for crafters and small businesses, personalised Christmas stockings can transform ordinary decorations into keepsakes that are treasured year after year.
In this guide, you'll discover everything you need to know about how to personalise a Christmas stocking, including preparation tips, creative methods and professional techniques.

In this article:
- Part 1: How to Choose and Prepare Your Stocking for Personalisation
- Part 2: Five Best Ways to Personalise Christmas Stockings
- Method 1: Painting
- Method 2: Glue Decoration
- Method 3: Embroidery
- Method 4: Laser Engraving
- Method 5: Felt Appliqué
- Part 3: How to Personalise Christmas Stockings via Laser Engraving
- Part 4: Pro Tips for Perfect Laser-Engraved Stockings
- Part 5: FAQs for Making Personalised Christmas Stockings
Part 1: How to Choose and Prepare Your Stocking for Personalisation
Choosing the right Christmas stocking is an essential first step when planning to personalise it. The material, surface and size will all affect the final result.
Key Factors to Consider
Material
The material you choose will determine which personalisation method works best.
- Artificial leather or coated fabrics are ideal for laser engraving
- Felt and velvet are better suited for embroidery or stitching
- Cotton and canvas are versatile options for painting and glue decoration
Surface Texture
The surface of the stocking plays an important role in the final finish.
- Smooth surfaces allow for cleaner lines when painting or laser engraving
- Textured fabrics work better for stitching, appliqué or decorative elements
Colour
Colour affects how visible your design will be.
- Lighter colours help paint, thread and printed designs stand out
- Darker colours work well with metallic finishes, glitter or engraved effects
Size and Layout
Make sure the stocking is large enough to accommodate your design.
There should be enough space for:
- Names
- Logos
- Decorative patterns
A well-sized stocking prevents the design from appearing overcrowded.
How to Prepare Your Stocking
Proper preparation ensures better results, especially for detailed techniques such as laser engraving.
- Gently clean the surface to remove dust or fibres
- Remove any loose fuzz to create a smooth working area
- Keep the fabric flat and wrinkle-free, particularly when using heat or laser engraving
Taking the time to prepare your stocking will help achieve cleaner, more professional-looking results.
Part 2: Five Best Ways to Personalise Christmas Stockings
There are several ways to personalise Christmas stockings, ranging from simple DIY methods to more advanced techniques that offer professional and long-lasting results.
Method 1: Painting
Painting is one of the simplest ways to personalise a Christmas stocking.
You can use fabric paint, fine brushes or stencils to add names, festive patterns or decorative elements such as snowflakes and lettering. This method works particularly well on cotton and felt stockings.
For best results, allow the paint to dry completely and follow any heat-setting instructions provided by the paint manufacturer.
Method 2: Glue Decoration
Glue decoration is a flexible and beginner-friendly method.
Using fabric glue or a hot glue gun, you can attach:
- Ribbons
- Lace
- Sequins
- Bells or small charms
You can also create names using felt letters or glitter cut-outs.
This method is ideal for quick projects or children's crafts. However, avoid overloading the stocking, as heavy decorations may damage the fabric or create an unbalanced appearance.
Method 3: Embroidery
Embroidery is a classic technique that creates soft, textured and elegant designs.
It is ideal for:
- Names
- Monograms
- Festive patterns such as snowflakes
You can use hand embroidery for a handmade feel or an embroidery machine for more precise and consistent results. This method works best on felt, velvet and cotton materials, adding a warm and premium finish.
Method 4: Laser Engraving / Cutting
Laser engraving is one of the most precise and durable ways to personalise Christmas stockings.
Using a laser engraver, you can add detailed designs, logos or text onto materials such as faux leather or coated fabrics. The result is clean, professional and resistant to fading or peeling.
Laser cutting can also be used to create:
- Custom name tags
- Leather patches
- Acrylic ornaments
These elements can be attached to stockings for a layered and high-end appearance.

Method 5: Felt Appliqué
Felt appliqué involves cutting shapes or letters from felt and stitching them onto the stocking.
This method creates a soft, layered and traditional look, making it ideal for family keepsakes. Although it requires more time than glue or painting, it offers a durable and visually appealing result.
Comparison of Personalisation Methods
| Method | Durability | Difficulty | Precision | Texture | Ideal Materials |
|---|---|---|---|---|---|
| Fabric Paint | Moderate | Easy | Medium | Smooth | Cotton, Felt |
| Glue and Add-ons | Moderate | Very Easy | Low | 3D / Textured | Felt, Velvet |
| Embroidery | High | Moderate | High | Soft / Raised | Felt, Velvet |
| Sewn Appliqué | High | Moderate | Medium | Soft / Textured | Felt |
| Laser Engraving | Very High | Easy–Moderate | Very High | Smooth and Clean | Faux Leather, Coated Fabric, Wood, Acrylic Tags |
Which Method Is Best?
Each method has its advantages, but laser engraving stands out for its balance of precision, durability and efficiency.
Because it is a non-contact process, it produces clean results without damaging the material. Unlike paint or adhesives, engraved designs do not fade, peel or wear away easily. It is also suitable for fine details, logos and small text, making it ideal for personalised gifts or professional applications.
Recommended Tool: LP4 Dual-Laser Engraver
The LP4 Dual-Laser Engraver is equipped with two laser types: a 10W 450nm diode laser and a 2W 1064nm infrared laser. This configuration supports accurate engraving on multiple materials, including wood, coated surfaces, certain plastics, and metals.
Combined with the Versatile Electric Roller, the system enables full 360° engraving on cylindrical objects such as pencils, pens, and tumblers, ensuring consistent positioning and engraving depth.
The device offers speeds of up to 4000mm/s, 8K resolution, and a touchscreen control system, allowing efficient operation, quick mode switching, and repeatable workflows.
Suitable for both individual projects and small-scale production, the LP4 provides reliable, precise, and consistent engraving performance.
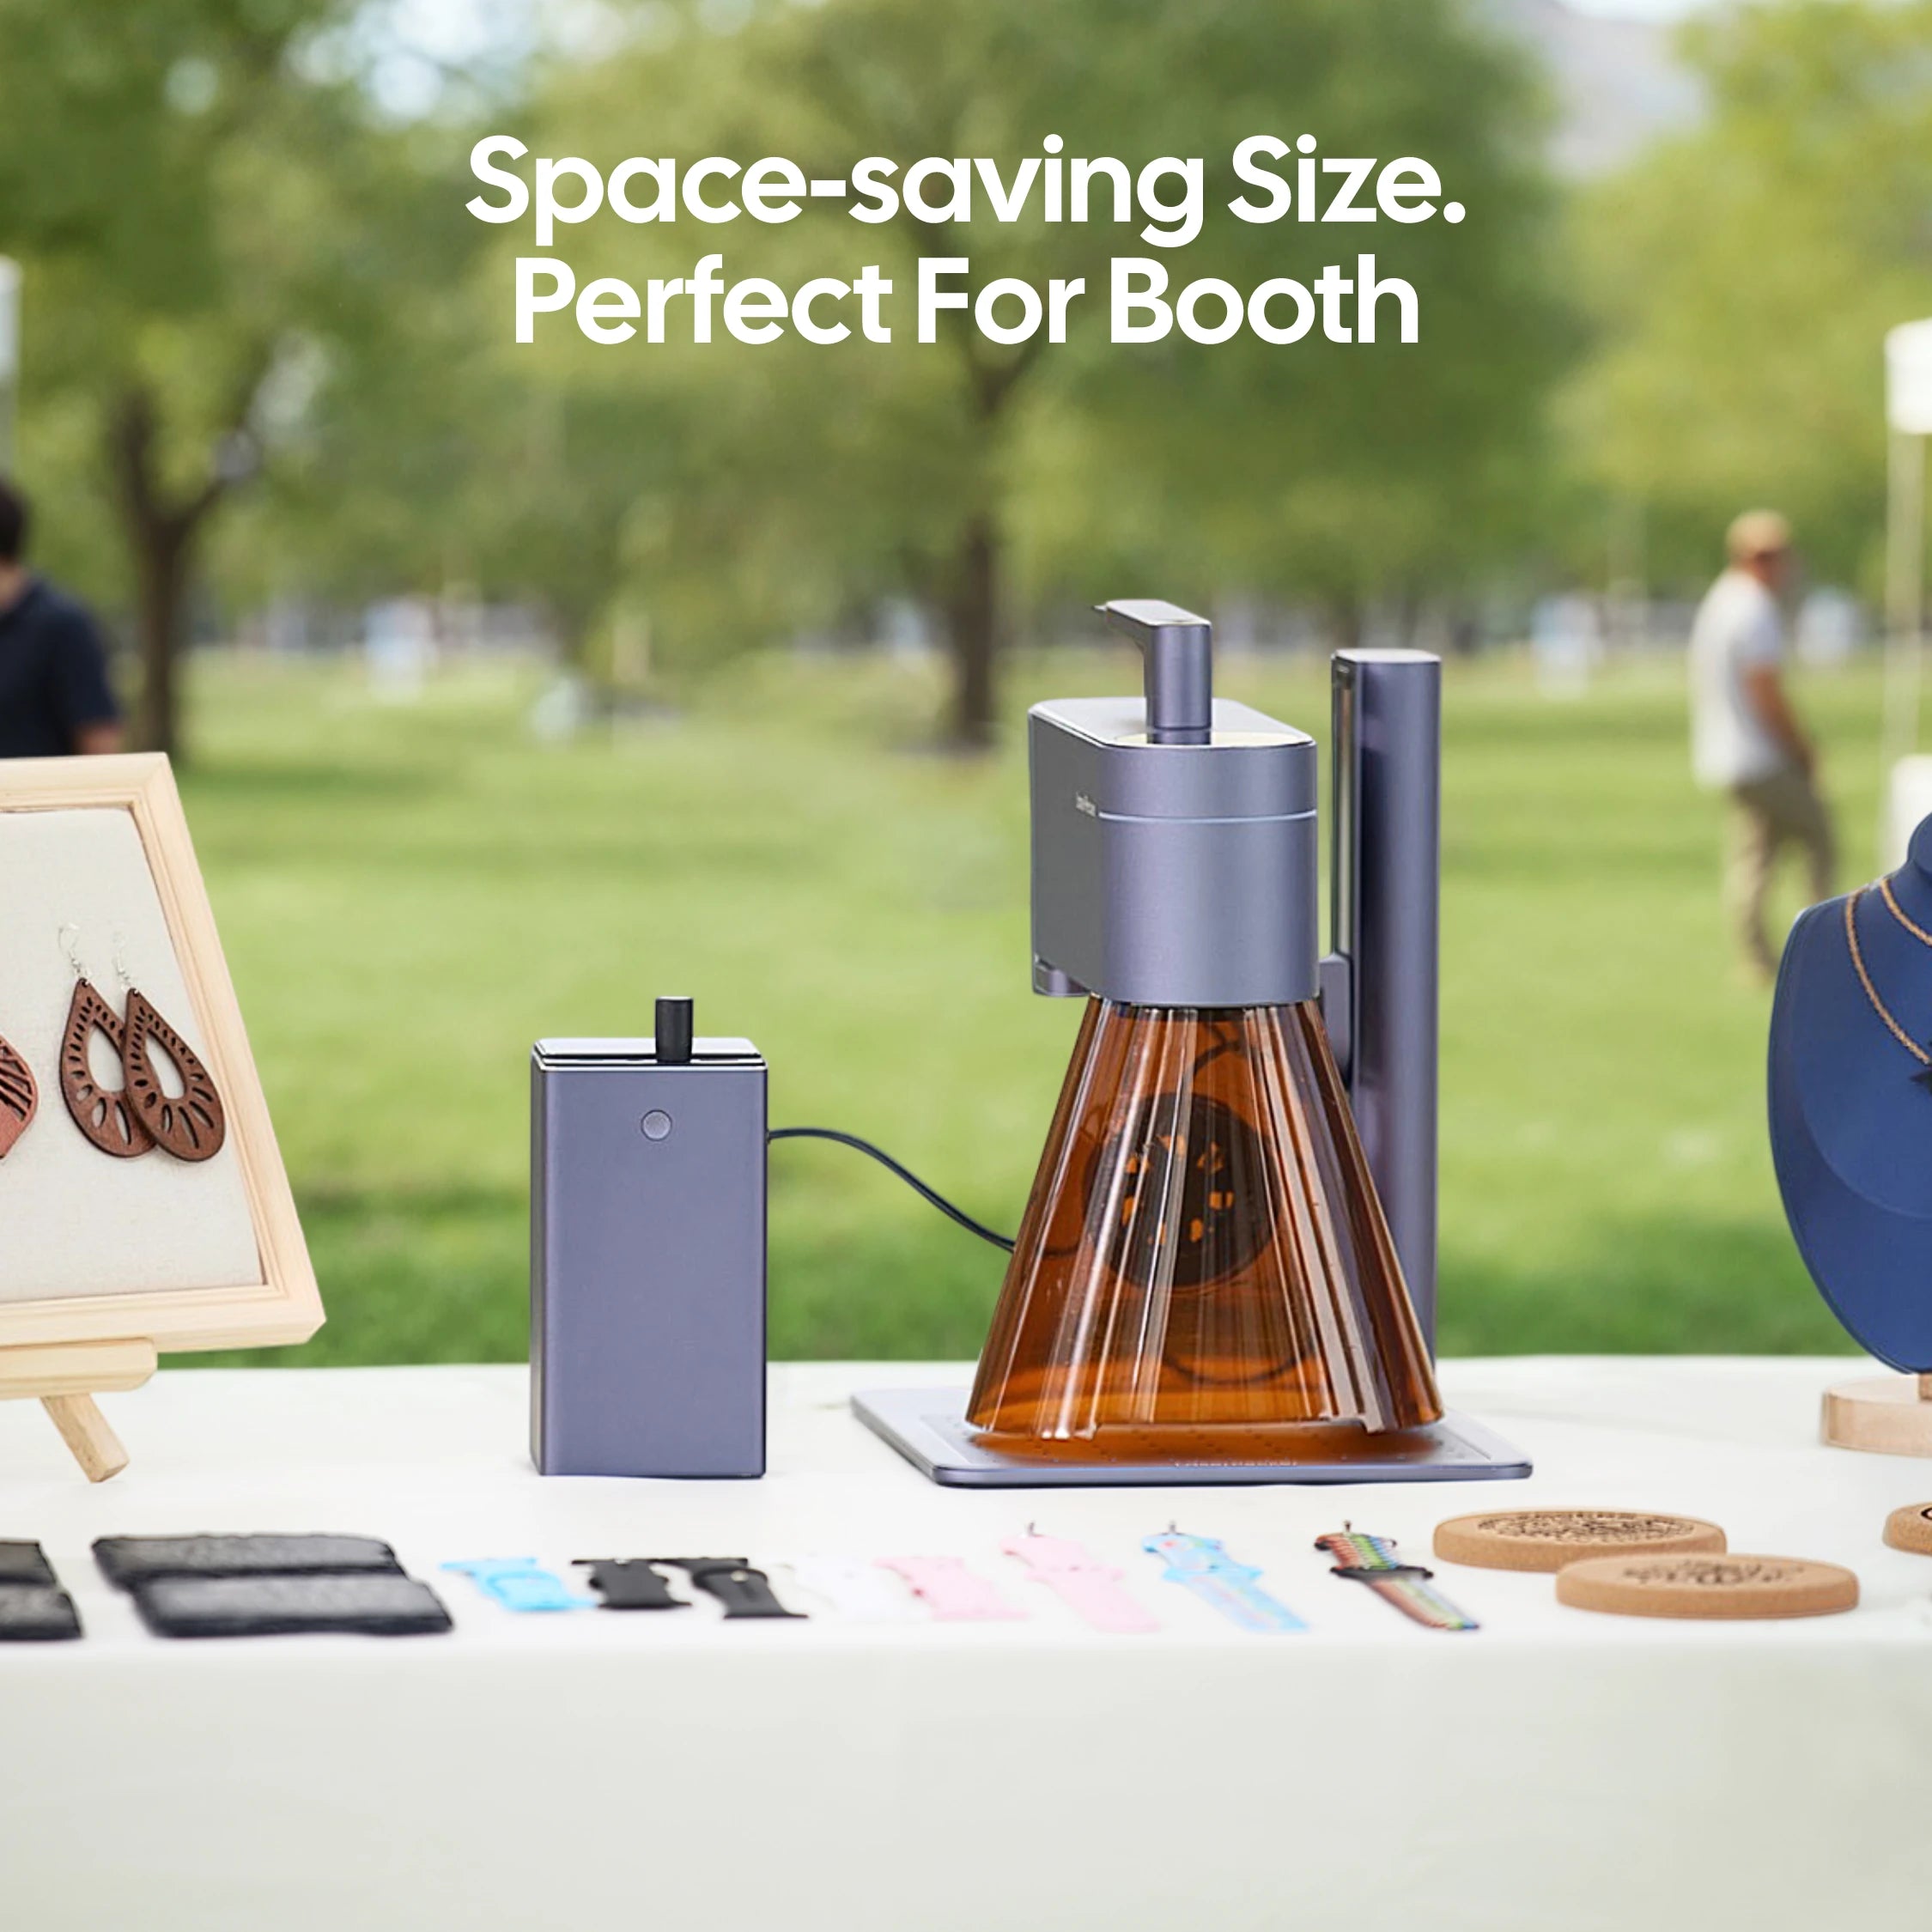
LP2 Plus (Cost-Effective and Portable Option)
The LP2 Plus is a strong alternative for users looking for a more affordable and beginner-friendly solution for personalised engraving projects such as pencils and small items.
Key Features
- ⚡ Pro-fast 4,000 mm/s engraving speed – up to 6× faster than earlier LP2 models
- 🔪 10W diode laser – deeper cuts with high precision for detailed engraving
- 📦 100+ supported materials – including wood, leather, acrylic and coated metals
- 🎒 Portable design – compact and flexible for use at home, in classrooms or workshops
- 🎯 Dual red-dot focus (upgrade) – fast and accurate positioning
- 🌀 SpinTrack™ compatibility – supports cylindrical engraving for items like pencils and pens
- 🖇️ Expandable accessories – including rotary extensions, enclosure and air purifier
Why Choose LP2 Plus?
- Ideal for personalised pencil engraving and small creative projects
- More accessible price point compared to dual-laser systems
- Easy to use, making it suitable for beginners, students and educators
- Portable and adaptable to different working environments
The LP2 Plus offers a practical balance of performance, usability and value, making it an excellent entry-level option for laser engraving.
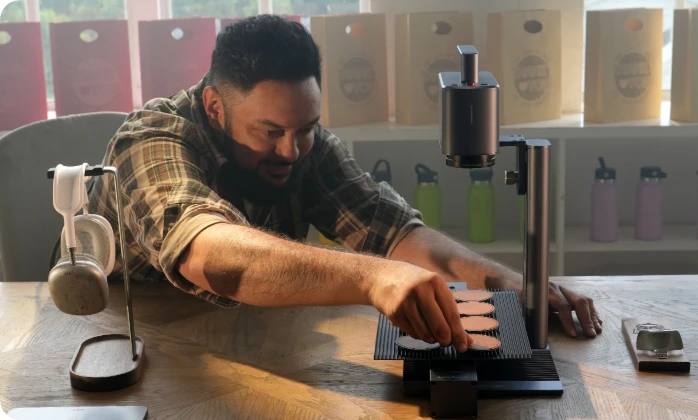
Part 3: How to Personalise Christmas Stockings via Laser Engraving
If you want to create personalised Christmas stockings with a professional finish, laser engraving is a precise and efficient method. Using a dual-laser engraver such as the LP4, you can transform standard stockings into detailed and long-lasting festive keepsakes.
Follow these steps to achieve the best results.
Step 1: Prepare Your Design
Create or upload your design using software such as LightBurn or LaserPecker Design Space.
Make sure your design:
- Has high resolution
- Uses clear lines and readable text
- Is scaled correctly for the stocking area
A well-prepared design ensures clean and accurate engraving.
Step 2: Test on Sample Material
Before engraving your final stocking, always perform a test on scrap material with similar properties.
This allows you to check:
- Contrast
- Engraving depth
- Overall appearance
Testing helps prevent mistakes and ensures consistent results.
Step 3: Position the Stocking
Lay the stocking flat on a stable and level surface.
Ensure that:
- The fabric is smooth and wrinkle-free
- The engraving area is properly aligned
Adjust the laser position or angle if needed to match the design placement accurately.
Step 4: Adjust Laser Settings
Select the appropriate settings based on the material and design complexity.
Key settings include:
- Power
- Speed
- Engraving depth
For certain effects or darker engraving, you may use multiple passes to achieve the desired finish.
Step 5: Start Engraving and Monitor the Process
Begin the engraving process and monitor it carefully.
Check for:
- Clean and sharp lines
- Even engraving depth
- Good contrast with the material
Monitoring ensures the final design meets your expectations.
Step 6: Add Final Decorative Elements
After engraving, you can enhance the stocking by adding:
- Ribbons
- Charms
- Custom engraved tags
If you are producing multiple stockings with the same design, use repeat functions to maintain consistency across all items.
Part 4: Pro Tips for Perfect Laser-Engraved Stockings
To achieve clean, professional-looking results when laser engraving Christmas stockings, it is important to follow a few expert tips.
Tip 1: Choose the Right Material
For the best engraving results, use faux leather or coated fabrics, as these materials produce clear contrast and precise detailing. Softer fabrics may not deliver the same level of definition.
Tip 2: Use Protective Masking
Apply masking material around the engraving area to protect the surrounding fabric from smoke marks or unwanted burns. This helps maintain a clean and polished finish.
Tip 3: Keep the Surface Flat and Stable
Ensure the stocking is fully flat and properly supported during engraving. Any wrinkles or movement can affect alignment and lead to uneven results.
Tip 4: Test Your Settings First
Always run a test on spare or similar material before engraving the final piece.
Adjust:
- Power
- Speed
- Depth
This allows you to fine-tune the engraving settings and avoid mistakes.
Tip 5: Enhance with Additional Elements
For a more refined and festive appearance, consider combining engraving with:
- Laser-cut tags
- Decorative patches
- Custom name plates
Layering different elements can create a more premium, finished look.
Part 5: FAQs for Making Personalised Stockings
Q1. How can I write names on Christmas stockings easily?
If you are just starting out, simple methods such as fabric paint or iron-on letters are practical and easy to use. They require minimal tools and are suitable for quick, decorative results.
For a more refined and long-lasting finish, laser engraving is a preferred option. With the LP4, you can create precise nameplates or engrave materials such as faux leather stockings. The lettering appears clean and consistent, and it will not fade or peel over time.
This makes it ideal for family keepsakes, personalised gifts, or producing matching items in small batches.
Q2. What can you use to write on Christmas stockings?
Common personalisation methods include fabric paint, embroidery thread, glitter glue, and heat-transfer vinyl. The best option depends on the stocking material. Felt and cotton work well with paint or embroidery, while faux leather and coated fabrics are better suited to laser engraving for more durable results.
Q3. Can you use a Cricut machine to personalise Christmas stockings?
Yes. Cricut machines are widely used to cut vinyl or iron-on lettering for festive stocking decoration. However, vinyl designs may begin to peel after repeated use or washing. Laser engraving on compatible materials such as faux leather or engraved name tags offers a more permanent alternative for long-term seasonal decorations.
Q4. What material is best for personalised Christmas stockings?
Felt and velvet are popular choices for embroidered names and stitched decorations. For laser engraving projects, faux leather and coated fabrics typically produce clearer contrast and more durable marking results. Smooth surfaces generally provide the best visibility for engraved lettering or logos.
Q5. How do you personalise Christmas stockings without sewing?
No-sew options include fabric glue lettering, iron-on vinyl, adhesive patches, and engraved name tags attached with ribbon or loops. These methods are quick to apply and suitable for beginners preparing personalised stockings at home before the festive season.
Q6. Can personalised Christmas stockings be reused every year?
Yes. Durable personalisation methods such as embroidery or laser-engraved name tags allow Christmas stockings to be reused for many years. Long-lasting identification helps maintain family traditions and ensures each stocking remains clearly assigned to the correct household member.
Conclusion
Personalised Christmas stockings combine decorative appeal with individual expression, making them a meaningful addition to festive traditions. Methods such as painting, embroidery and engraving offer different creative styles and levels of detail.
Among these, laser engraving stands out for its precision, consistency and durability. Using the LP4 Dual-Laser Engraver, complex designs can be reproduced accurately across multiple items, delivering reliable results on materials such as faux leather and coated fabrics.
For users looking for a more affordable and accessible option, the LP2 Plus is also a practical choice. It offers reliable engraving performance, supports a wide range of materials, and is particularly suitable for home crafting, personalised gifts and small creative projects.
Whether for gifting, family traditions or small-scale commercial use, personalised stockings provide a distinctive and lasting product. With the right tools and thoughtful designs, they can become keepsakes that go beyond standard holiday decorations.





