















































Have you ever wanted to try laser cutting wood at home or in a small workshop?
In this guide, we'll walk you through everything you need to know about wood laser cutting, from basic principles to practical techniques. Whether you're a hobbyist, small business owner, or DIY enthusiast in the UK, this step-by-step tutorial will help you get started with confidence.
We'll also include a practical laser-cut wood lamp case study, showing how you can complete a creative project in just five simple steps.

In this article:
Part 1: Overview of Wood Laser Cutting
1.1 What Is Wood Laser Cutting?
Wood laser cutting, also known as laser cutting wood, is a precise and efficient technique used to shape wooden materials into detailed patterns, letters, decorative panels, and functional components.
Instead of relying on traditional wood cutting methods, laser technology uses a focused beam of light to produce clean edges and consistent results with minimal material waste.
For hobbyists, educators, and small workshop users across the UK, wood laser cutting makes it easier to turn creative ideas into professional-looking projects at home or in compact studio environments.
1.2 How Does Laser Cut Wood?
Yes — wood can be cut with a laser.
Laser cutting wood works by directing a high-energy laser beam onto the surface of the material. The heat generated by the beam vaporises or burns the wood along a controlled cutting path, producing accurate and smooth edges.
Because the laser beam is guided by computer software:
- intricate patterns can be reproduced with high precision
- repeat projects remain consistent across multiple pieces
- complex geometries are easier to produce than with many traditional wood cutting methods
Compared with manual cutting tools, laser cutting offers:
- cleaner edges
- reduced kerf width
- improved repeatability
- better suitability for decorative woodworking projects
For users in the UK working in home workshops or small maker spaces, compact desktop laser cutters are especially popular thanks to their plug compatibility and space-saving design.

1.3 What Is a Laser Cutting Machine for Wood?
To laser cut wood effectively, you'll need a dedicated laser cutter designed for engraving and cutting wooden materials with accuracy and control.
There are several types of machines available, including:
- diode laser cutting machines
- CO2 laser engravers
- fibre laser engravers
Many beginners ask:
"What is the best laser to cut wood?"
or
"What machine do I need to cut wood?"
The answer depends on your project size, workspace, and budget.
For home users and small-scale workshop creators in the UK, diode laser cutting machines such as LP4, LP5 and LX2 are often the preferred choice. These machines are known for being:
- beginner-friendly
- compact enough for desktop use
- more affordable than many alternative cutting tools
- suitable for a wide range of wood crafting applications
For users working with larger wooden panels or thicker wood sheets, the LX2 provides additional flexibility thanks to its 500 × 305 mm working area, allowing larger layouts to be processed in a single setup with fewer repositioning steps. Its compatibility with higher-power diode modules also supports deeper single-pass cutting performance, making it especially suitable for signage boards, layered décor panels, and small-batch woodworking production in UK home workshops.
Some models also support enclosed operation options that help improve workspace safety during indoor use.

💡 Case Study: Craft a Laser-Cut Wood Lamp in 5 Steps
Creating a laser-cut wood lamp is a beginner-friendly project that demonstrates how efficient wood laser cutting can be for home workshops and creative studios across the UK.
Preparation checklist for laser cutting wood
Before starting, prepare the following:
- Cutting material: 3 mm plywood sheet
- Cutting machine: diode laser cutter
- Cutting design: patterns, letters, shapes, or decorative layouts
Many beginners ask how long it takes to laser cut wood. In most small workshop setups, a project like this can be completed in just a few minutes when the settings are properly configured.
Follow these five simple steps to create your own laser-cut wood lamp.
Step 1: Choose Your Material – Plywood Sheet
Selecting the correct material plays an important role in achieving accurate cutting results.
Different wood types require different laser settings, so always check whether the material is suitable and laser safe before starting your project.
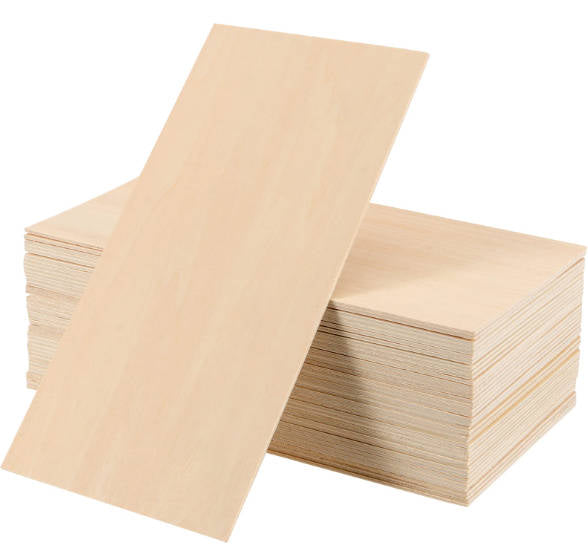
For this tutorial, we'll use a 3 mm plywood sheet as the example material for our laser-cut wood lamp case study. Plywood is widely available in the UK and performs reliably for decorative lighting projects.
Step 2: Choose the Right Laser Cutting Machine for Wood Cutting
Choosing the correct machine helps ensure clean edges and efficient cutting performance.
For this project, LaserPecker 4 (LP4) is a strong choice because it performs reliably in wood laser cutting applications and fits well in compact home workshop environments across the UK.
Alternatively:
- LP5 also delivers excellent performance for wood cutting and wood embossing
- LaserPecker LX2 offers powerful 20W / 40W / 60W diode laser options and is especially suitable for larger-scale woodworking projects or thicker materials
Some enclosed configurations available with selected LaserPecker machines can also support safer indoor operation, which is useful for home studio users working in limited spaces.
Step 3: Prepare Your Cutting Design
To prepare your lamp design, use the LaserPecker graphic design app/software or third-party tools such as Photoshop to create or import your cutting file.
When preparing your design:
- check size and proportions carefully
- confirm alignment with your plywood sheet dimensions
- preview the cutting layout before starting
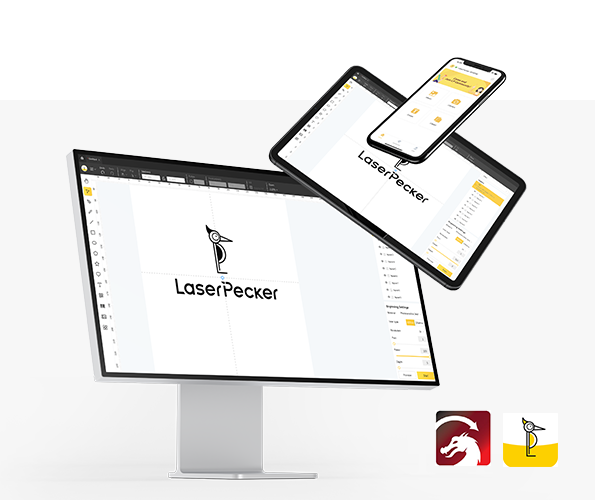
You can also explore LaserPecker CraftZone for inspiration or purchase laser cut wood files online if you prefer ready-to-use templates.
Step 4: Set Up the Wood Laser Cutting Machine
Follow these steps to prepare your machine before cutting:
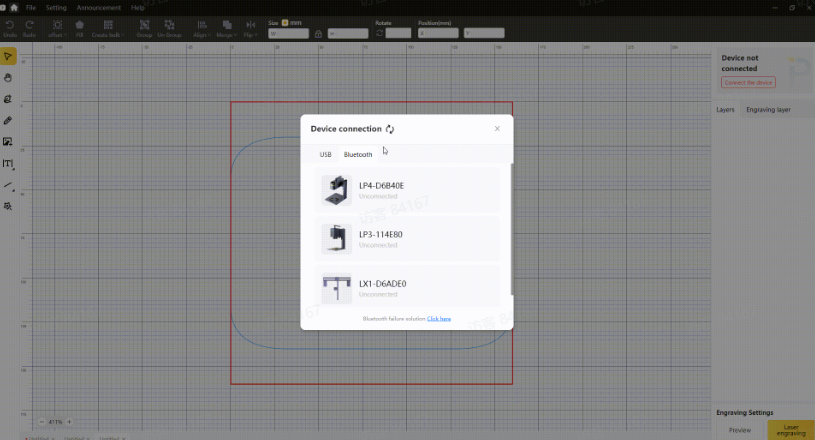
First, power on your laser cutter and connect it to your computer or mobile device using:
- Wi-Fi
- USB cable
- Bluetooth
Second, open LaserPecker Design Space and import your design file
Supported formats include:
- JPG
- PNG
- SVG
- G-Code
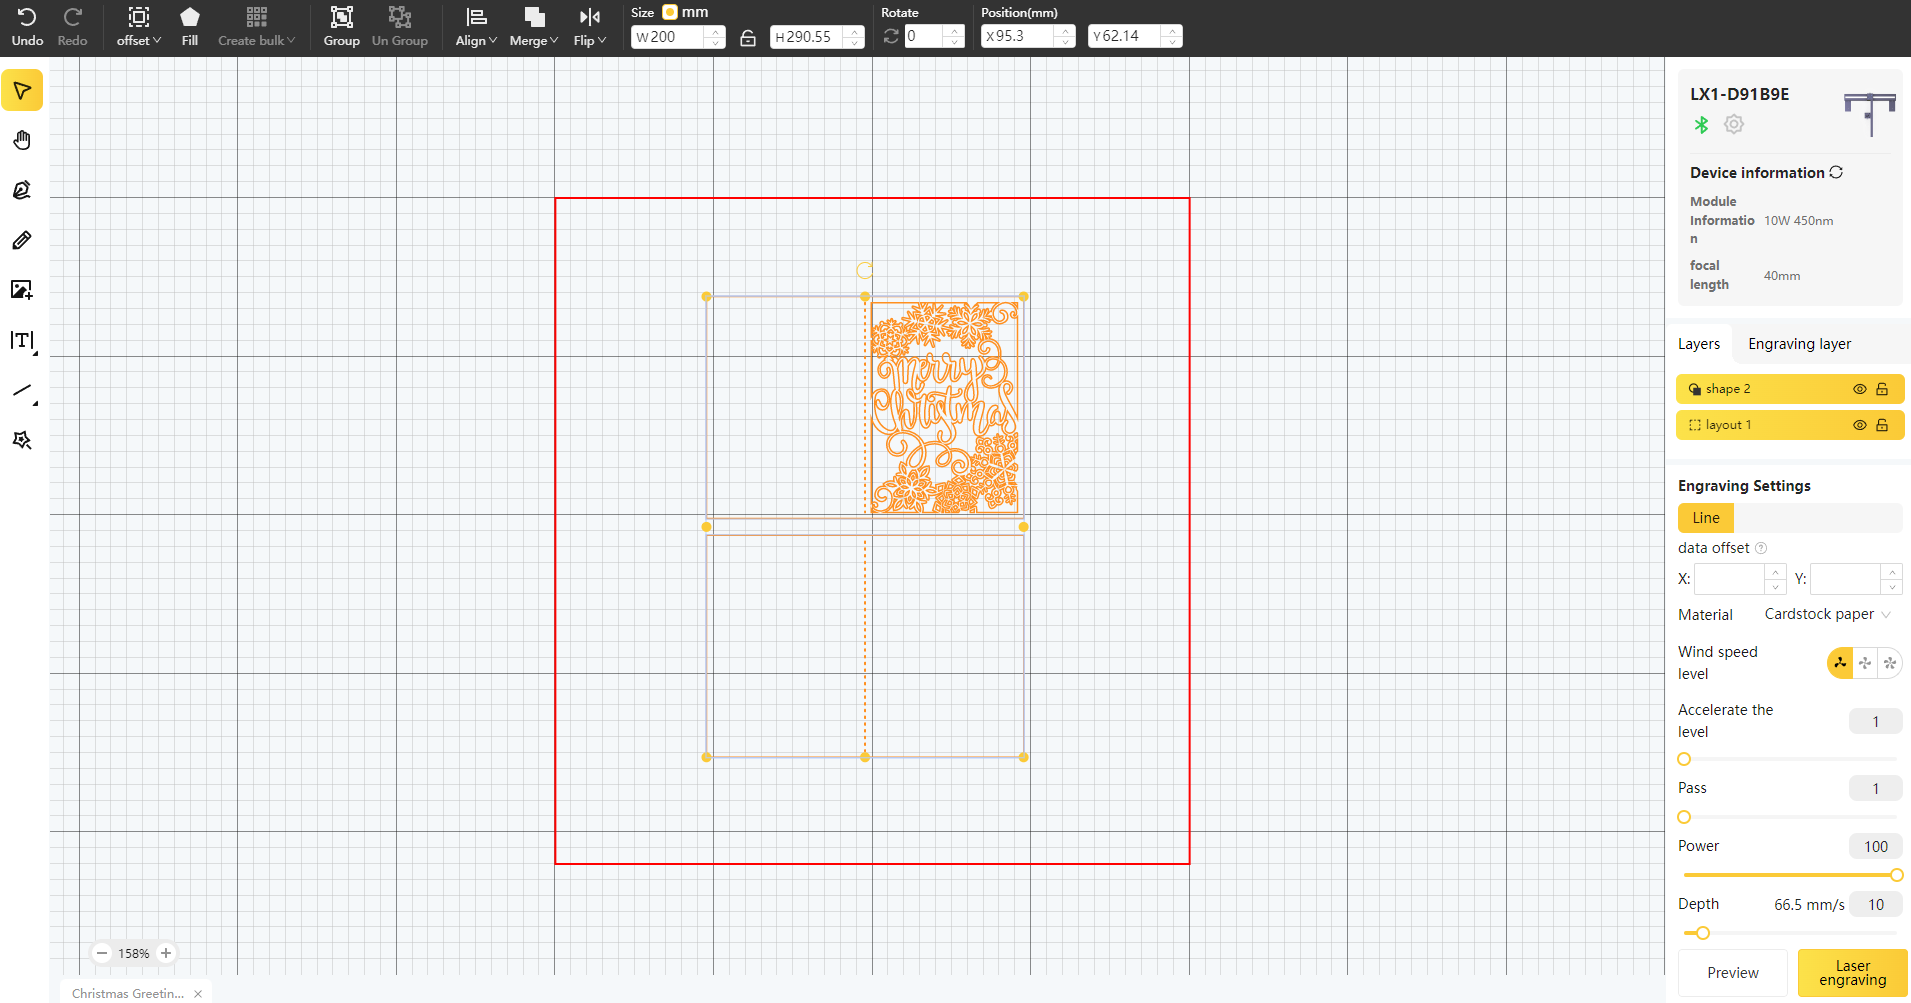
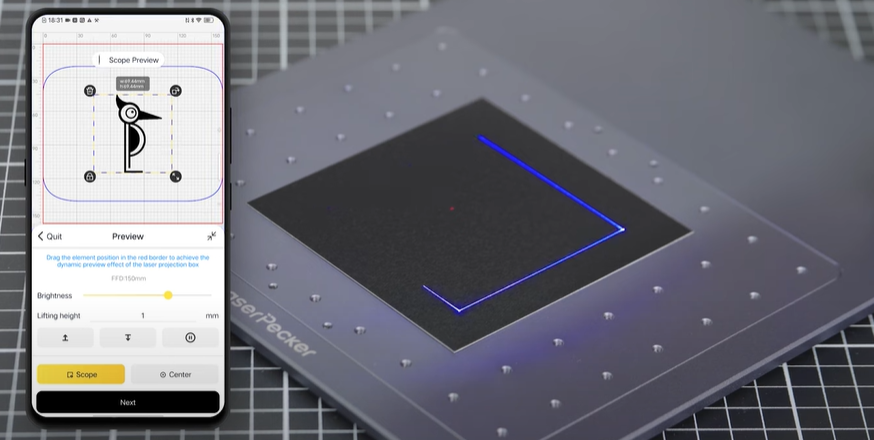
Third, place the plywood sheet in the working area and activate Preview Mode to confirm positioning and focus accuracy.
Fourth, adjust the layout if needed so your design fits correctly within the material boundaries.
Finally, configure your laser parameters based on the material thickness and design complexity.
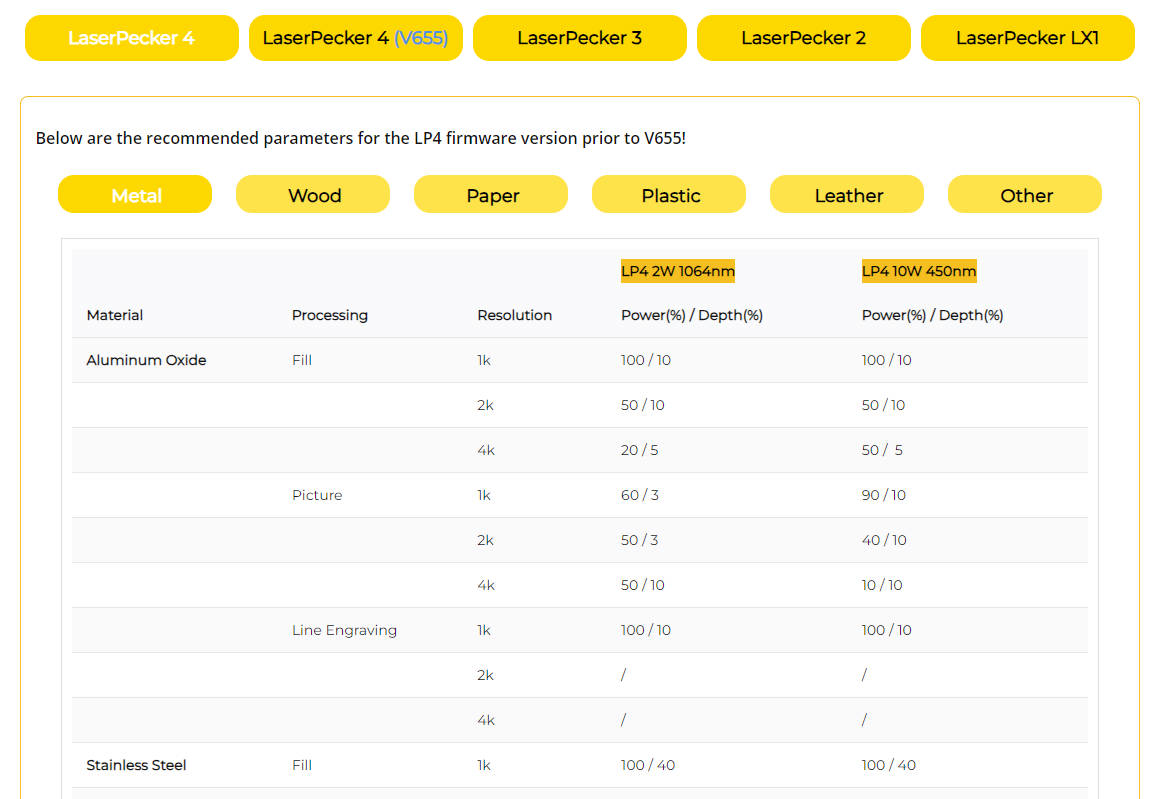
For best results, the recommended laserpecker engraving and cutting parameters for cutting wood using LP4 are:
- 10 W diode laser
- Resolution: 1k
- Power: 80%
- Depth: 80%
- Pass: 3
You can also refer to the full parameter table covering multiple machines, including LP1, LP2, LP3, LP4 and LP5.
Step 5: Start Cutting Your Wood With Laser
Before starting the cutting process:
- double-check alignment
- confirm focus accuracy
- verify parameter settings
Then press start and allow the laser cutter to complete the process.
While operating a laser engraving machine, it is recommended to wear goggles or use a protective enclosure to help protect your eyes during operation.
During cutting, smoke and odours may be produced. Many UK indoor workshop users choose to operate their machines alongside an air purifier to maintain a cleaner and safer working environment when engraving or cutting wood.

FAQs: Hot Questions about Wood Laser Cutting
Q1. Can you laser cut wood at home in the UK?
Yes. Many hobbyists and small workshop users in the UK use compact desktop laser cutters such as diode machines for cutting plywood and decorative wood safely at home. Choosing a machine with enclosure options and proper ventilation helps improve indoor usability.
Q2. What is the best type of wood for laser cutting?
Popular choices include:
- plywood
- basswood
- birch plywood
- MDF (with proper ventilation)
These materials produce clean edges and predictable cutting results compared with some hardwood varieties.
Q3. How thick of wood can a diode laser cutter cut?
This depends on machine power and settings. For example:
- entry-level diode cutters: typically up to 3–5 mm plywood
- advanced models such as LP5: can cut thicker basswood (up to around 20 mm under suitable conditions)
Multiple passes may be required for thicker materials.
Q4. Is laser cutting wood safe indoors?
Yes, when proper precautions are followed.
Many UK home workshop users improve safety by:
- using protective enclosures
- wearing laser safety goggles
- operating machines with an air purifier or ventilation setup
These steps help manage smoke and odours during cutting.
Q5. How long does it take to laser cut a wood lamp project?
A small decorative lamp project using 3 mm plywood typically takes only a few minutes once the design and parameters are correctly configured. More complex patterns or thicker materials may increase cutting time.
Conclusion
In summary, wood laser cuttingis a precise and versatile technique that allows makers to transform wooden materials into detailed decorative designs and functional projects with clean edges and consistent results.
From beginner-friendly lamp projects to customised workshop creations, laser cutting opens up new possibilities for hobbyists, educators, and small business users across the UK. With compact desktop solutions such as diode laser cutting machines, it is now easier than ever to start creating professional-looking wood crafts from a home studio or small workshop environment.
By choosing suitable materials, applying the correct settings, and following safe operating practices such as using goggles and an air purifier, users can confidently explore creative woodworking projects with reliable results.





